
From the records that we have, we believe the standing rigging was last done in 2005. The boat saw very light use from 2011-2021 with several years on the hard. We decided to re-rig from pin-to-pin since the rigging was approaching 18 years and we also planned to take the rig down for the teak replacement project.
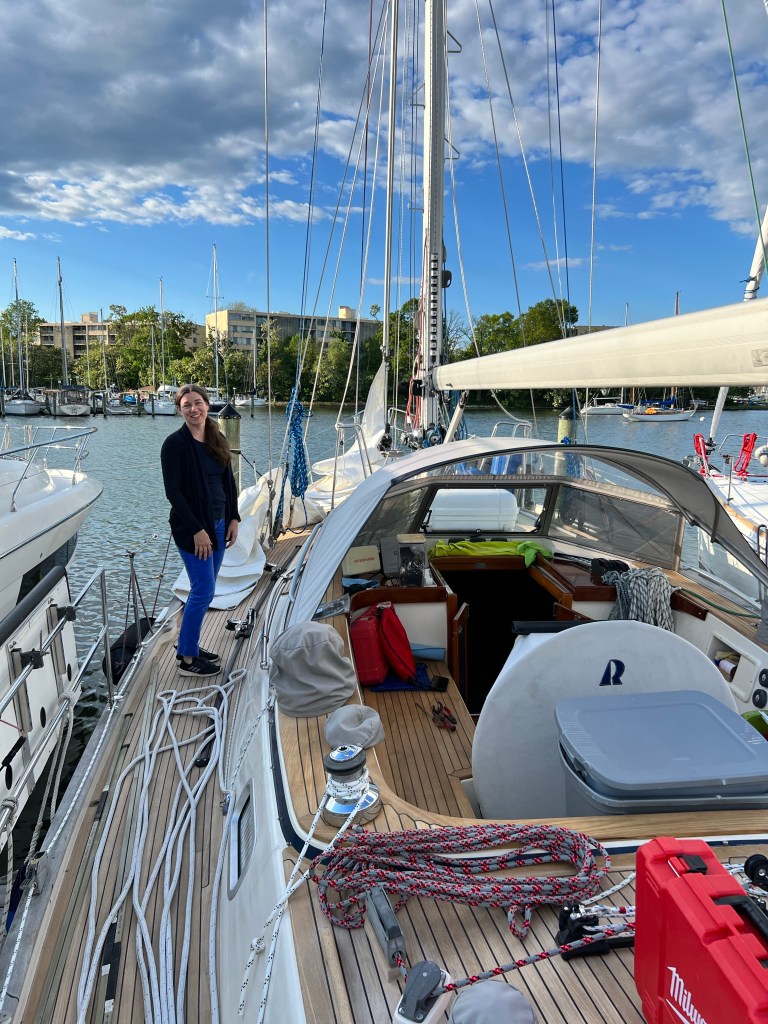
The last couple of weeks has been filled with finishing up Winter refit projects and readying the boat for stepping the mast. We patiently waited a few extra weeks for our mast and rigging to be prepared, and even found time to attend the Spring sailboat show in Annapolis. This was our first time to that show, and we found it quite low key and although there were fewer boats there, we were able to jump on and off of them quickly. That was a great show if you don’t like crowds and long lines.

I always create logical, realistic and simple plans (of course!), that if all goes well would be outstanding. In this order, we established this menu of actions all to happen at our marina, Bert Jabins Yacht Yard:
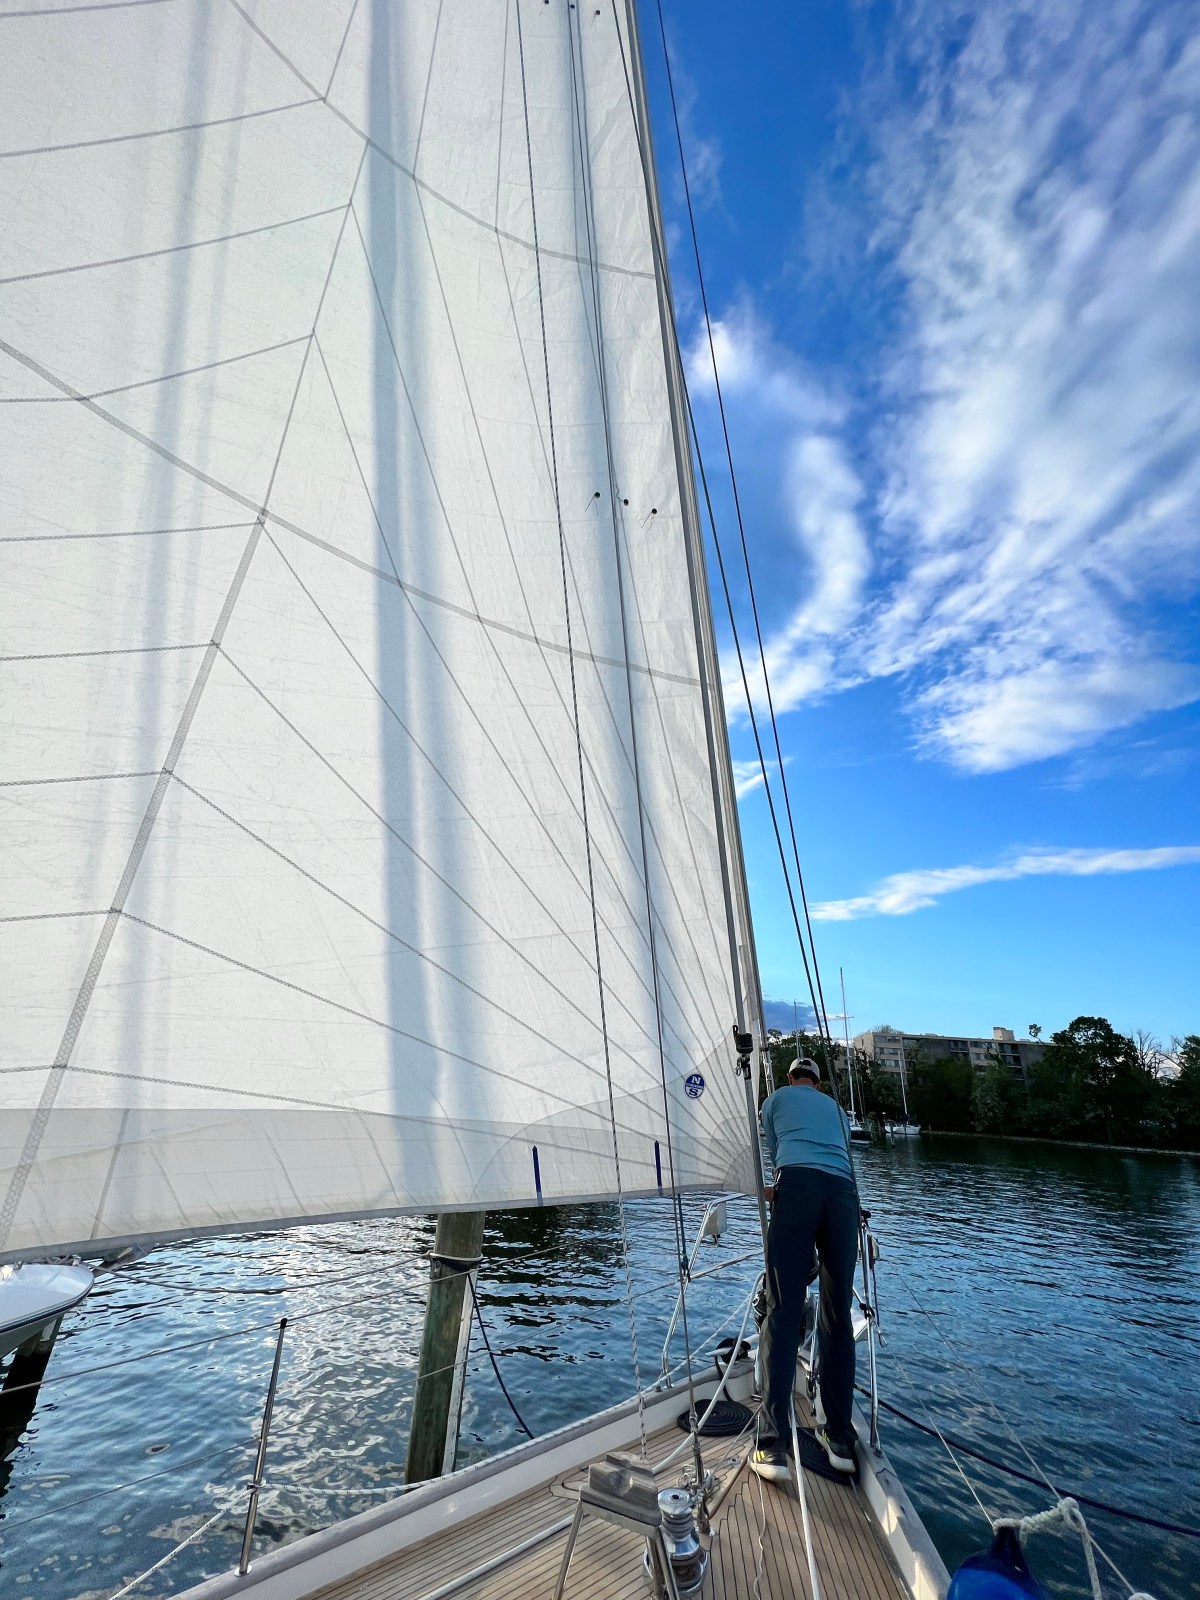
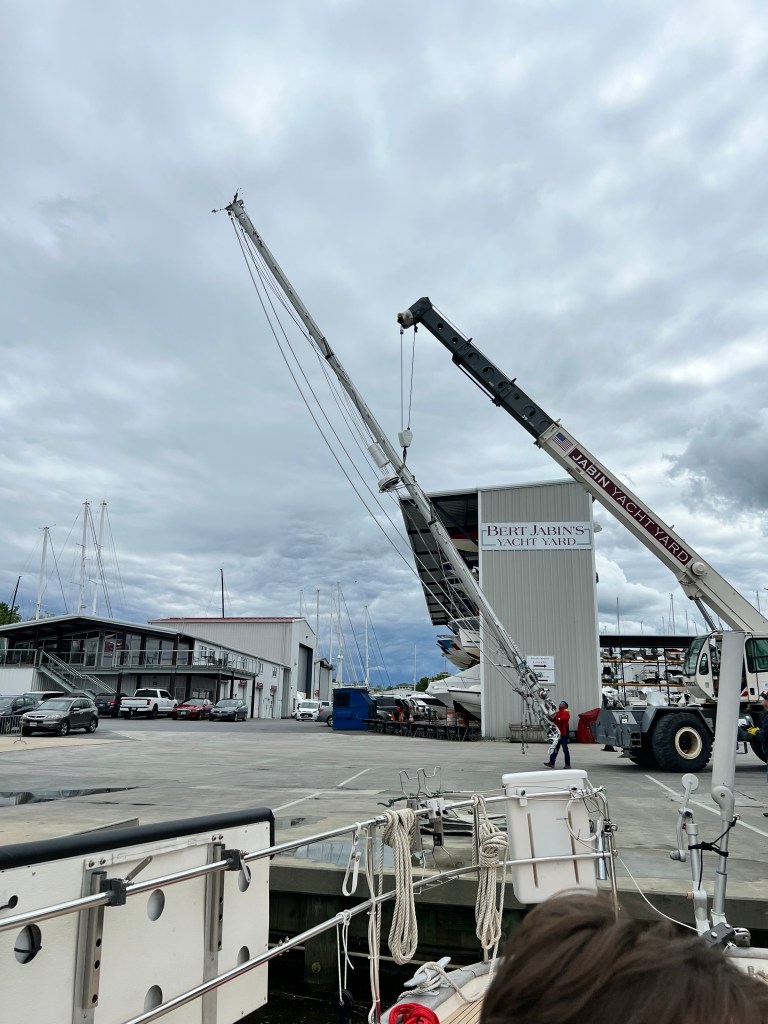
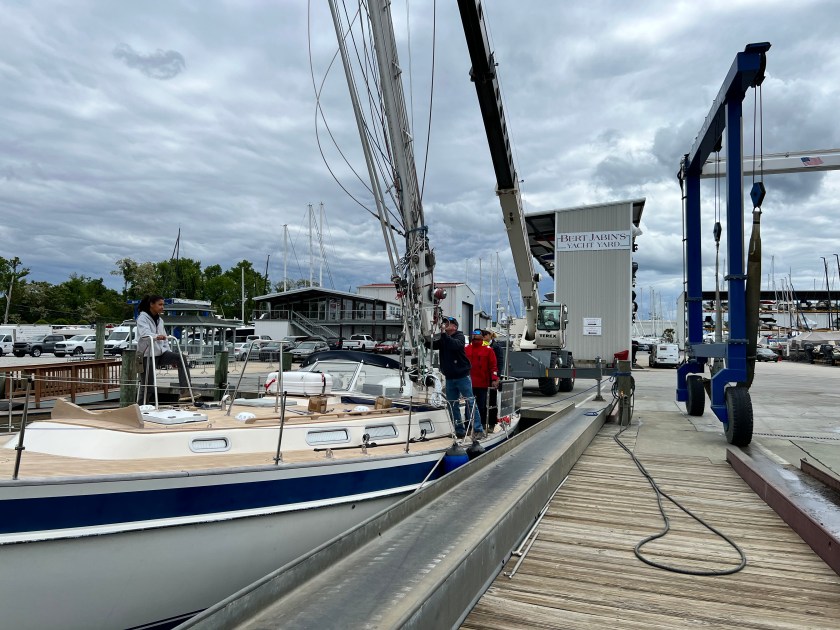
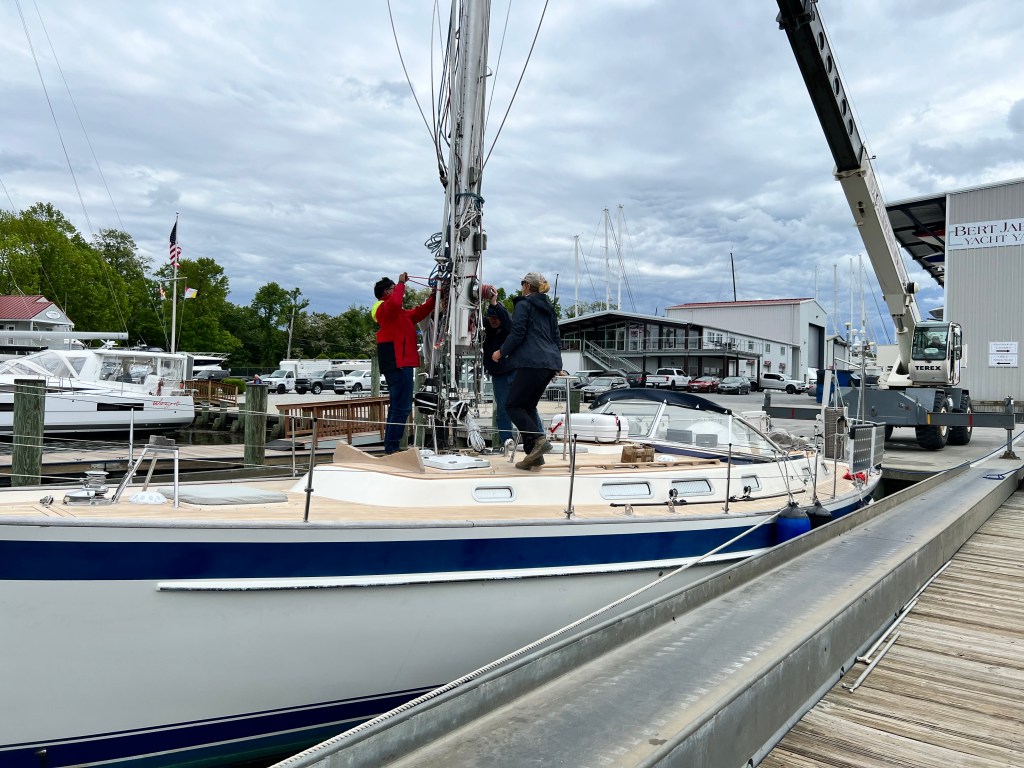
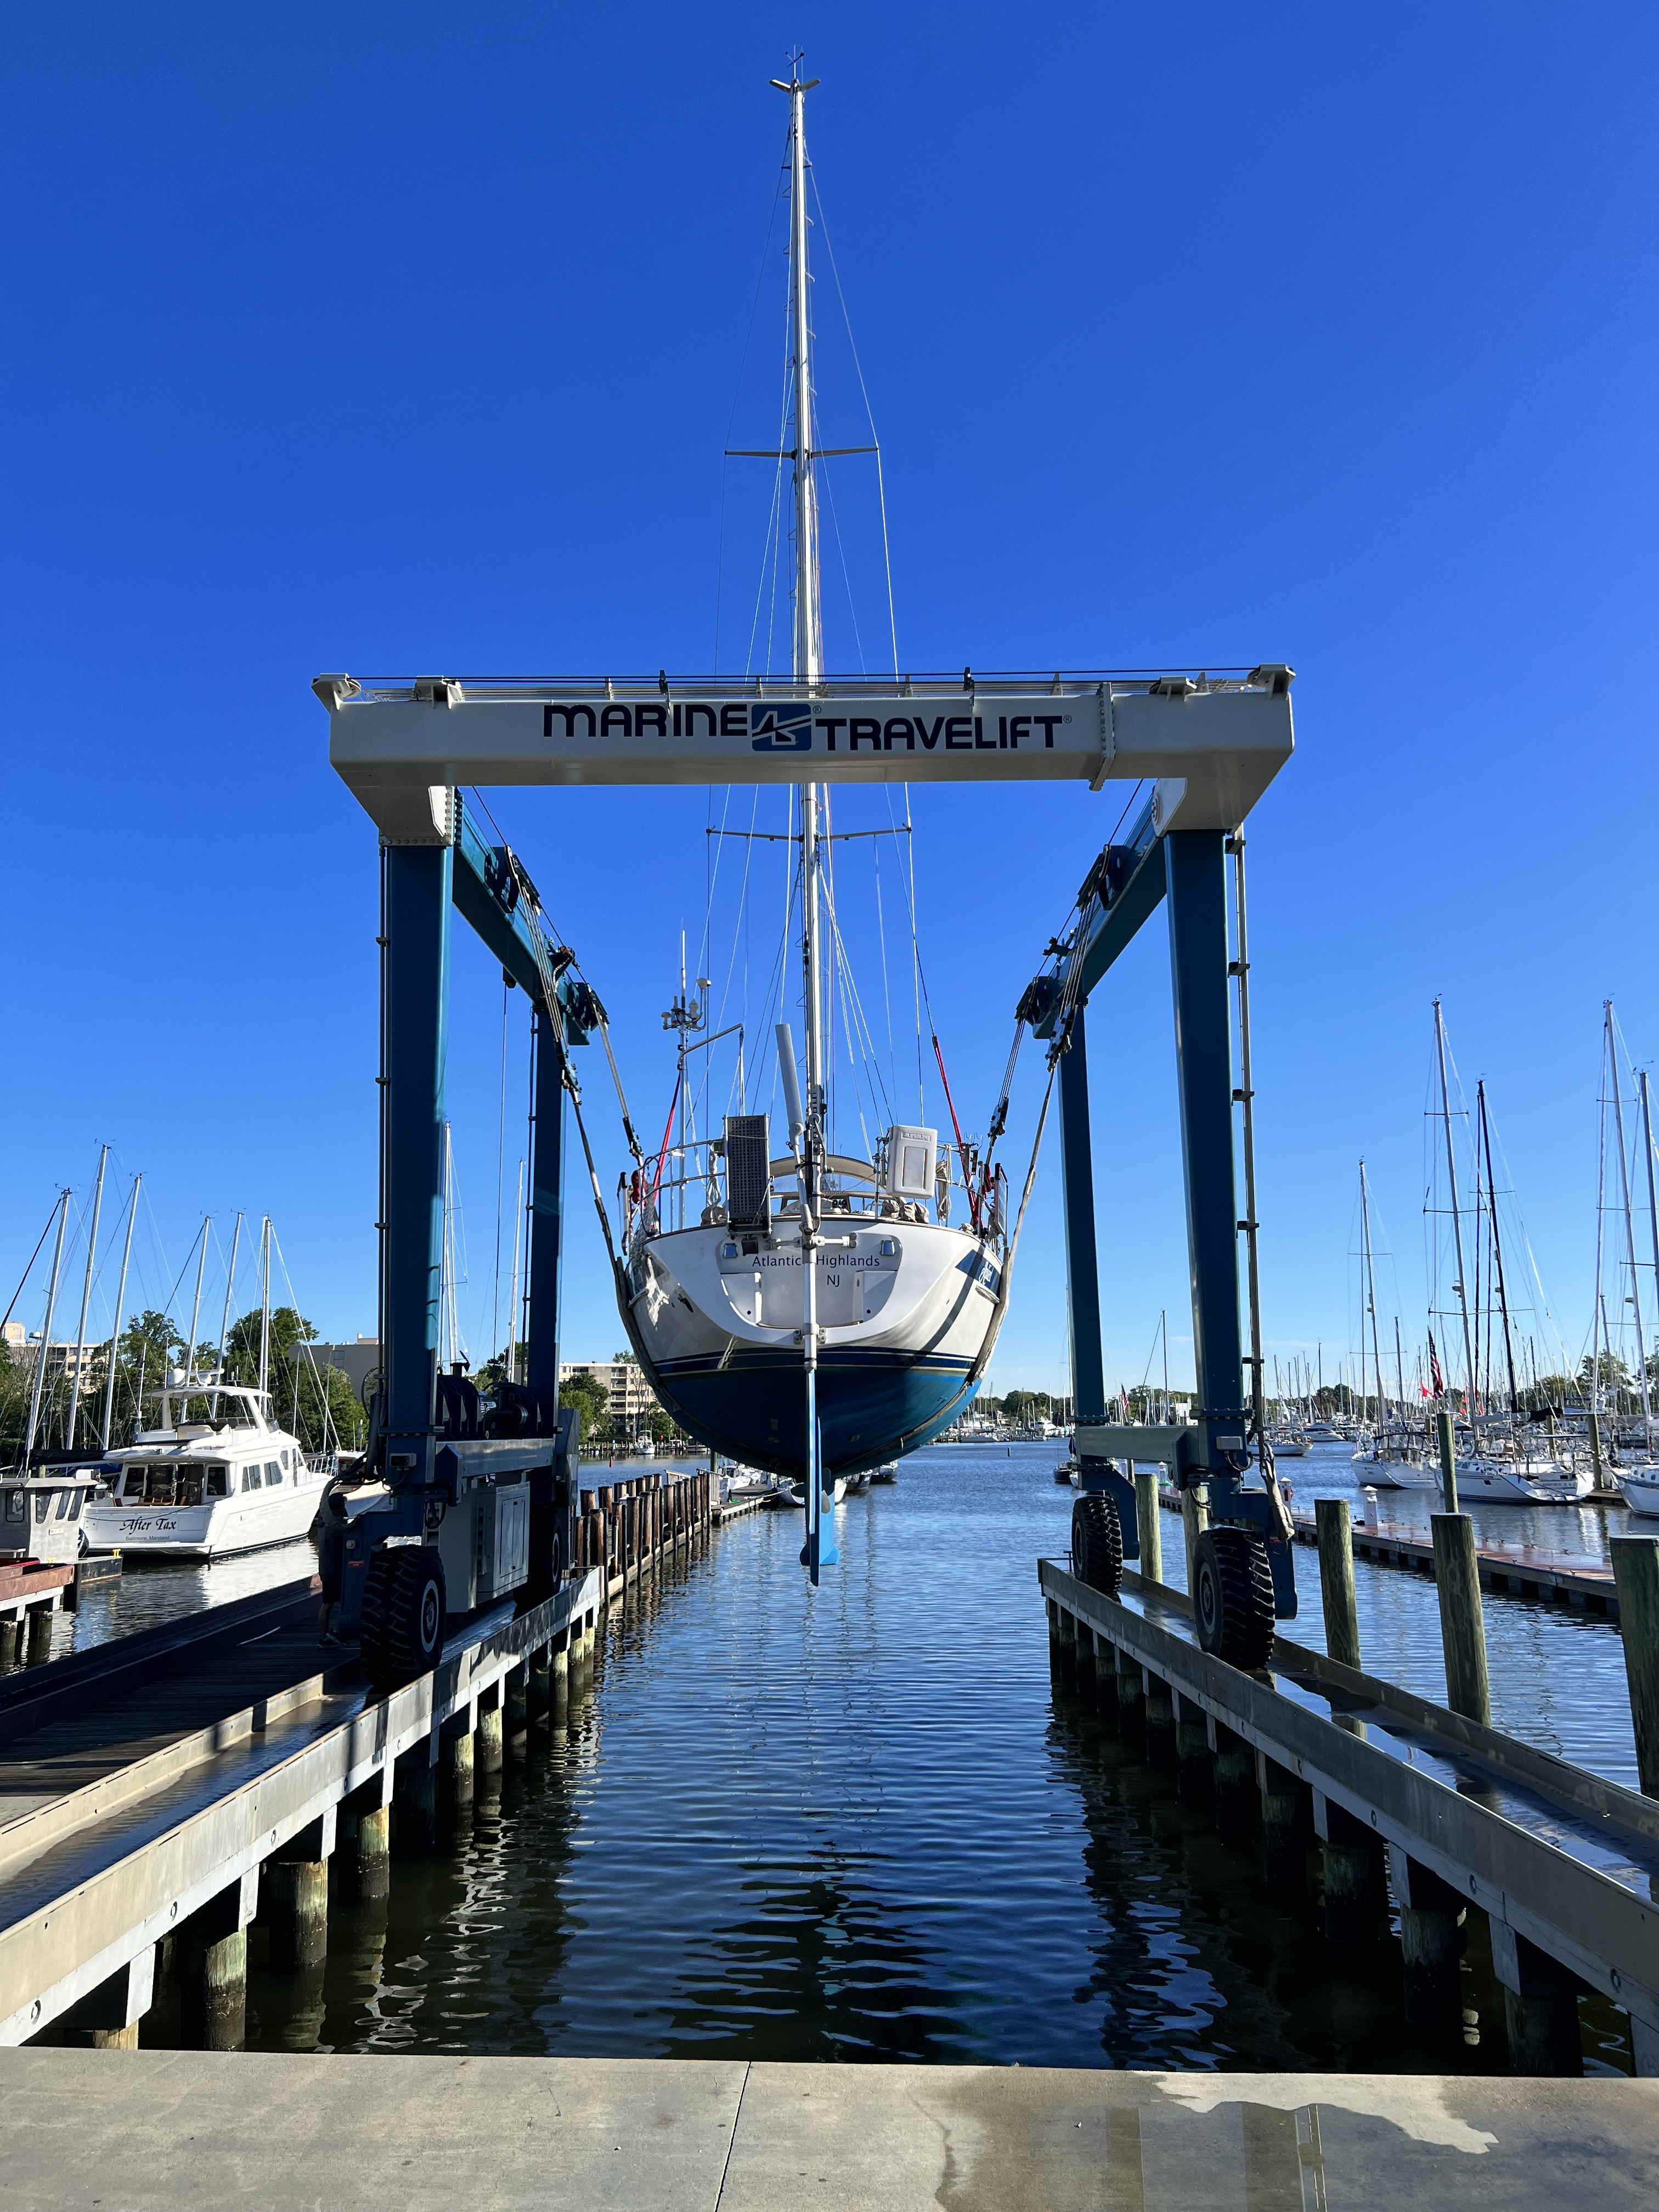
- Step the mast and set the rigging
- Short haul the boat to spray wash the bottom and correct the propeller
- Install the sails and set up the boat for the Summer season
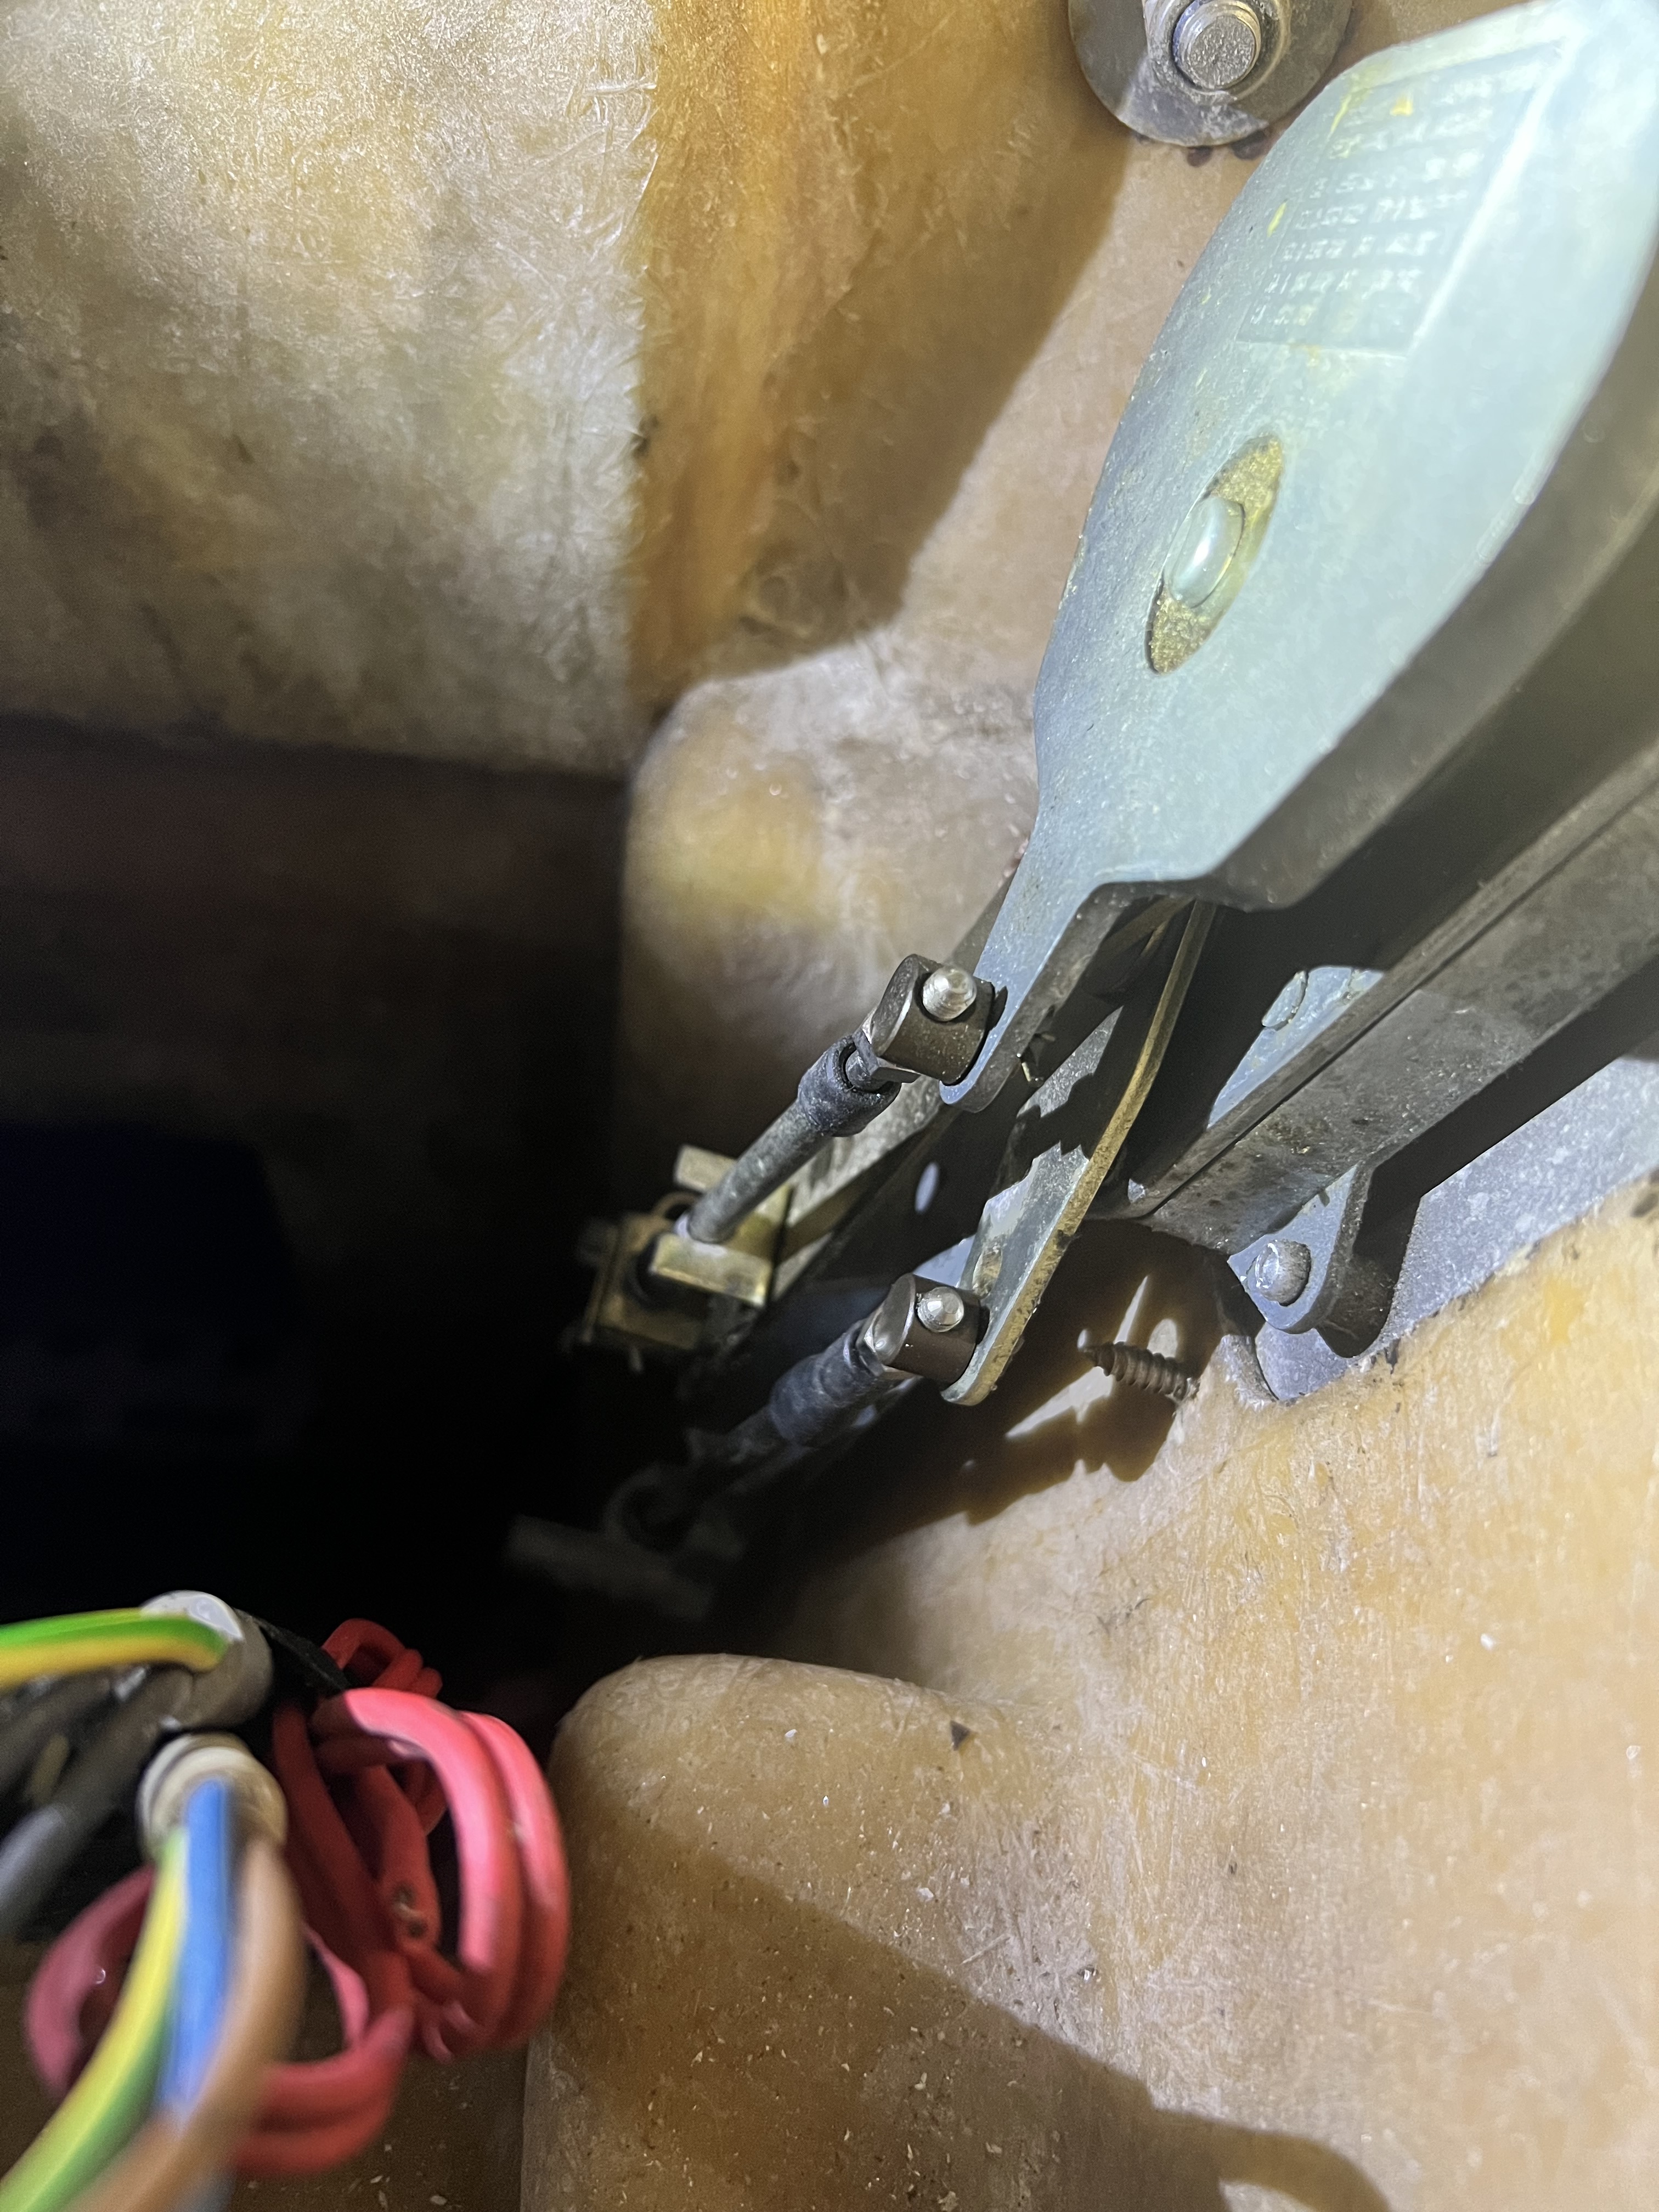
Before we could put the plan into motion, the mast had to be prep’d with the spreaders getting re-installed and the uppers/lowers and Lx/Dx’s installed. The Rigging Co also bored out and shimmed my boom gooseneck and vang plate connection. This stopped all vertical and horizontal slop motion. I can’t wait to test this on a downwind sail. The anenometer, a new VHF antenna and Windex were installed. I waxed the entire mast and fulfilling a last minute request from me, The Rigging Co installed some spreader lights -AND- checked all ball bearings on the mainsail cars and replaced about 80 of them . Very cool!
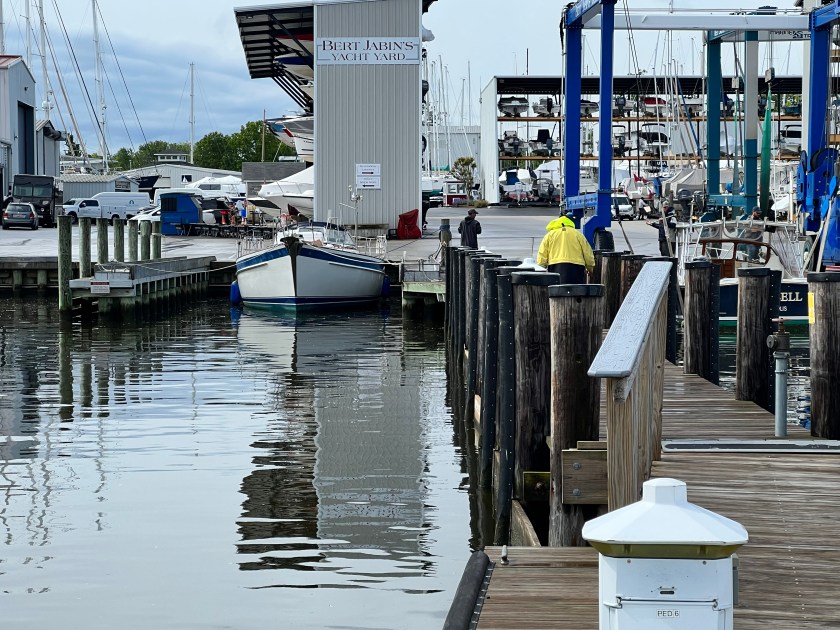
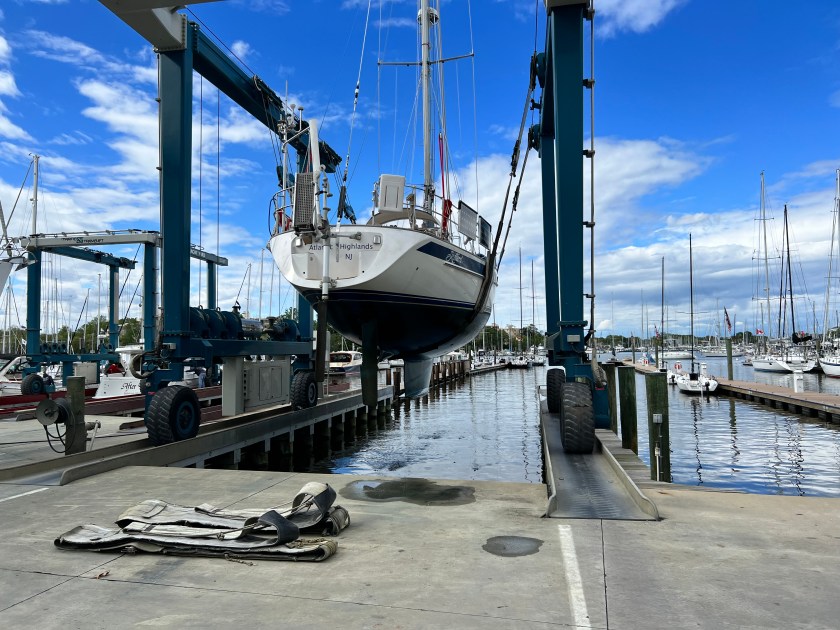
We parked the boat and let the professionals at BJYY do their magic. The Rigging Company guided the process. As expected, this operation is very well managed. The crew spent a little more time than expected troubleshooting something, which caused us to run out of time in the marina bay where we were parked. That meant that we had to move the boat with the rig partially complete so that we could get the short haul before the crew went home for the evening. I had to live with the notion that the rigging setup and tune would have to be completed after we are back in the water. Since the mast and rigging was secured well, we shoved off and moved the boat a few hundred feet to the lift bay.
Here are the projects lead by The Rigging Co:
100% new running rigging (except reef 1/2 and the genoa sheets)
100% pin-to-pin standing rigging
100% new electrical cabling
Replaced 100% of the mainsail track with new
Cleaned and replaced ball bearings in the mainsail cars
Replaced the aluminum radar bracket with a stainless steel one from Kato
Replaced the PA horn with a new one from Standard Horizon
Replaced the steaming/deck light with a Forespar ML-2
Removed the original anchor light
Replaced the VHF antenna and Windex
Added LED spreader lights
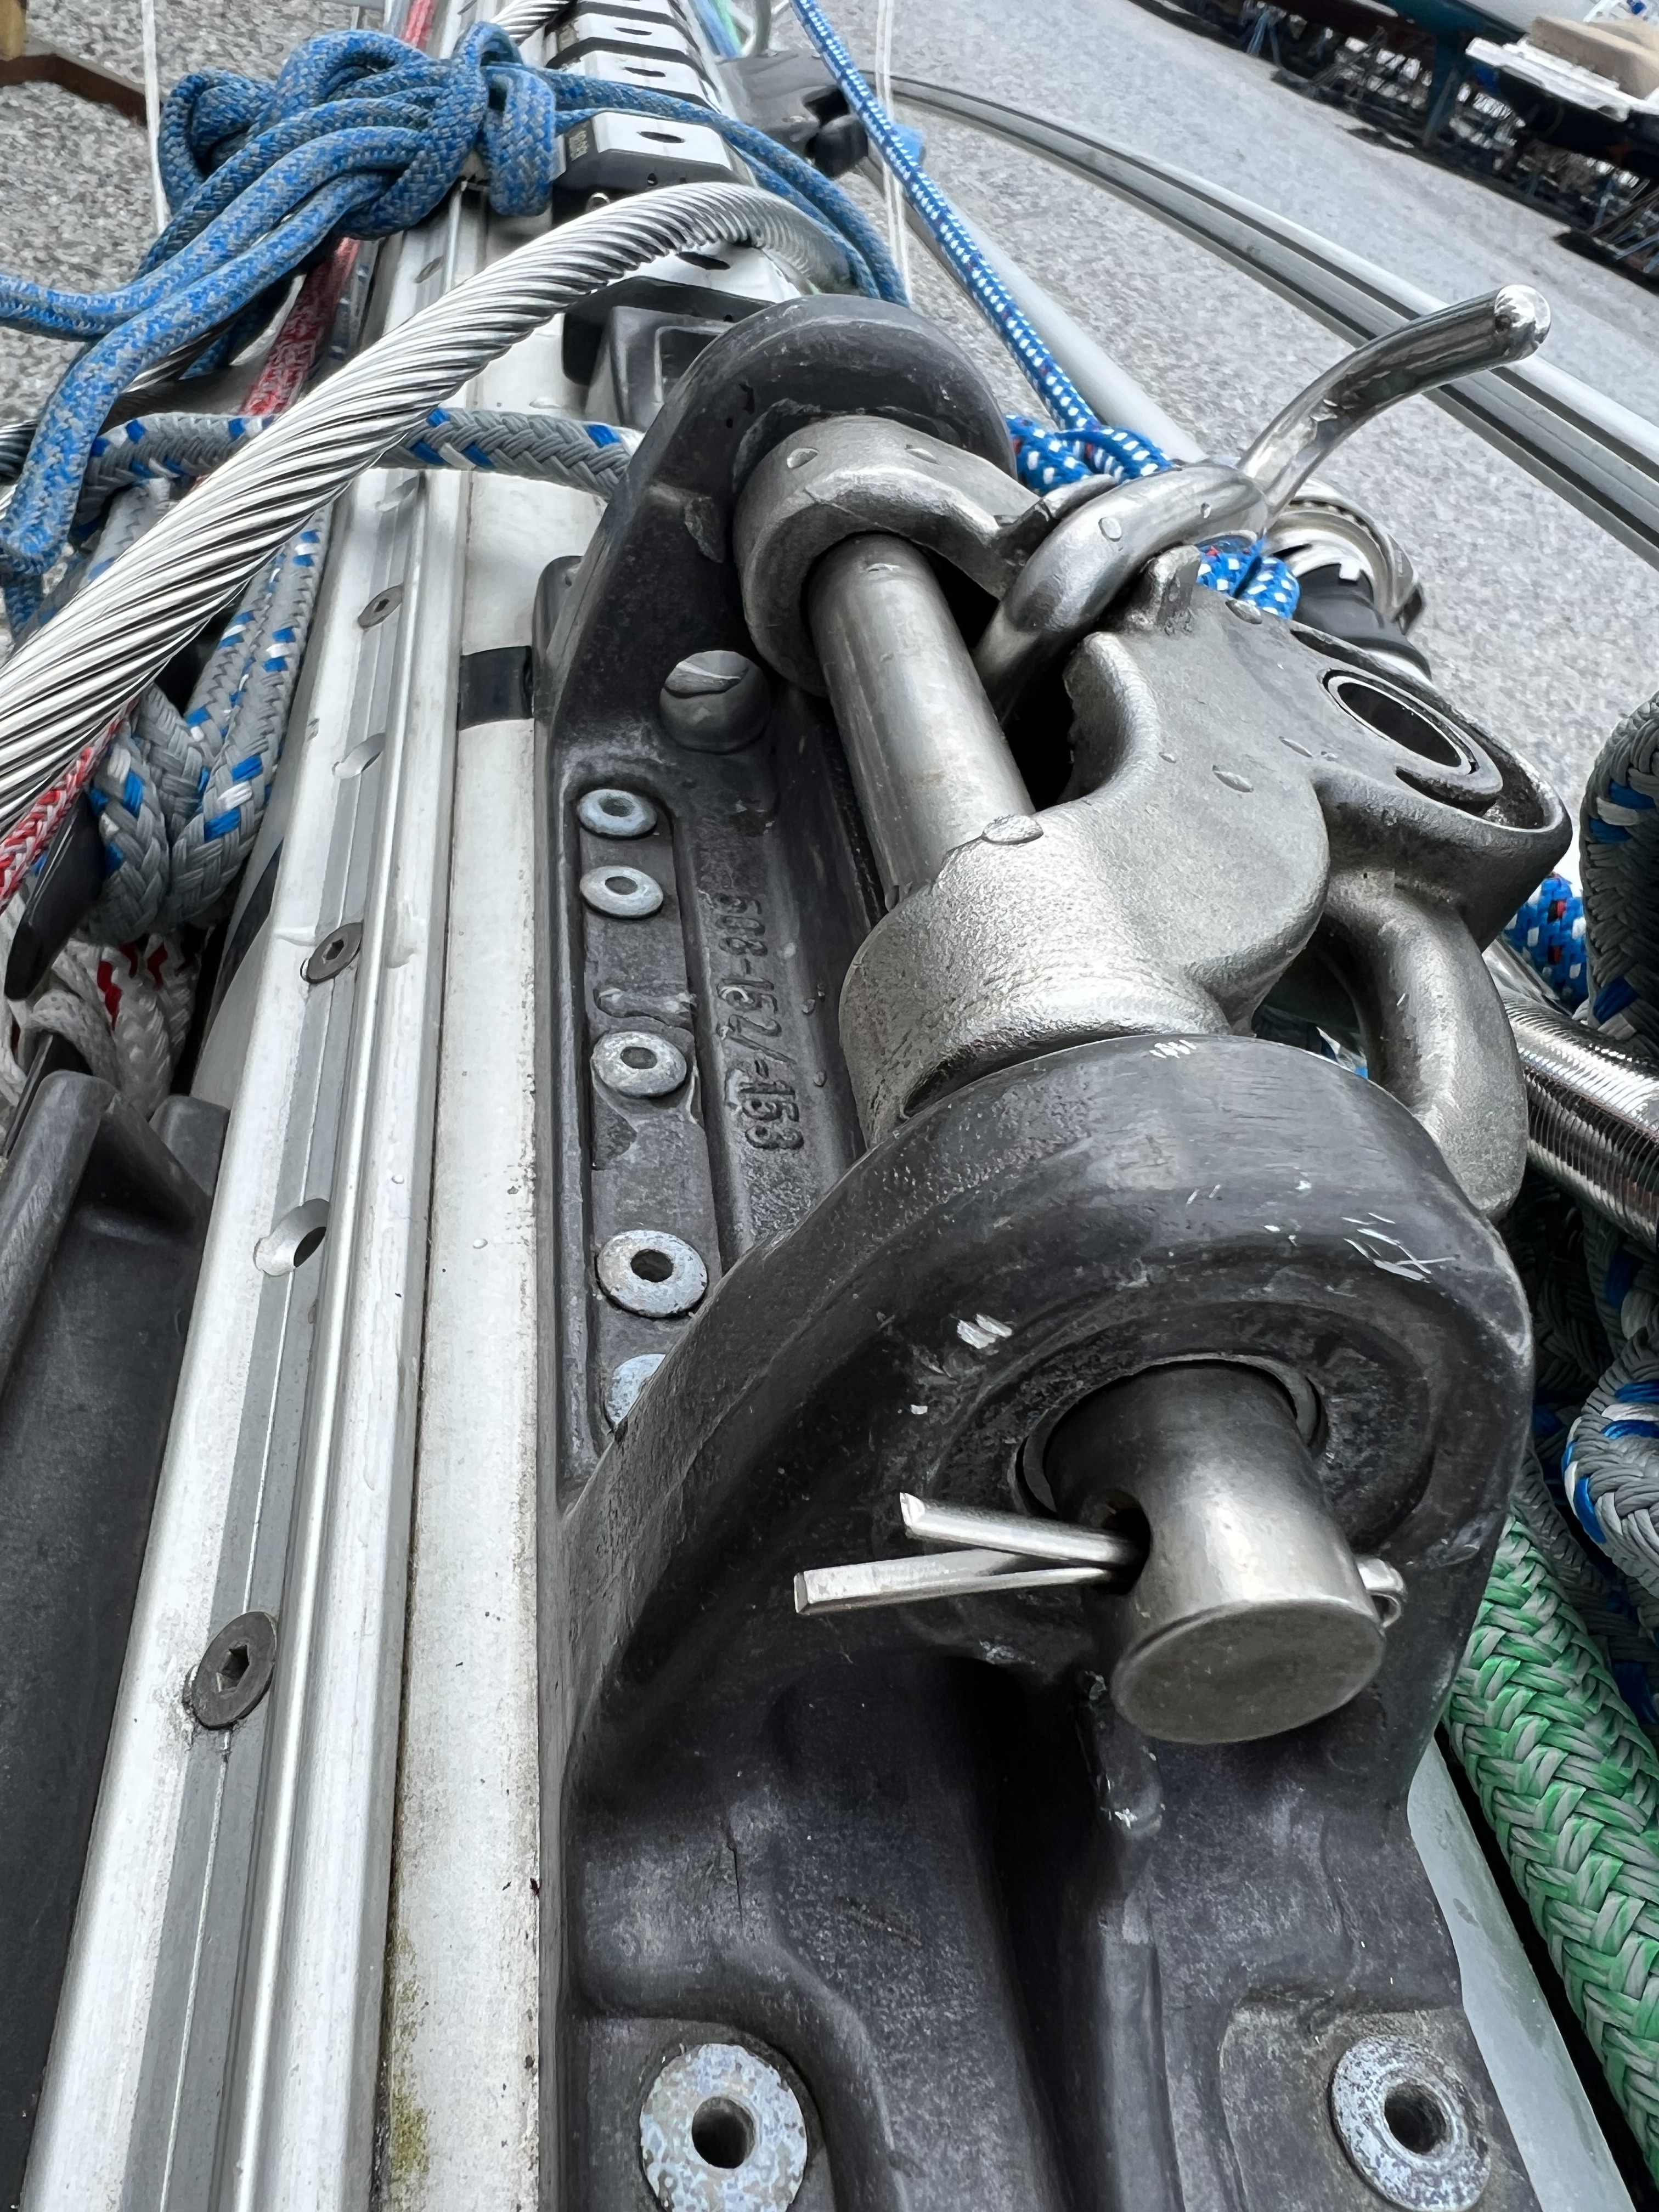
Bored out and shimmed the gooseneck and vang connections
Replaced the mast kicker slider which connects the upper vang to the boom
Replaced the genoa furler with new Furlex 400S
Rebuilt/greased the solent/jib Furlex 300
Rebuilt the Navtec backstay adjuster (*note…work in progress)
Early into this project and with all of these refit projects and several $000 of investments happening, The Rigging Co (TRC) notified me that the original Furlex 400 needed to be replaced. I had to decide whether we would stick with Selden or if we would choose Harken, but TRC advised that we keep Selden as that is original and matches all of the boat key rigging equipment. Then I had to decide if we would replace with another manual furler or upgrade to an electric furler. The choice I made to stay with manual was based on budget rather than desire. As a wish list item, I would upgrade both of my furlers to electric versions in the future. I would say the desire is very high to upgrade the Genoa furler, because of the Solent rig design and the amount of work it takes to manually crank in the Genoa using my Lewmar 44ST mounted at the cockpit. Note that I also made that decision knowing that I have a Milwaukee 28V right-angle drive at-the-ready and aboard Skyward.
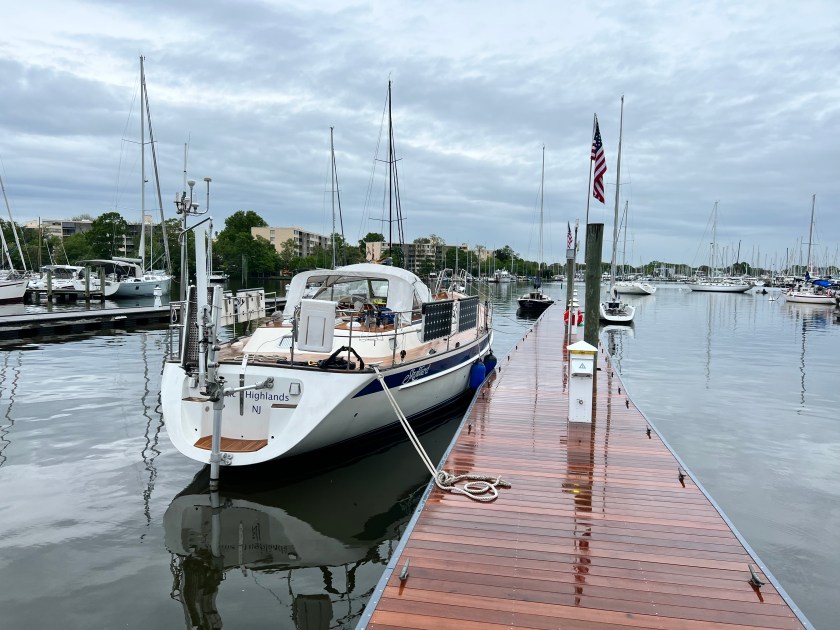
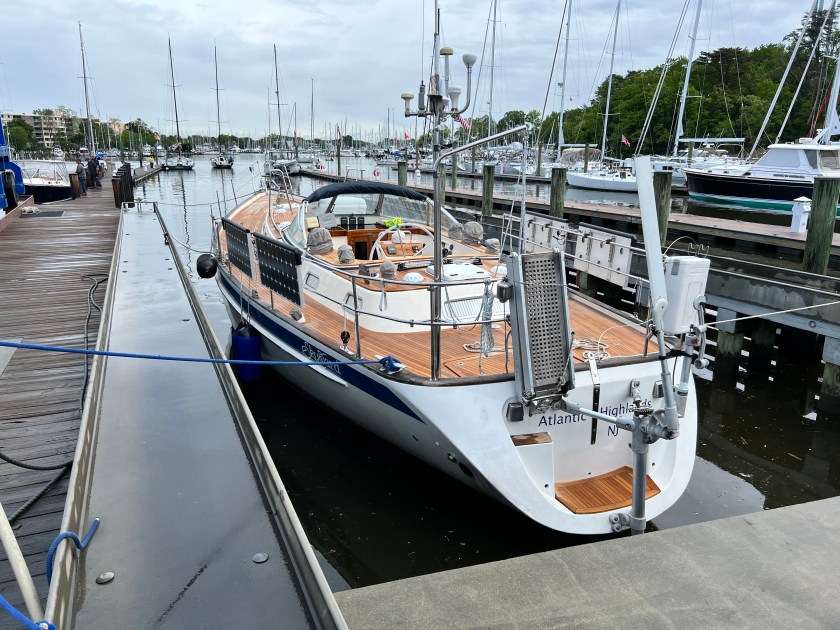
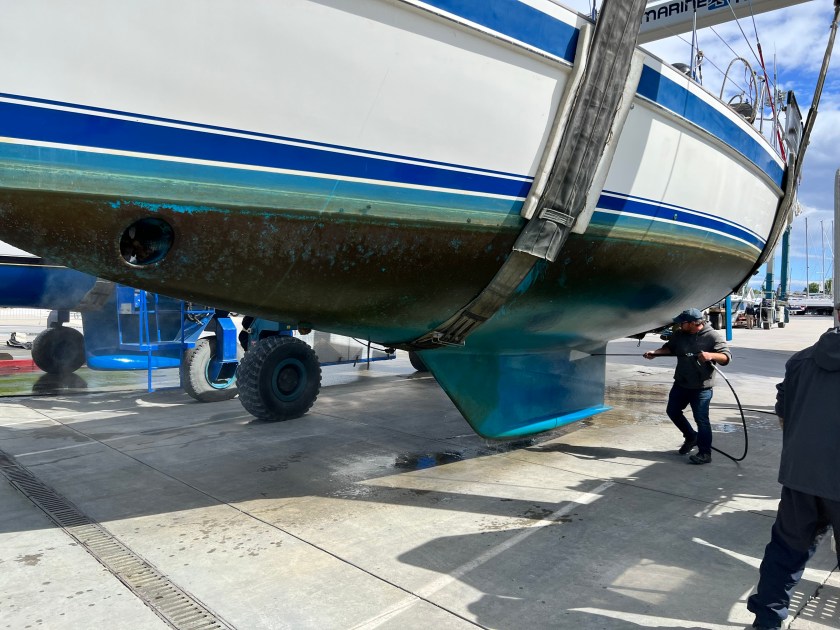
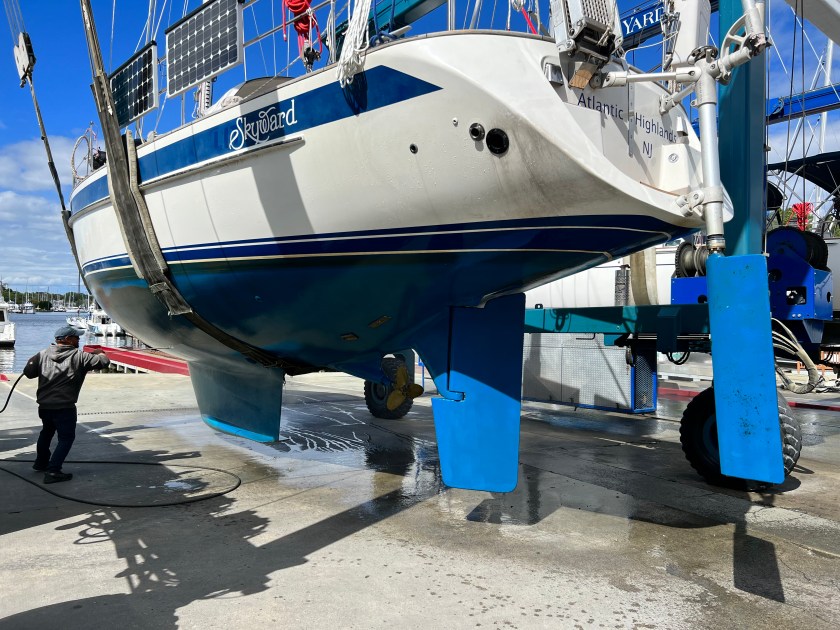
Once the rig was set in place and secured, we scooted the boat over to the next bay for an overnight haulout. BJYY lifted Skyward and completed a much-needed spray down. The boat was sitting on a T-dock at Liberty Marina from 11/1/2022 through about 4/1/2023. The bottom didn’t look so bad, and there was only a small amount of film/scum on the hull. Petit Trinidad SR (“Slide Resistant”) seems to be a good ablative paint for the Chesapeake. I heard two rumors about the Blue color; a) it was pulled off the market during COVID due to supply chain issues making it difficult to source a chemical raw material, and b) that the regulations had changed and forced this product off the market due to a chemical raw material ingredient in the formulation.
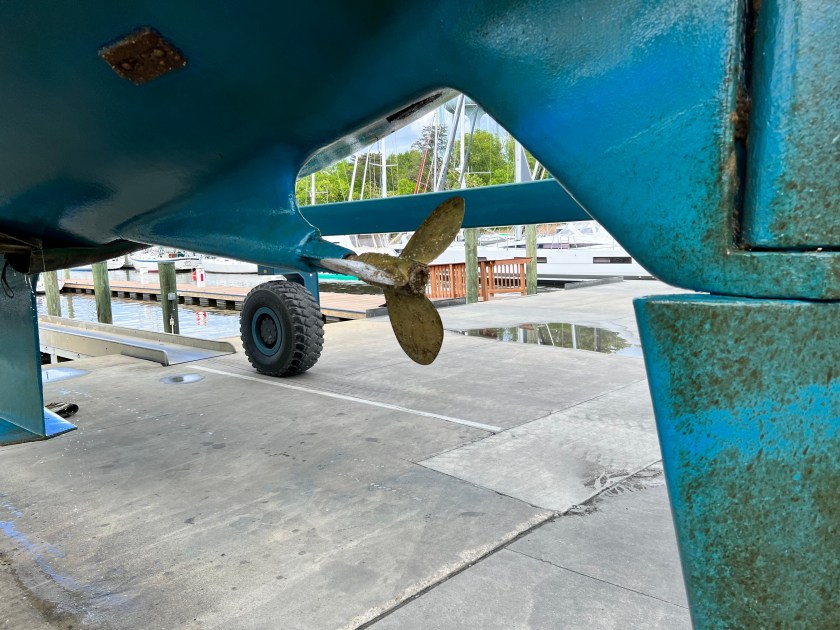
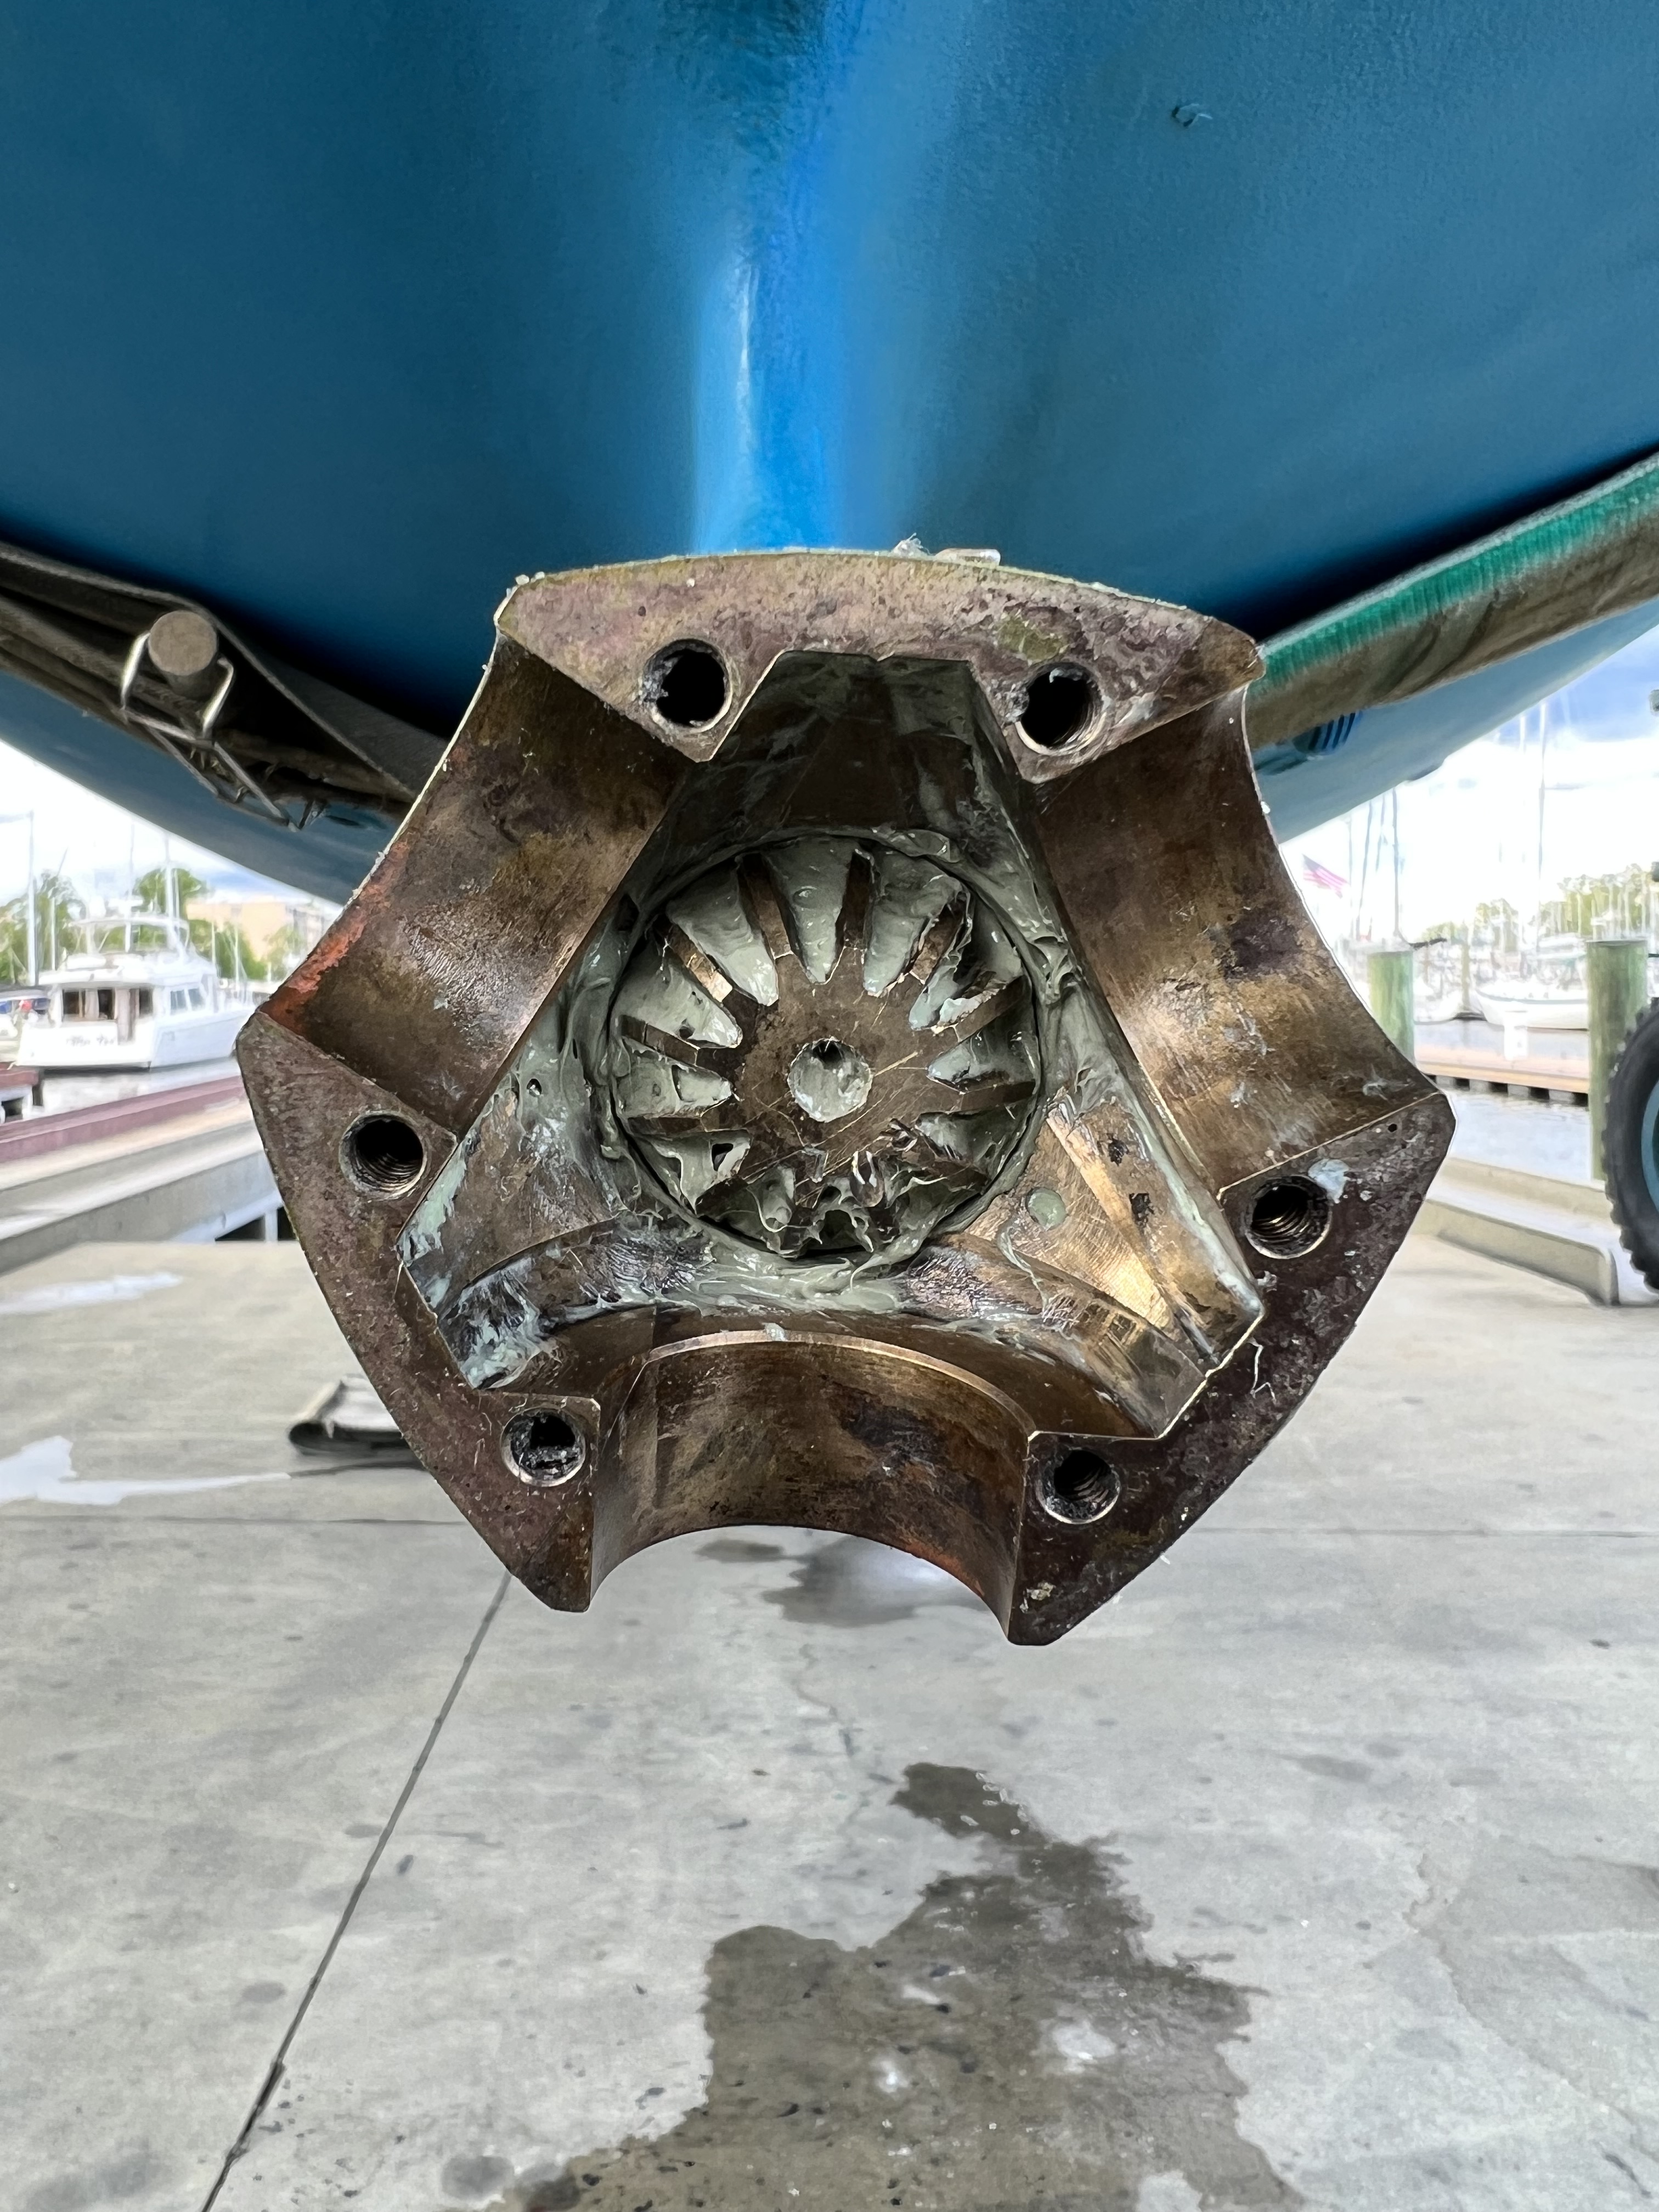
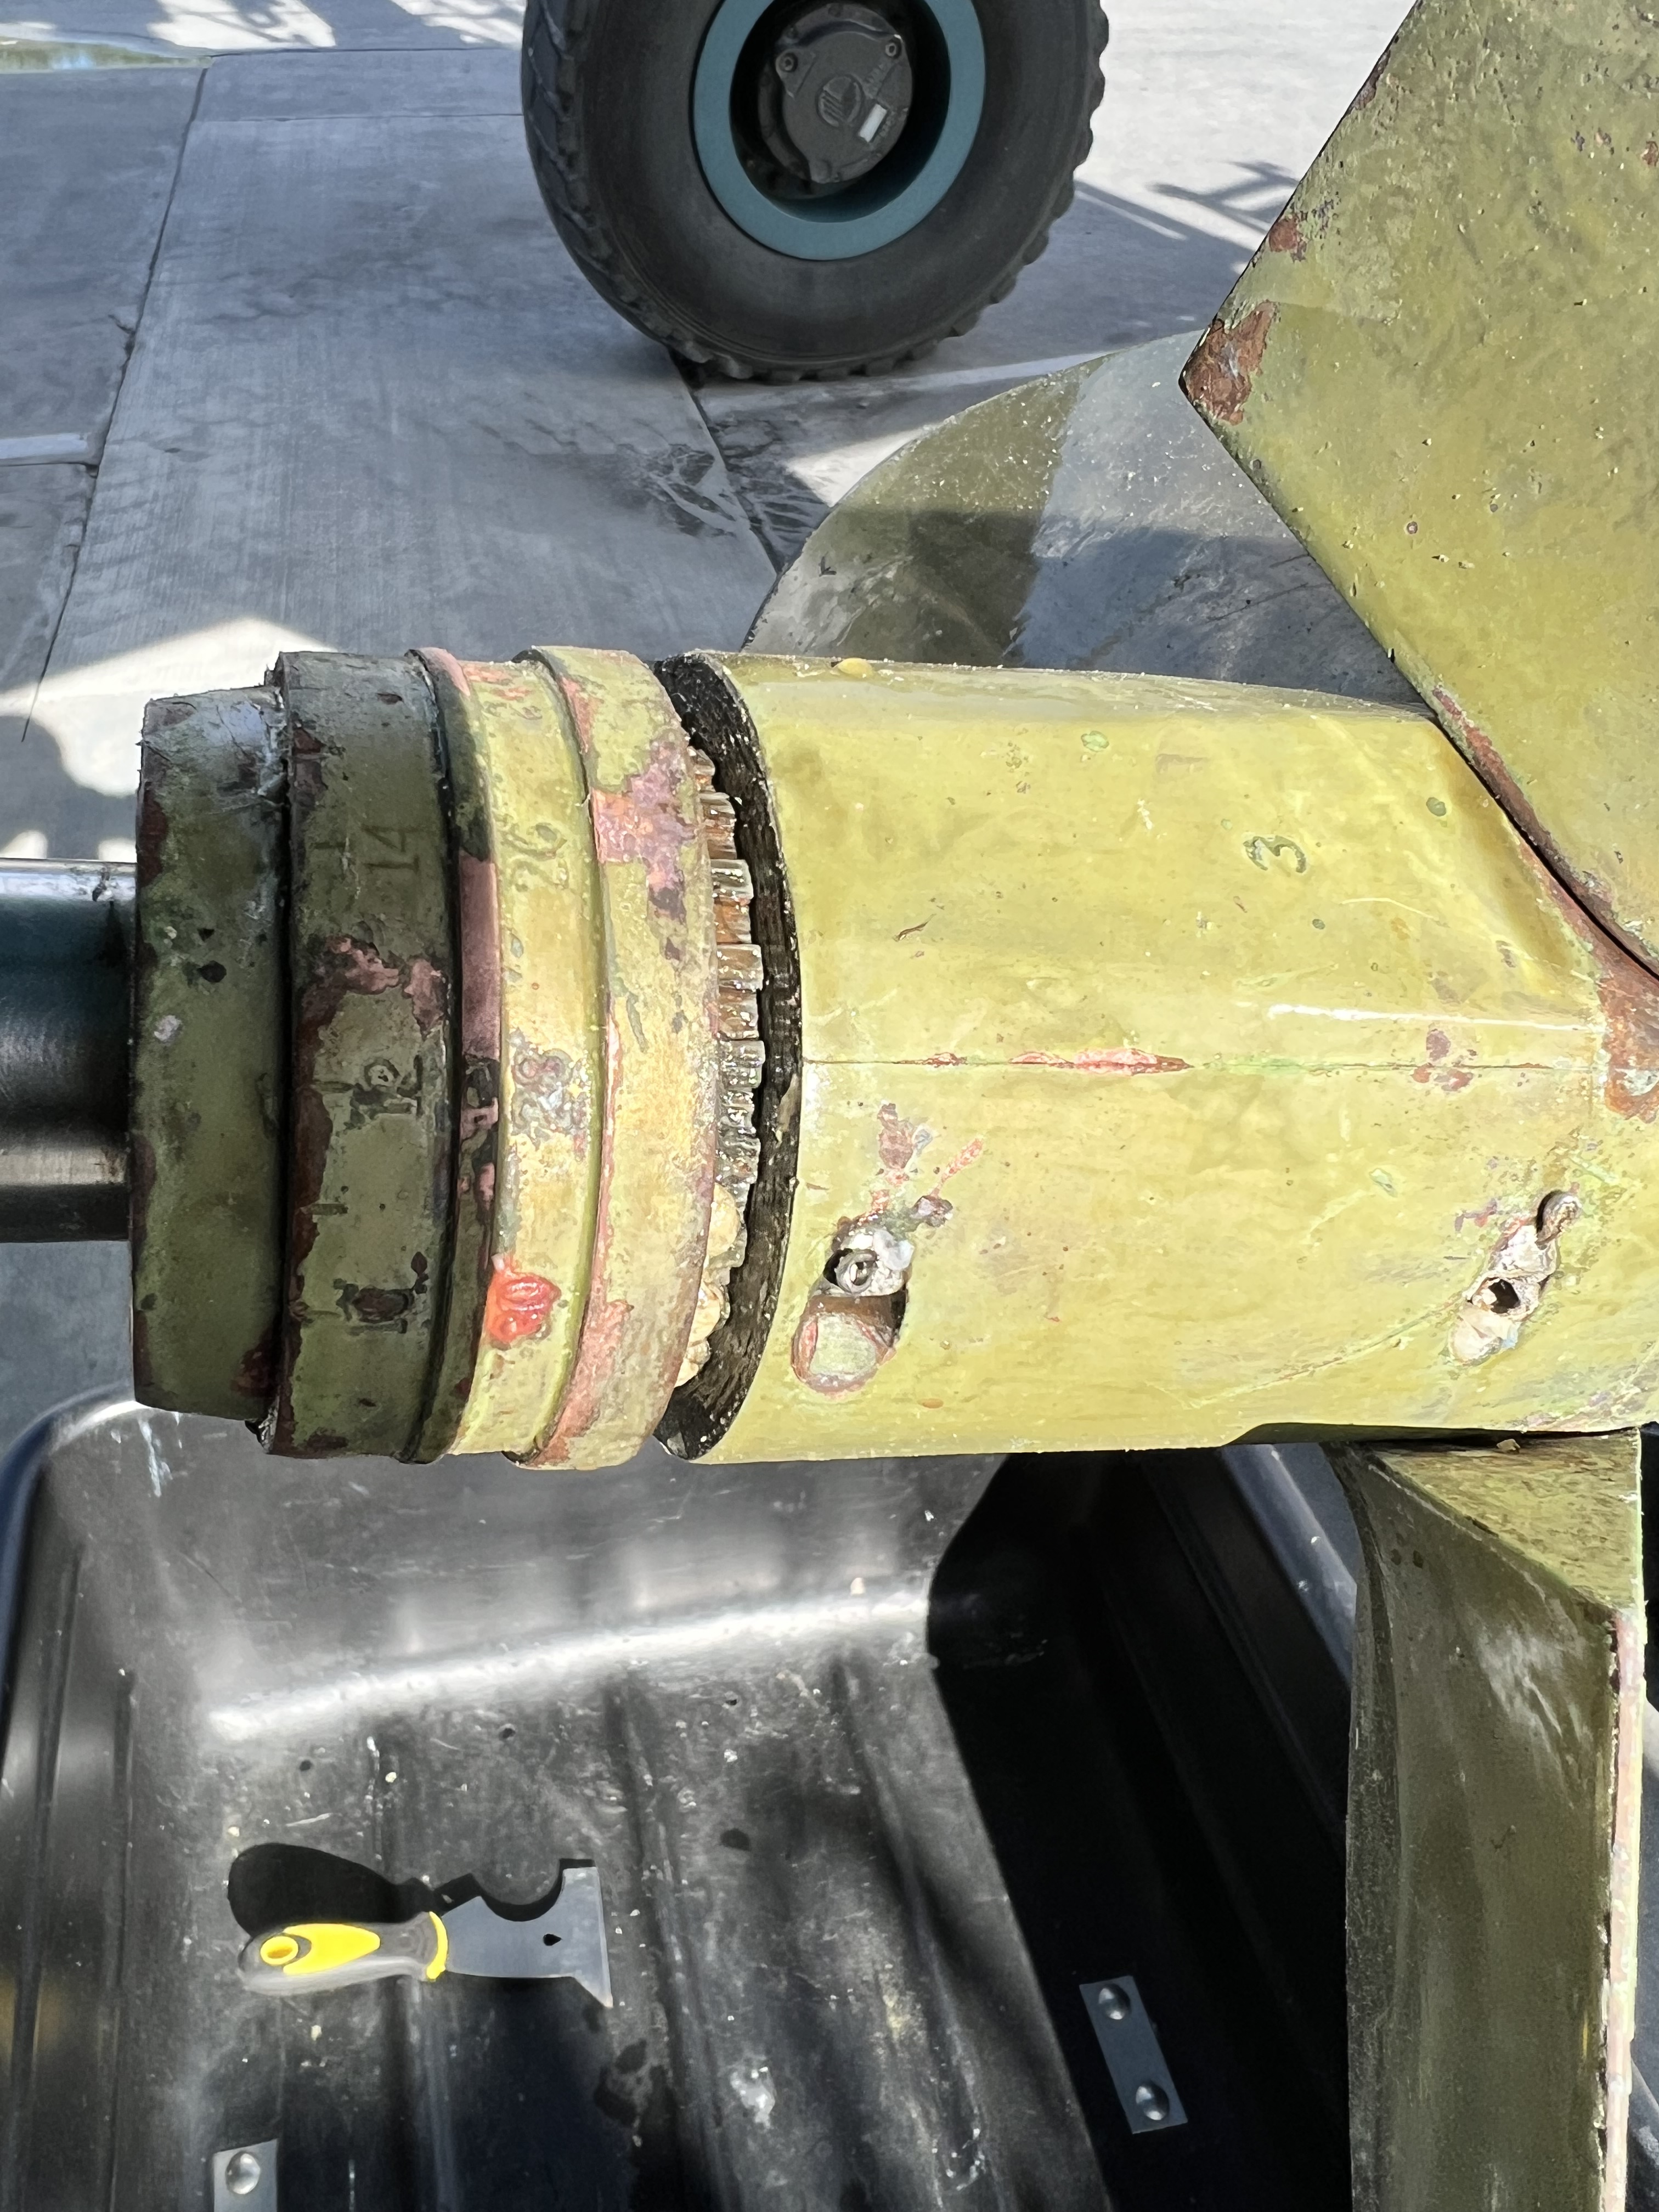
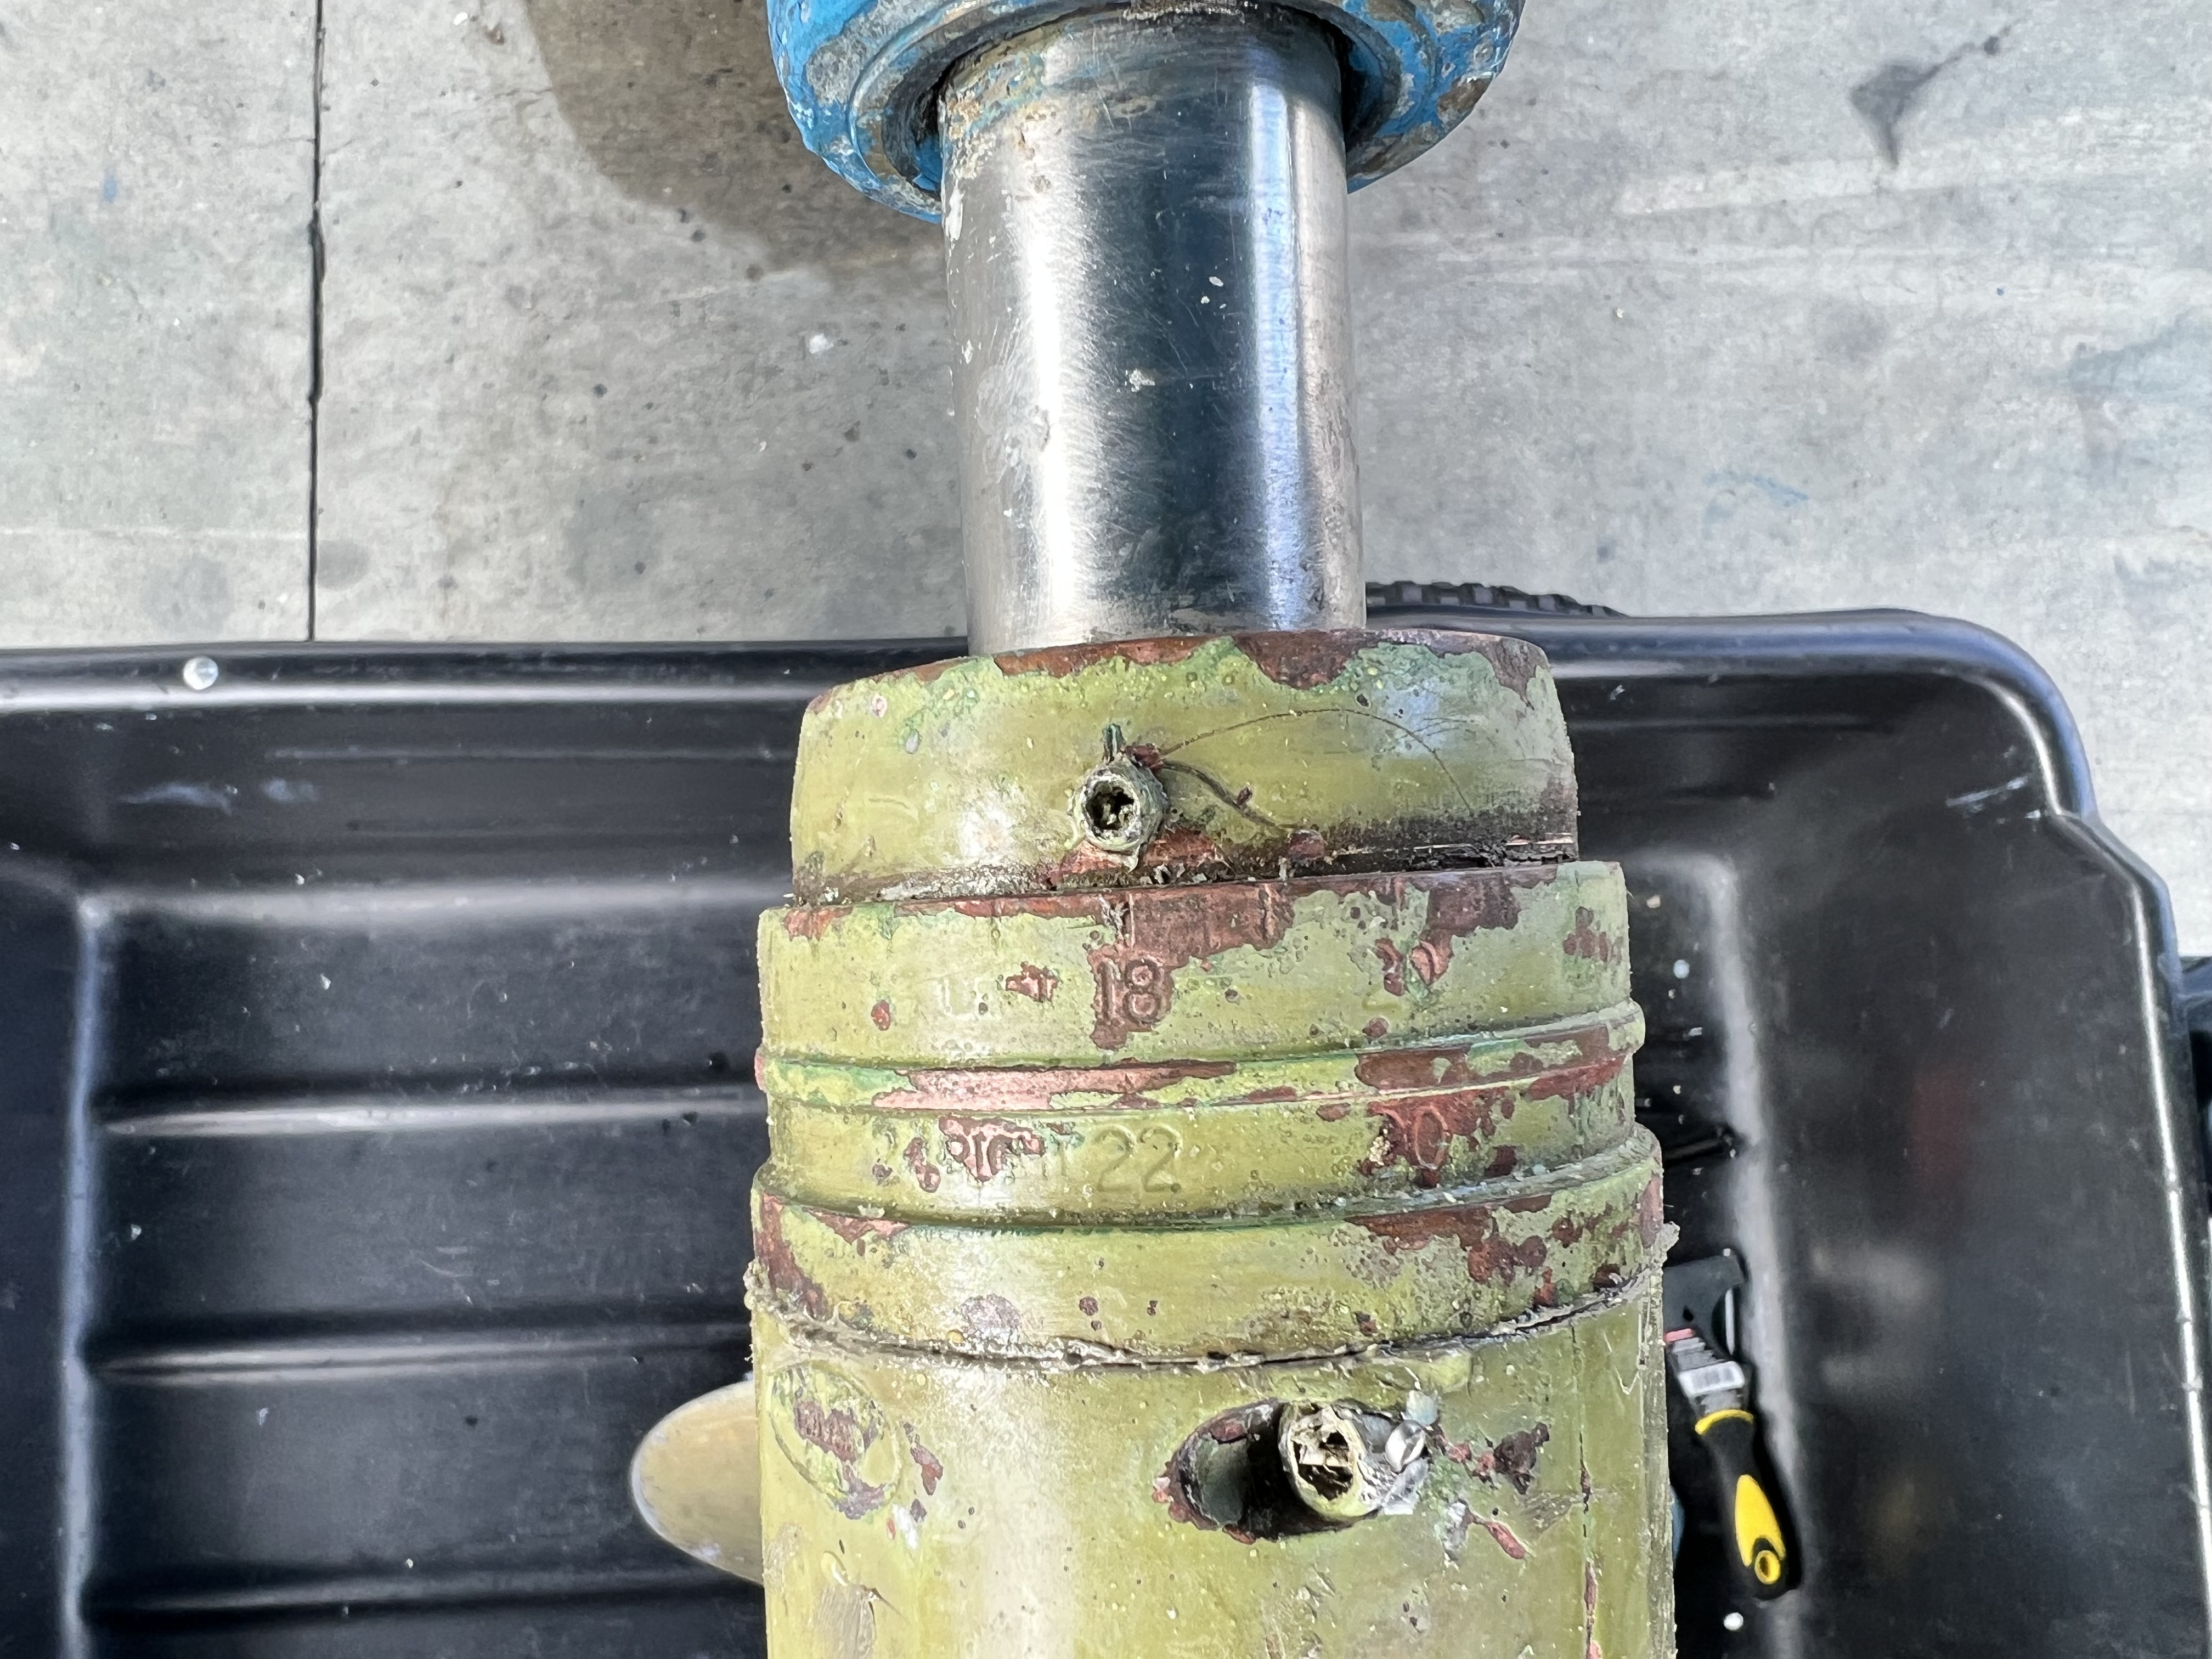
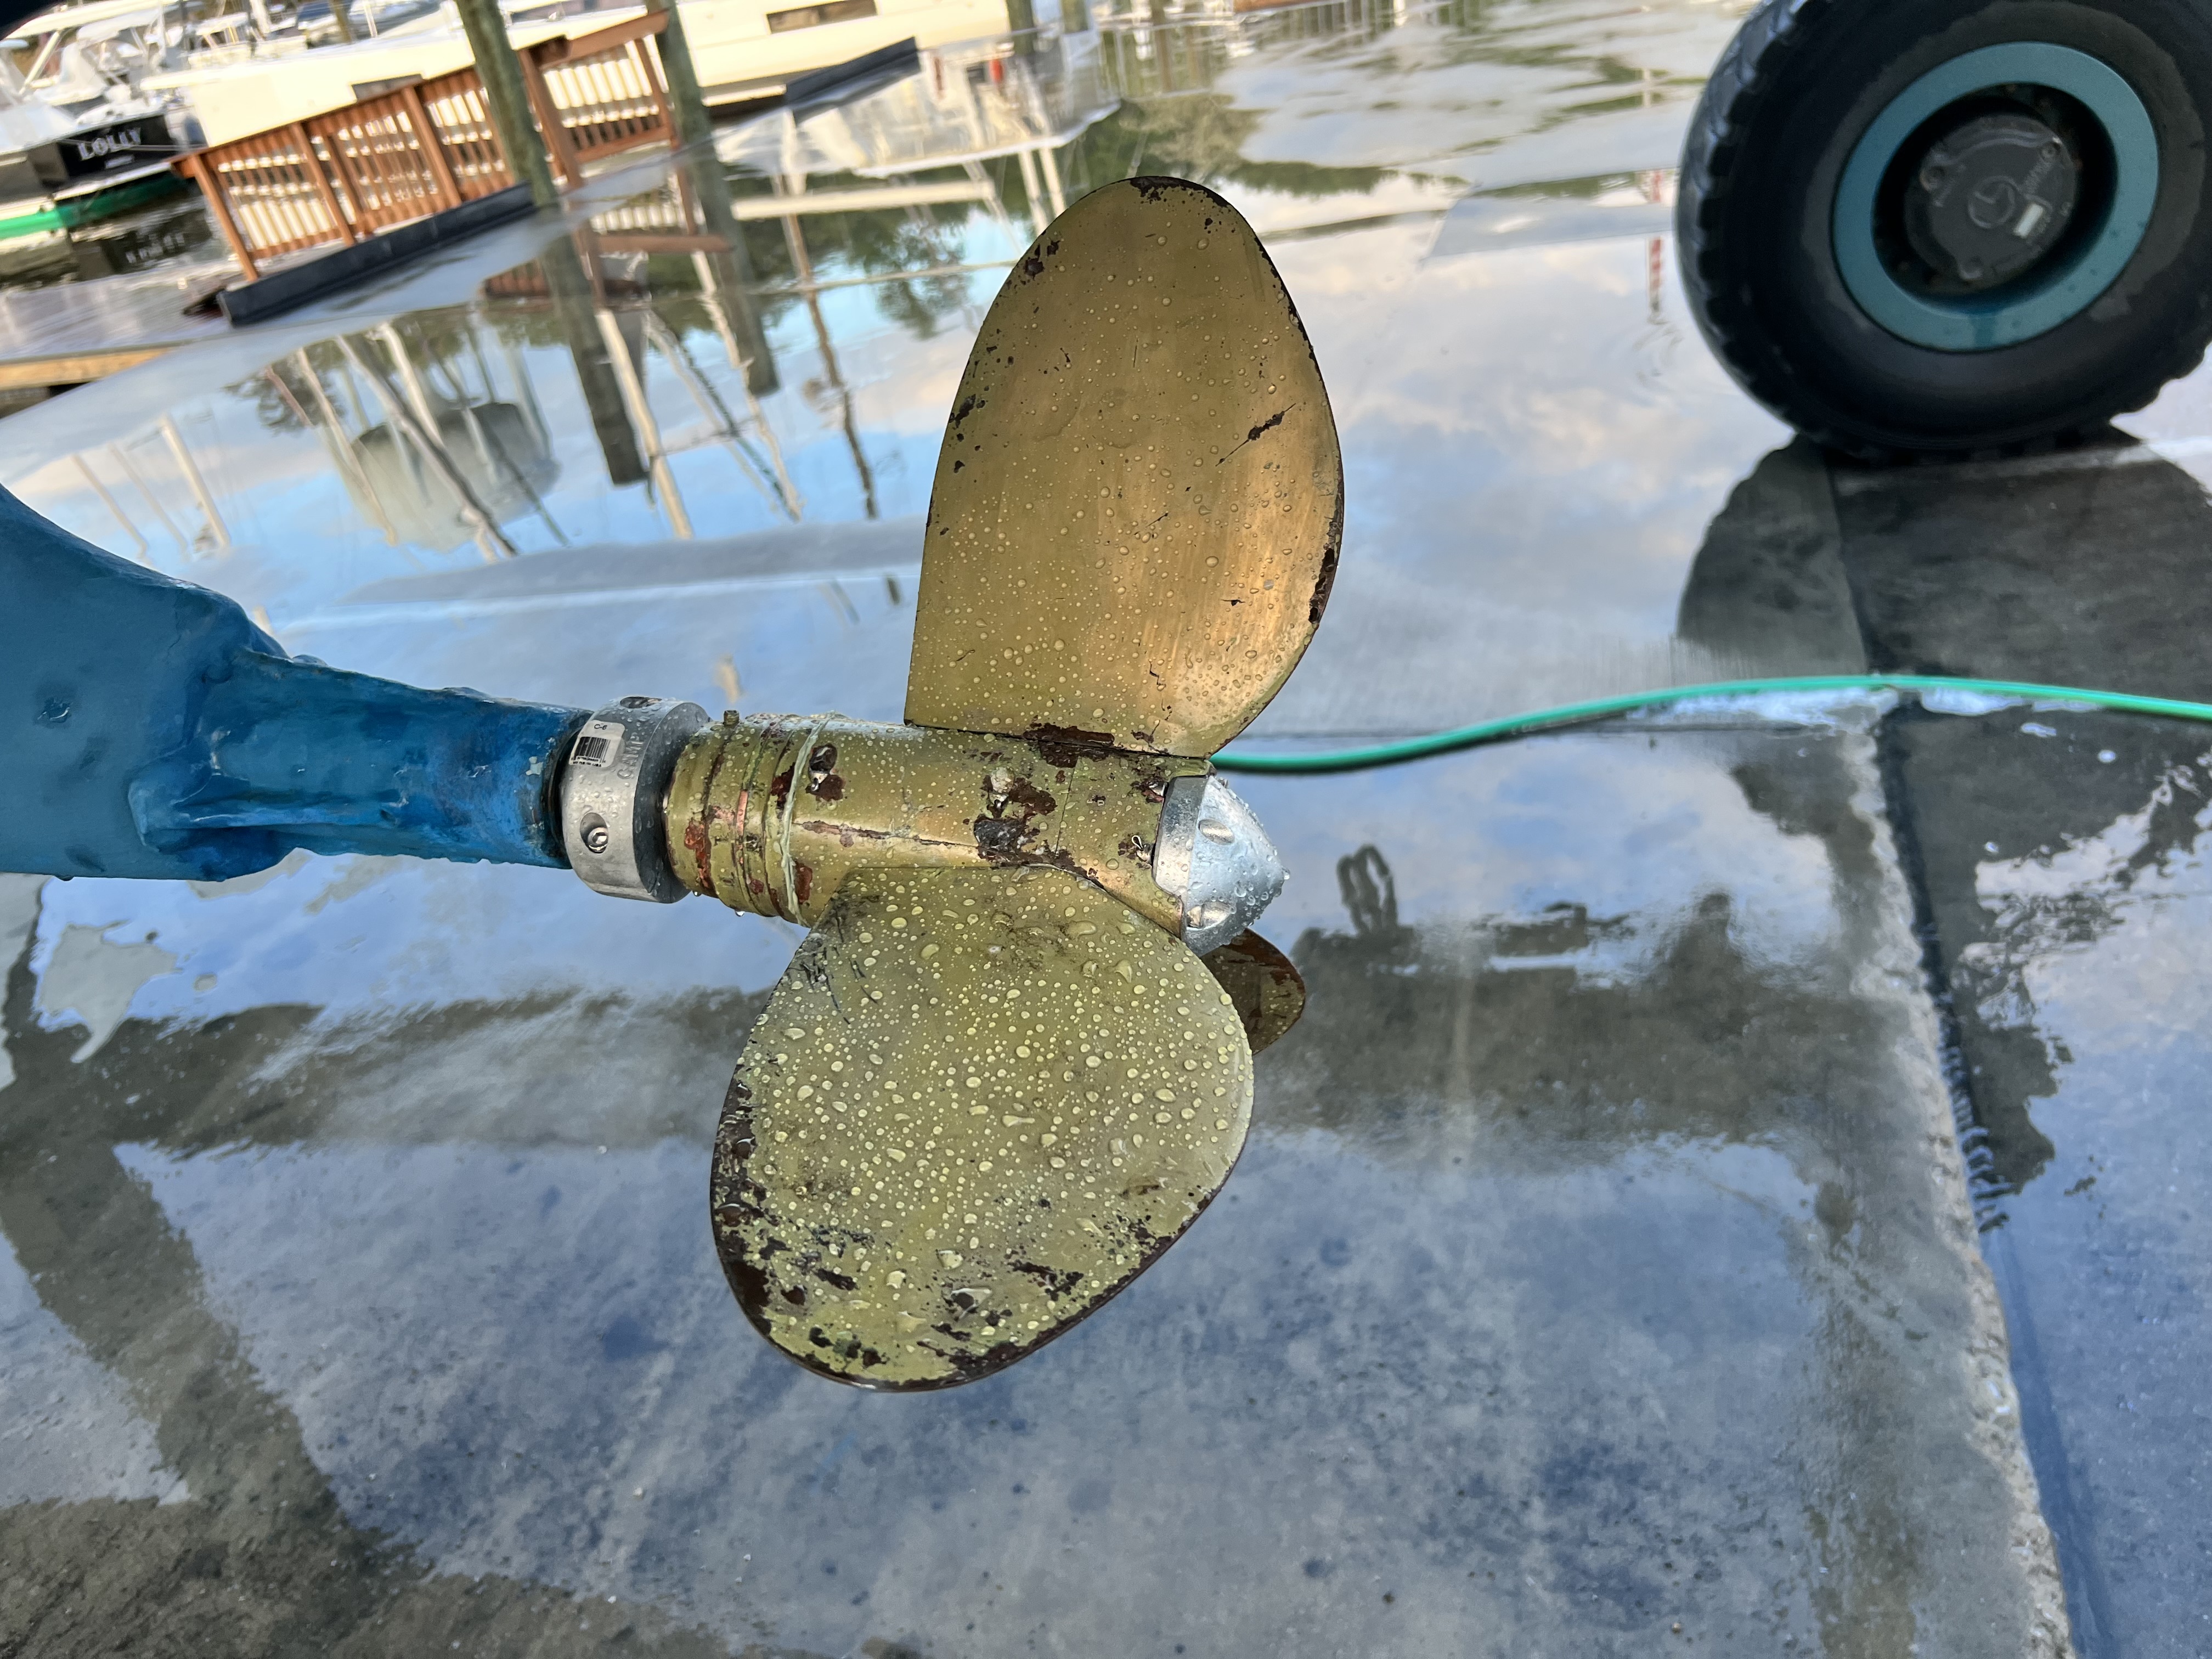
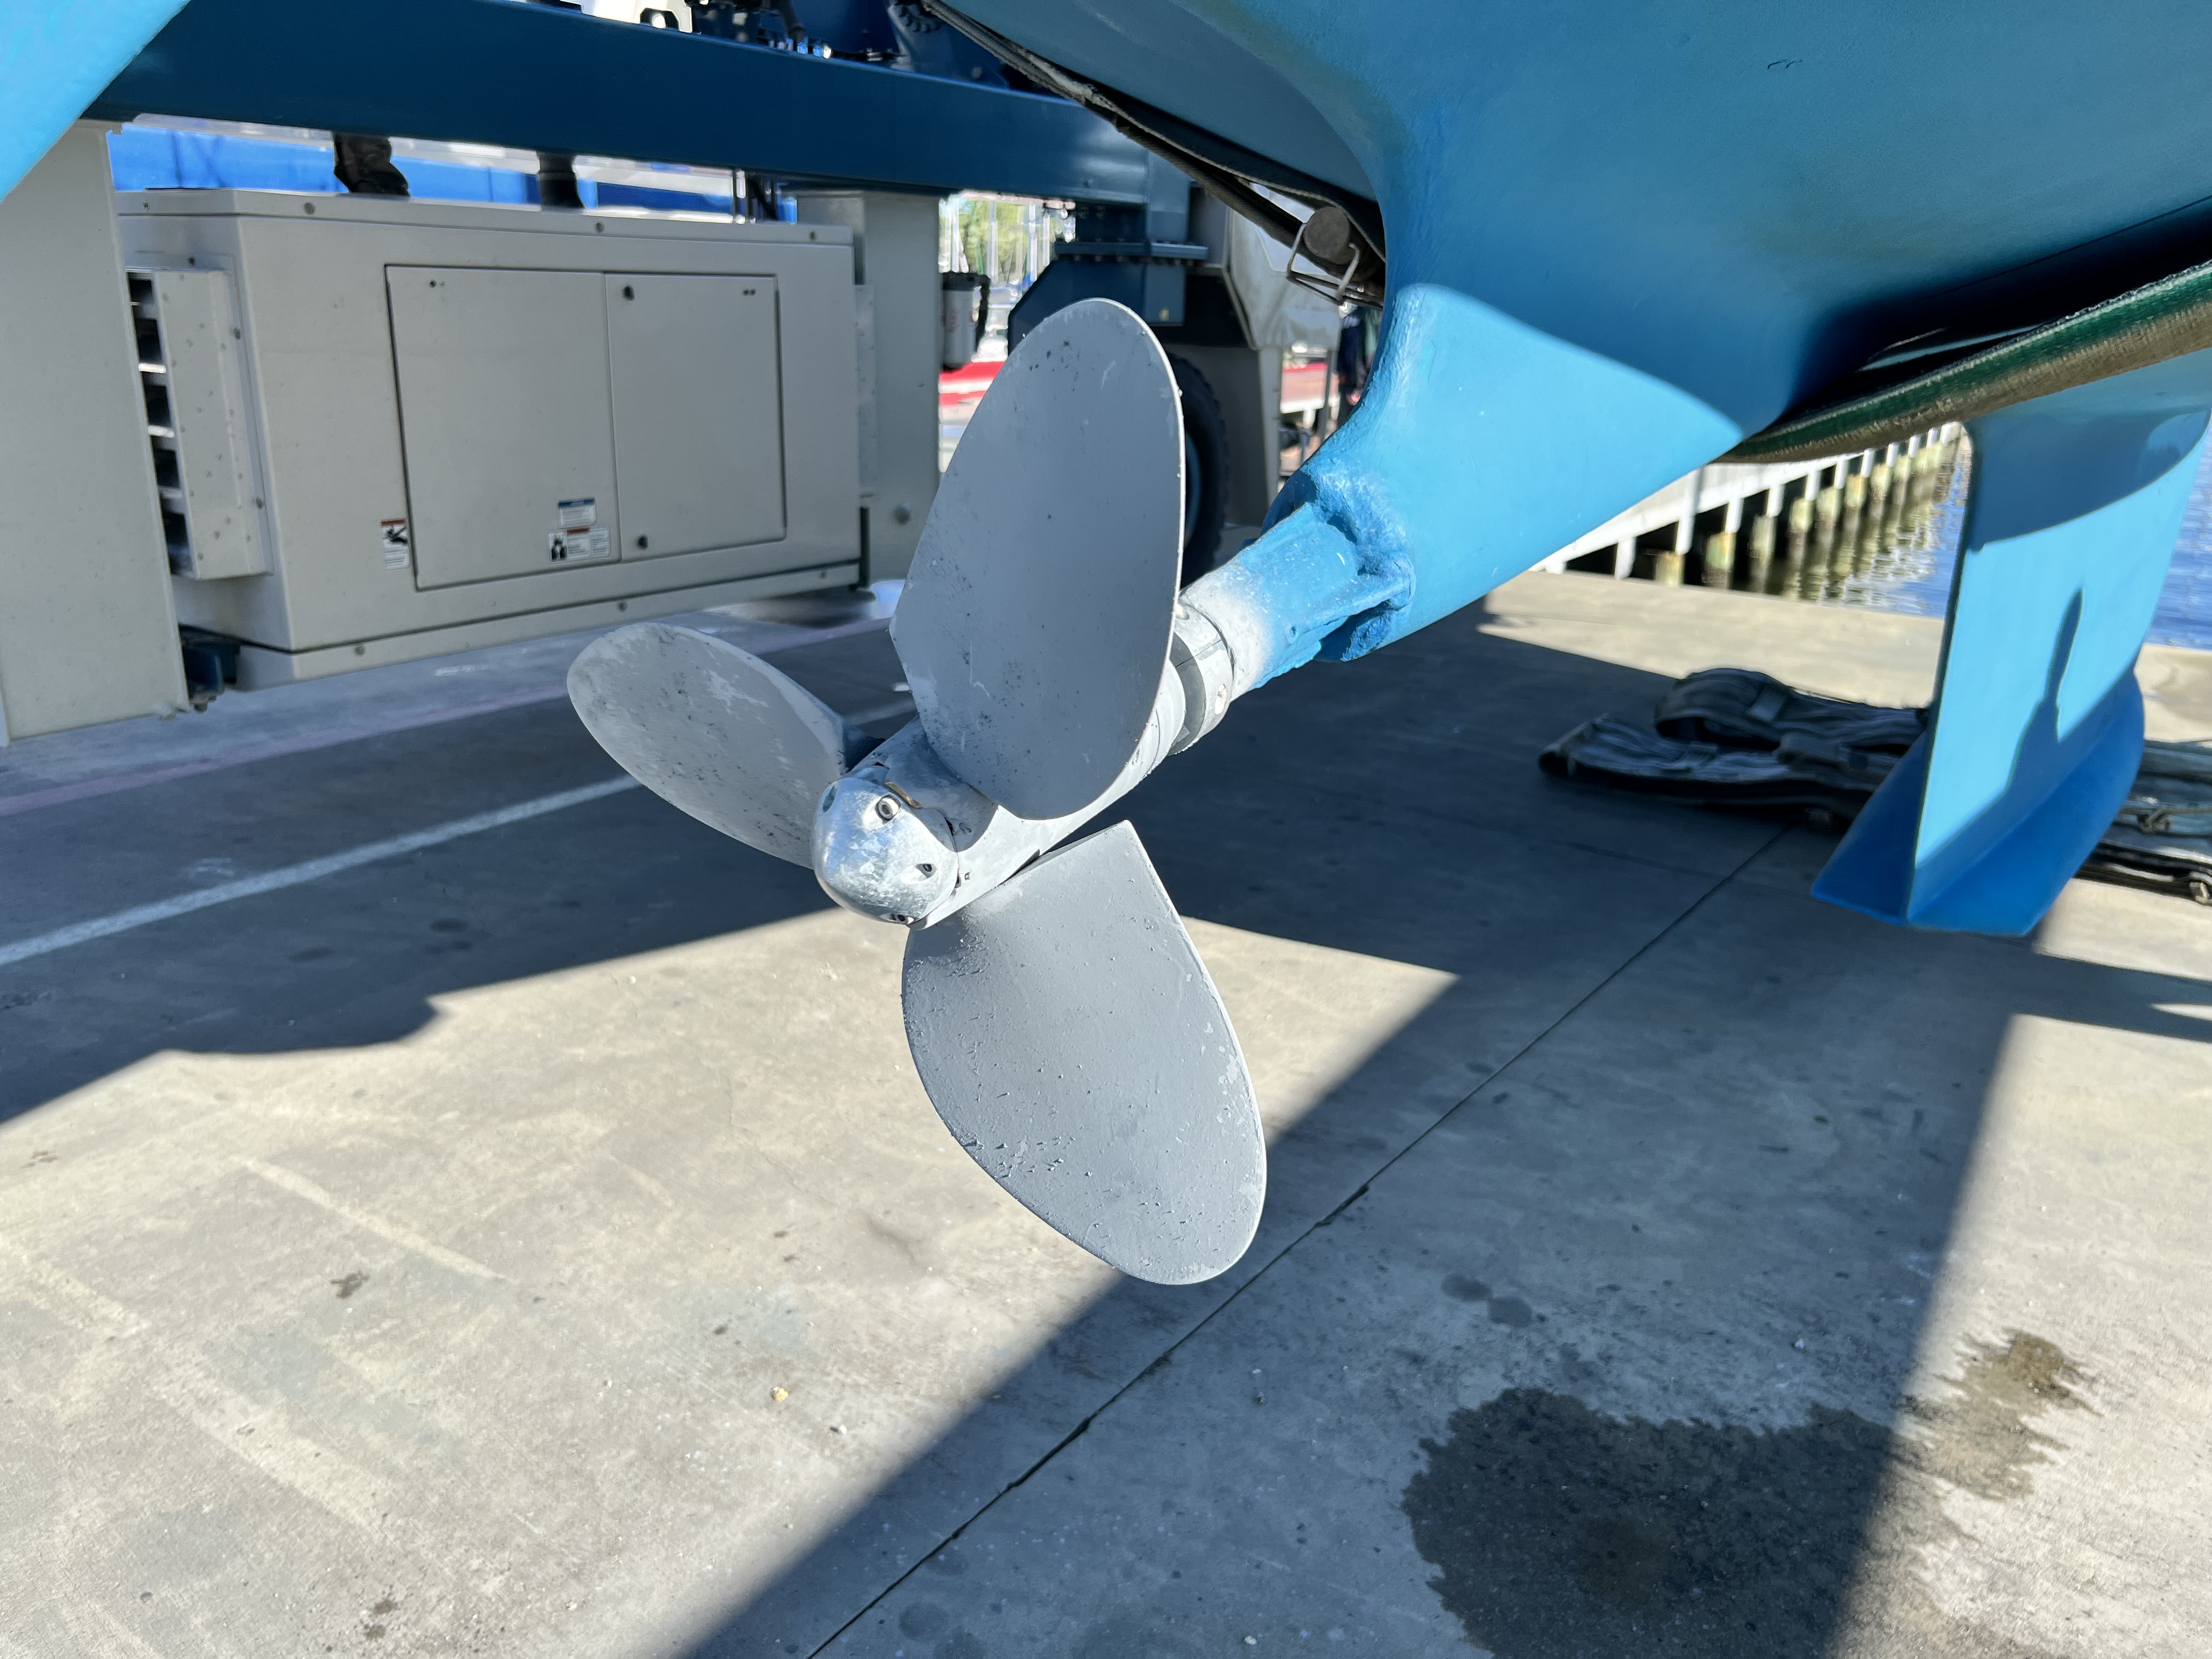
I scheduled an overnight hang because I needed to reset the prop from a bumbled installation attempt that I made back in April 2022 just before launching at Norwalk Cove Marina in Connecticut. Recall that I completely disassembled the prop at that time, cleaned it up and installed a very nice coat of Propspeed. I then installed the prop by myself for the first time ever and was not careful with the setting (right-hand/left-hand) or the angle. The correct setting for Skyward is left-hand rotation with 18 degrees pitch for our 19″ DIA MaxProp VP. I had accidentally set it up with right-hand rotation at 24 degrees pitch. We were definitely over-propped and we saw much higher fuel consumption from this.
Once the boat was out of the water than the spray down was complete, I zoomed my focus in on the prop. To my astonishment, the Zincs were GONE and the PropSpeed looked like it was coming off in patches! After speaking with a lot of people afterwards, it seems as if there are some electrical issues at Liberty Marina. The first thought in my head was whether or not I had spare zincs to install. Having only a few hours of daylight, I had a lot of work to do — this became a scramble.

The shaft zinc and the prop zinc were completely missing. I grabbed my ladder and climbed up into the cabin and to my surprise, I found a complete spare set of zincs. Whew! Next I cleaned up the prop and carefully disassembled the aft end to reveal the gear to change the setting for left-hand/right-hand rotation. I also adjusted the pitch back to 18 degrees, then reassembled and greased it up. I have to applaud Fred Hutchinson at PYI for being patient with me and giving expert advice precisely when I needed it

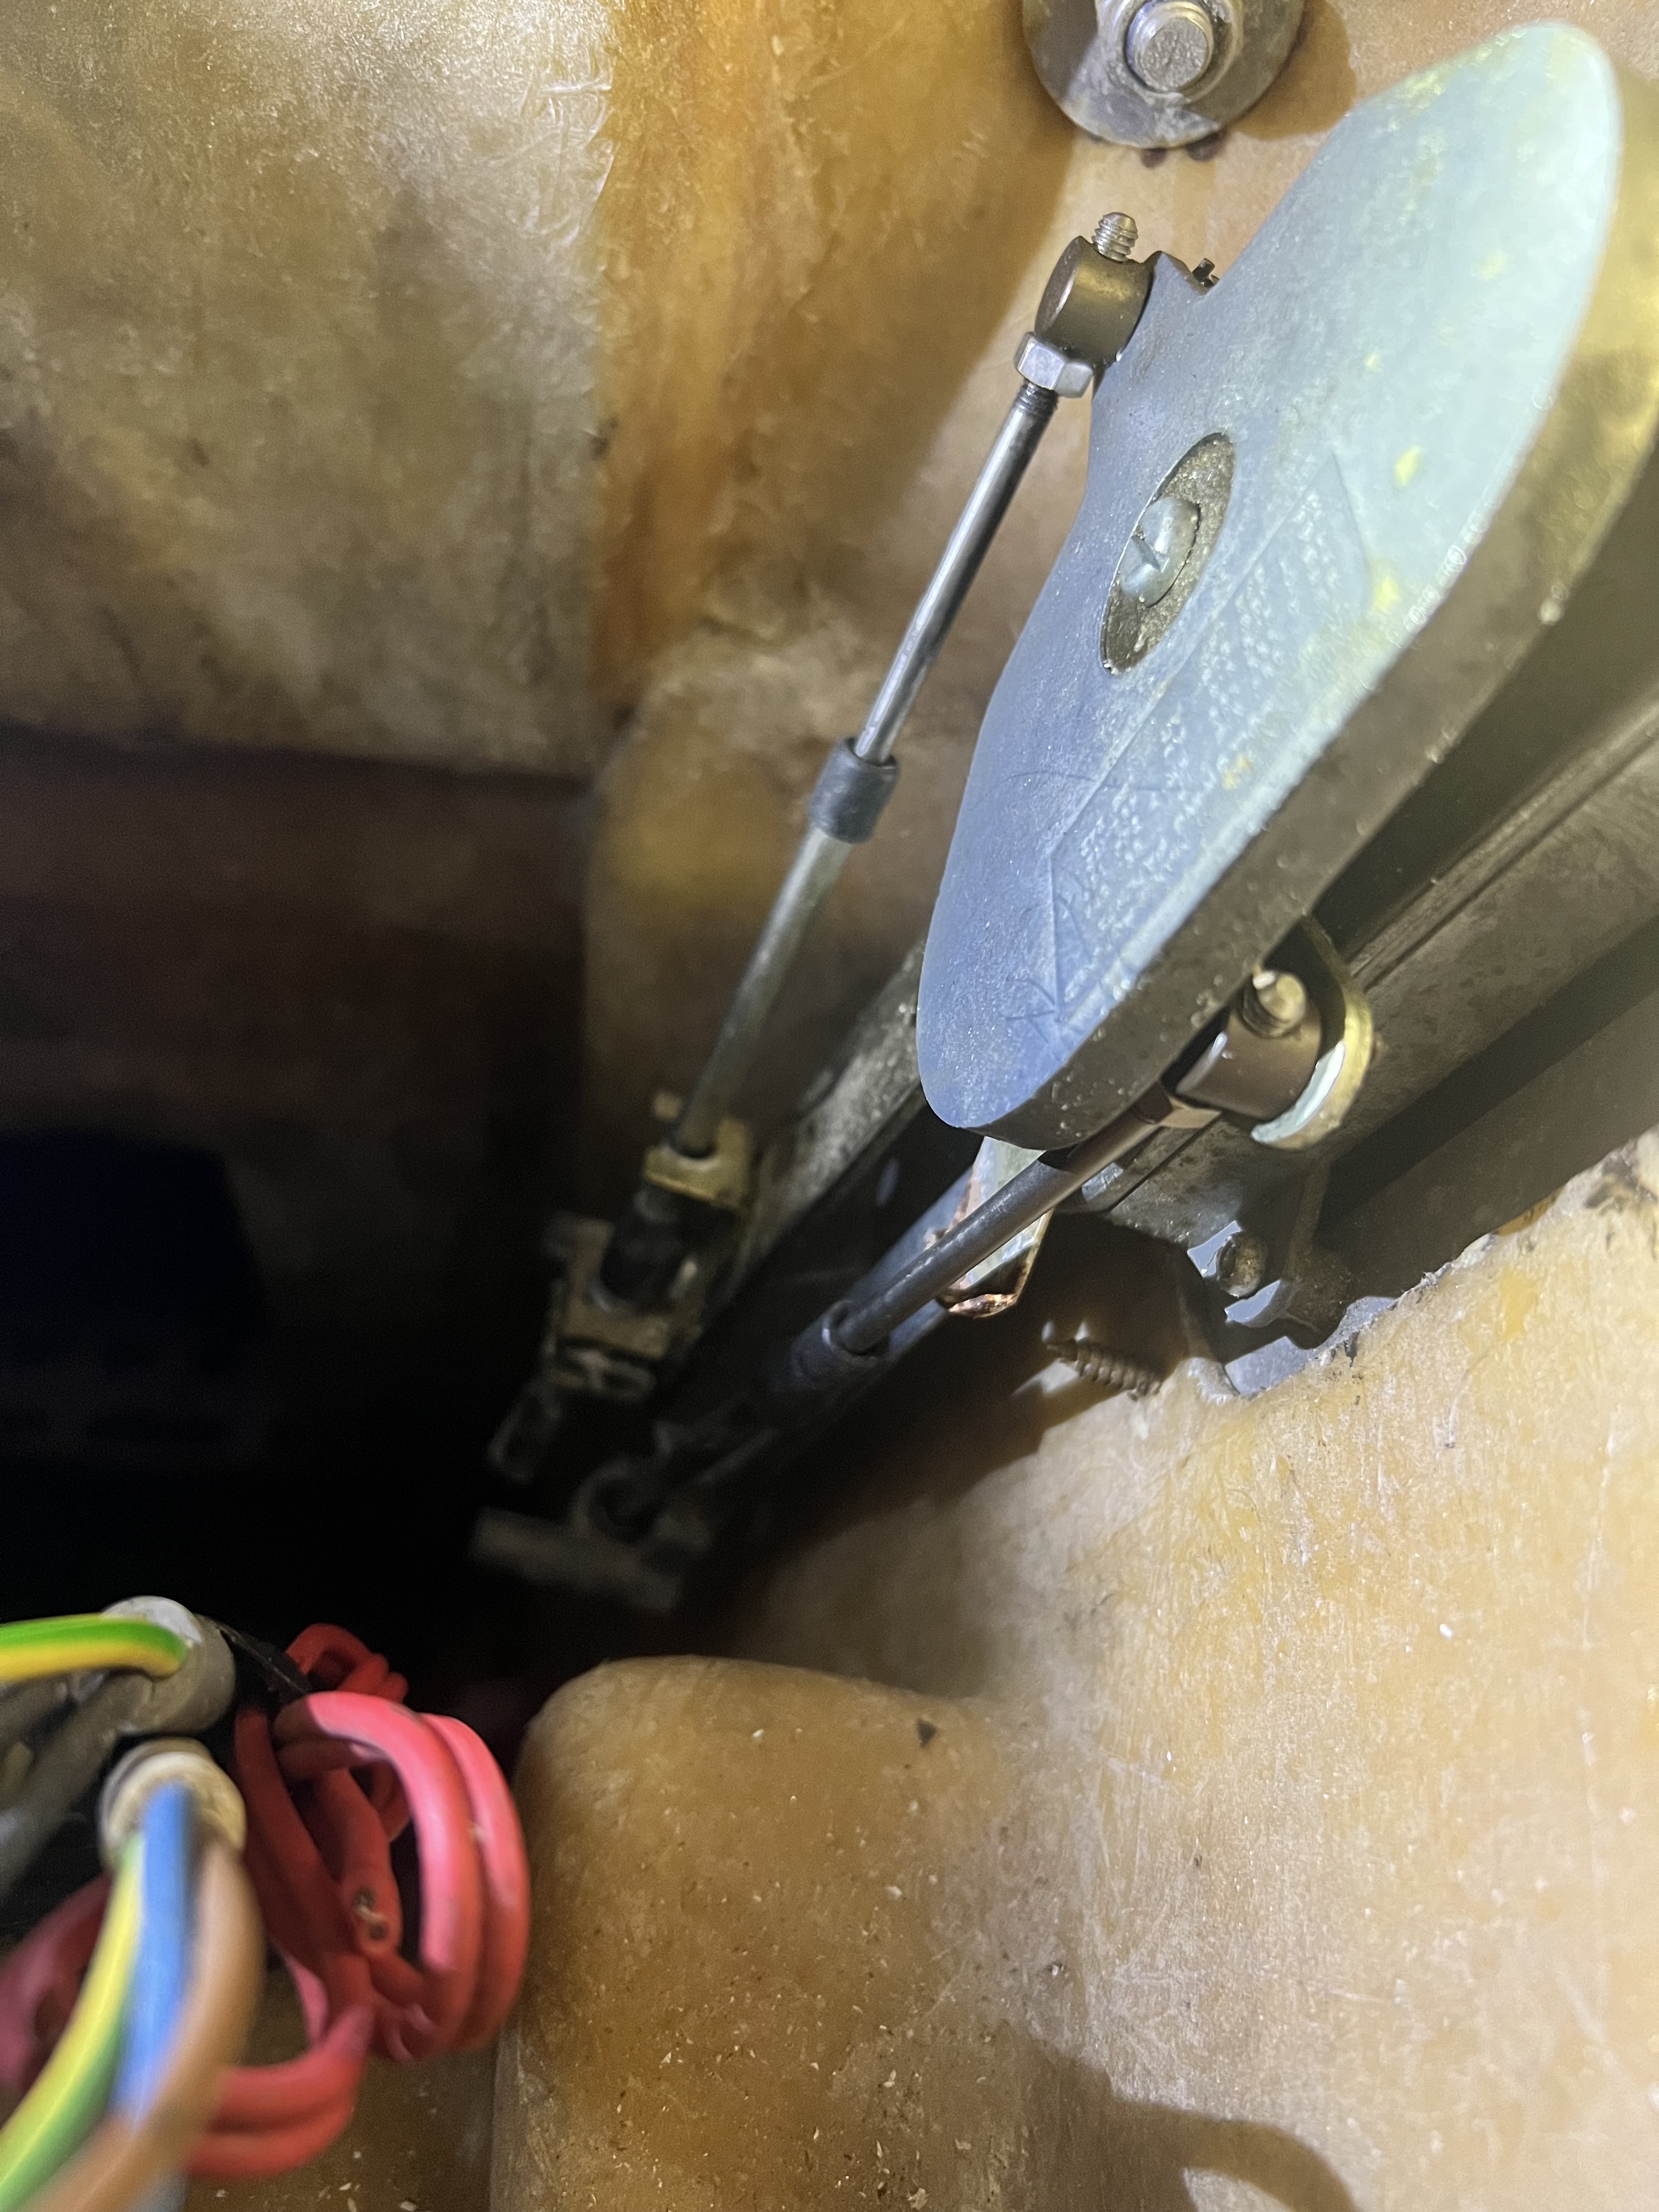
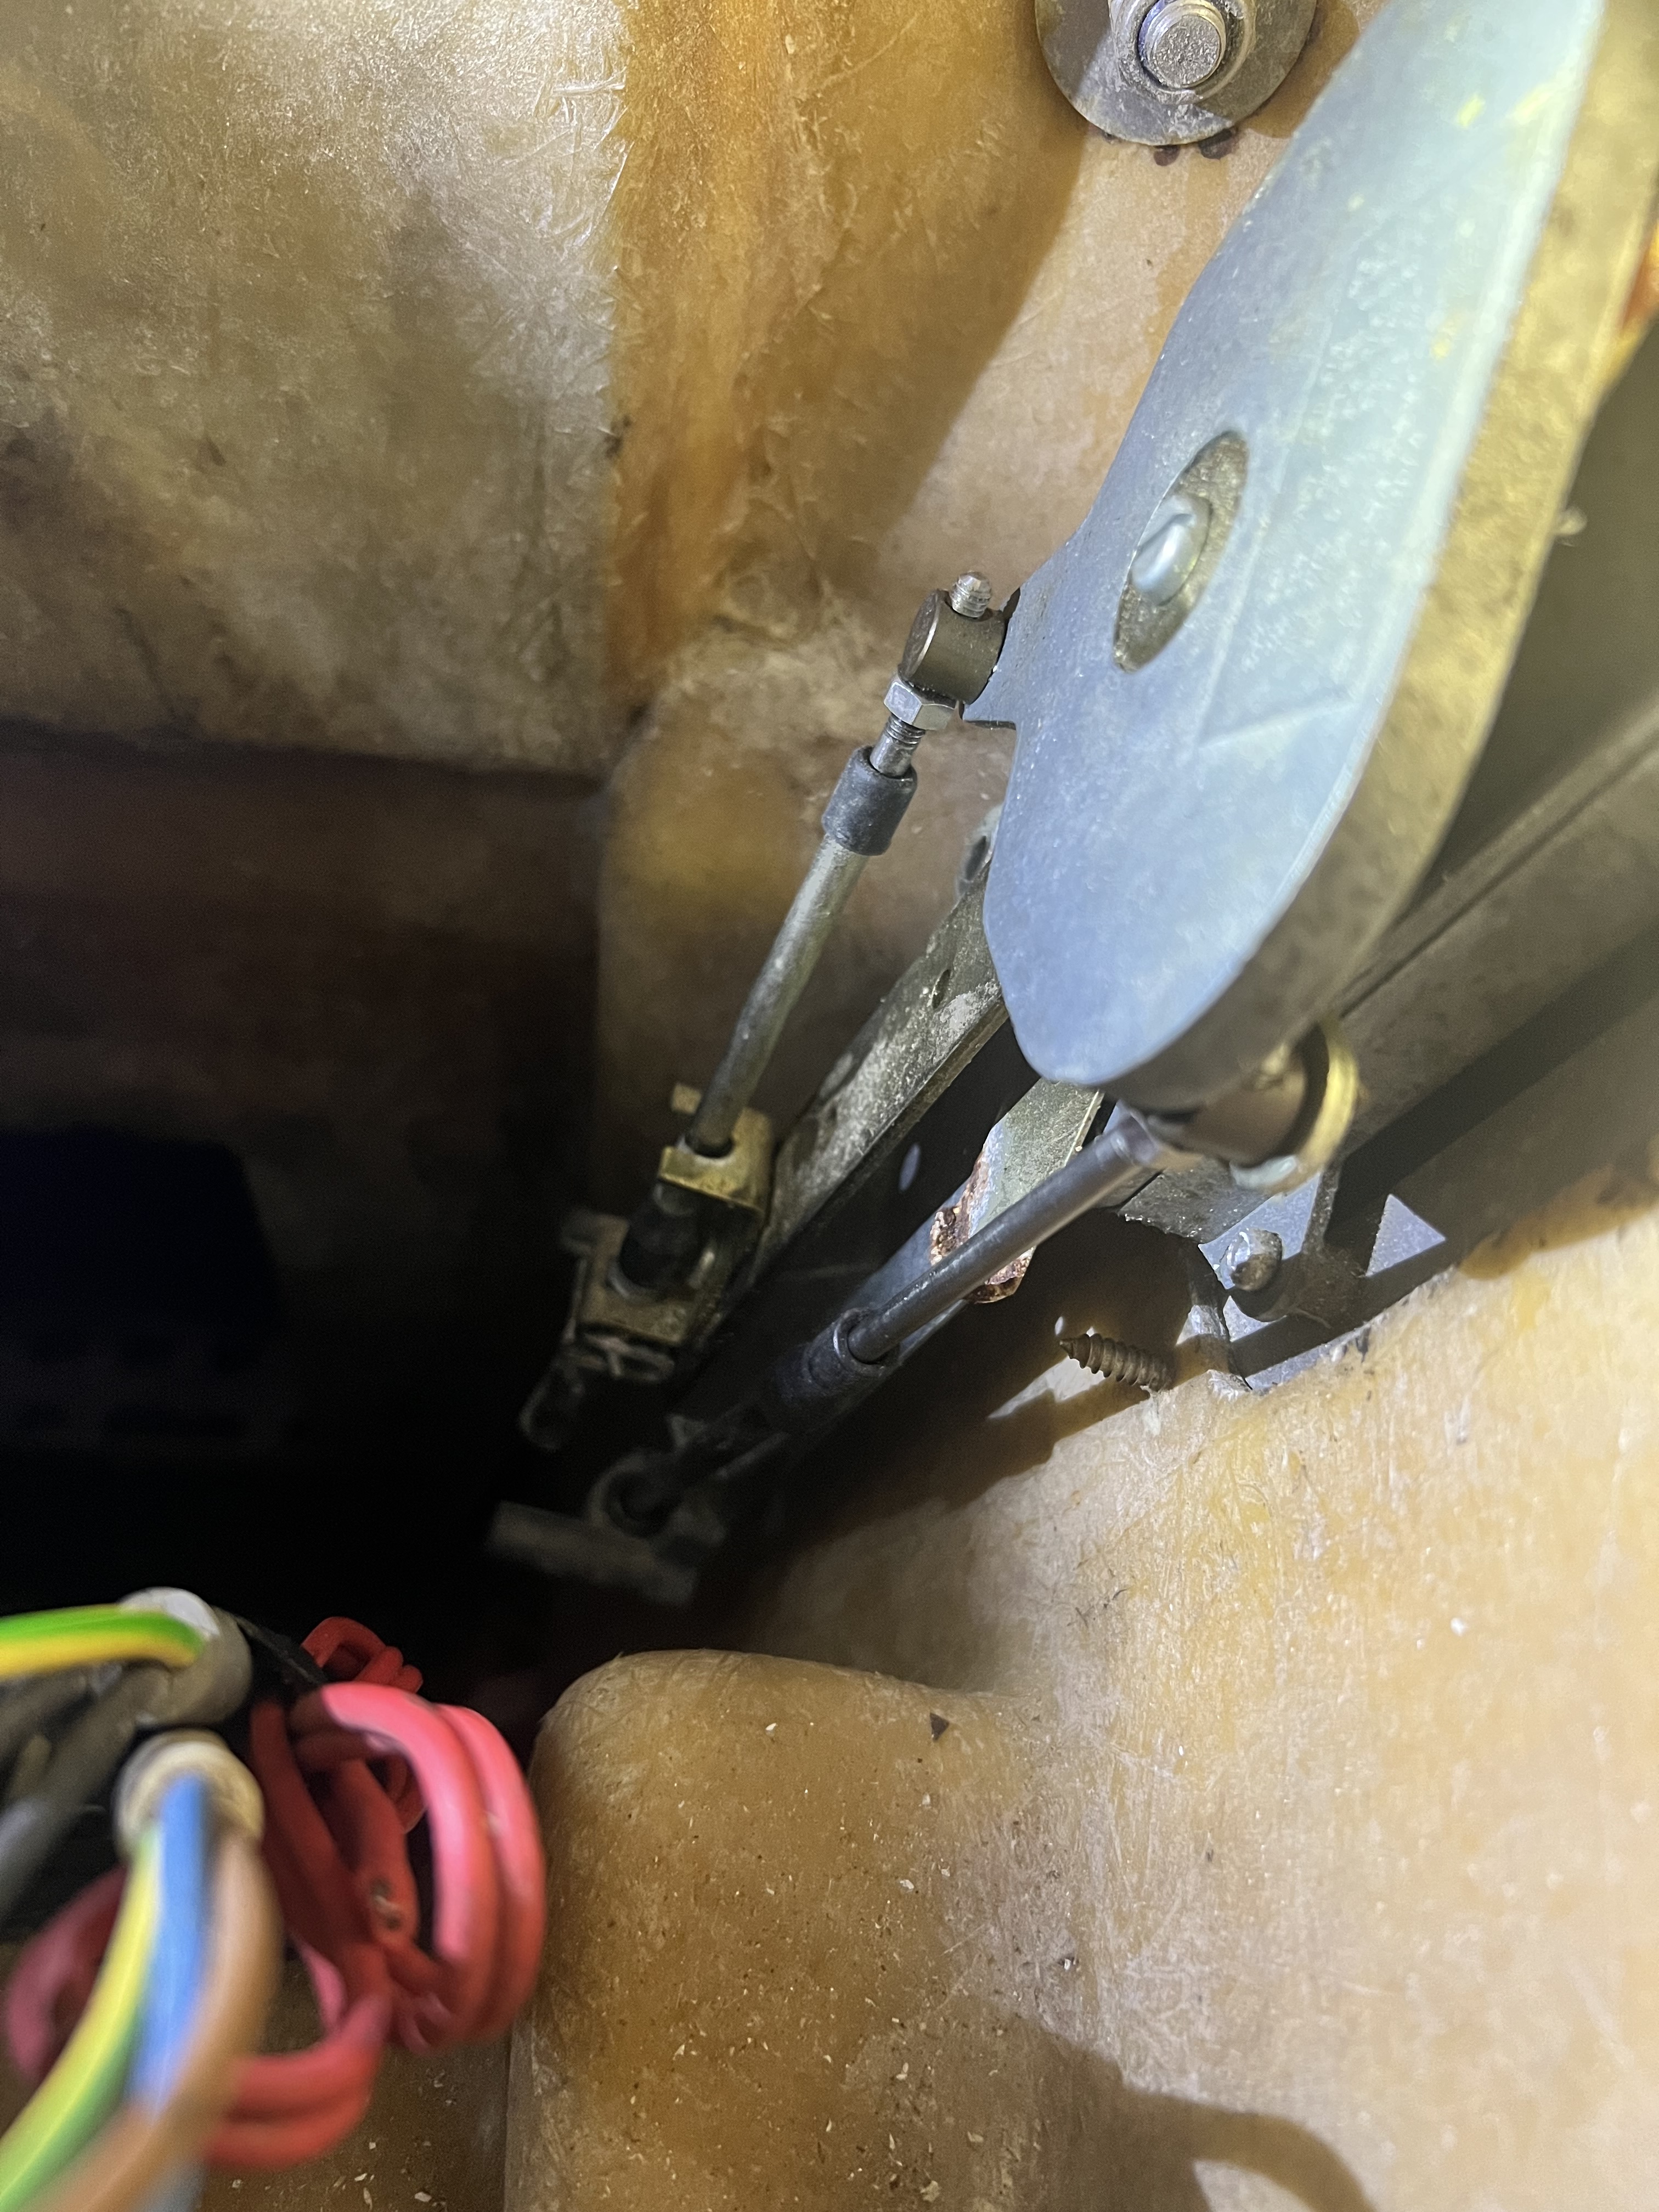
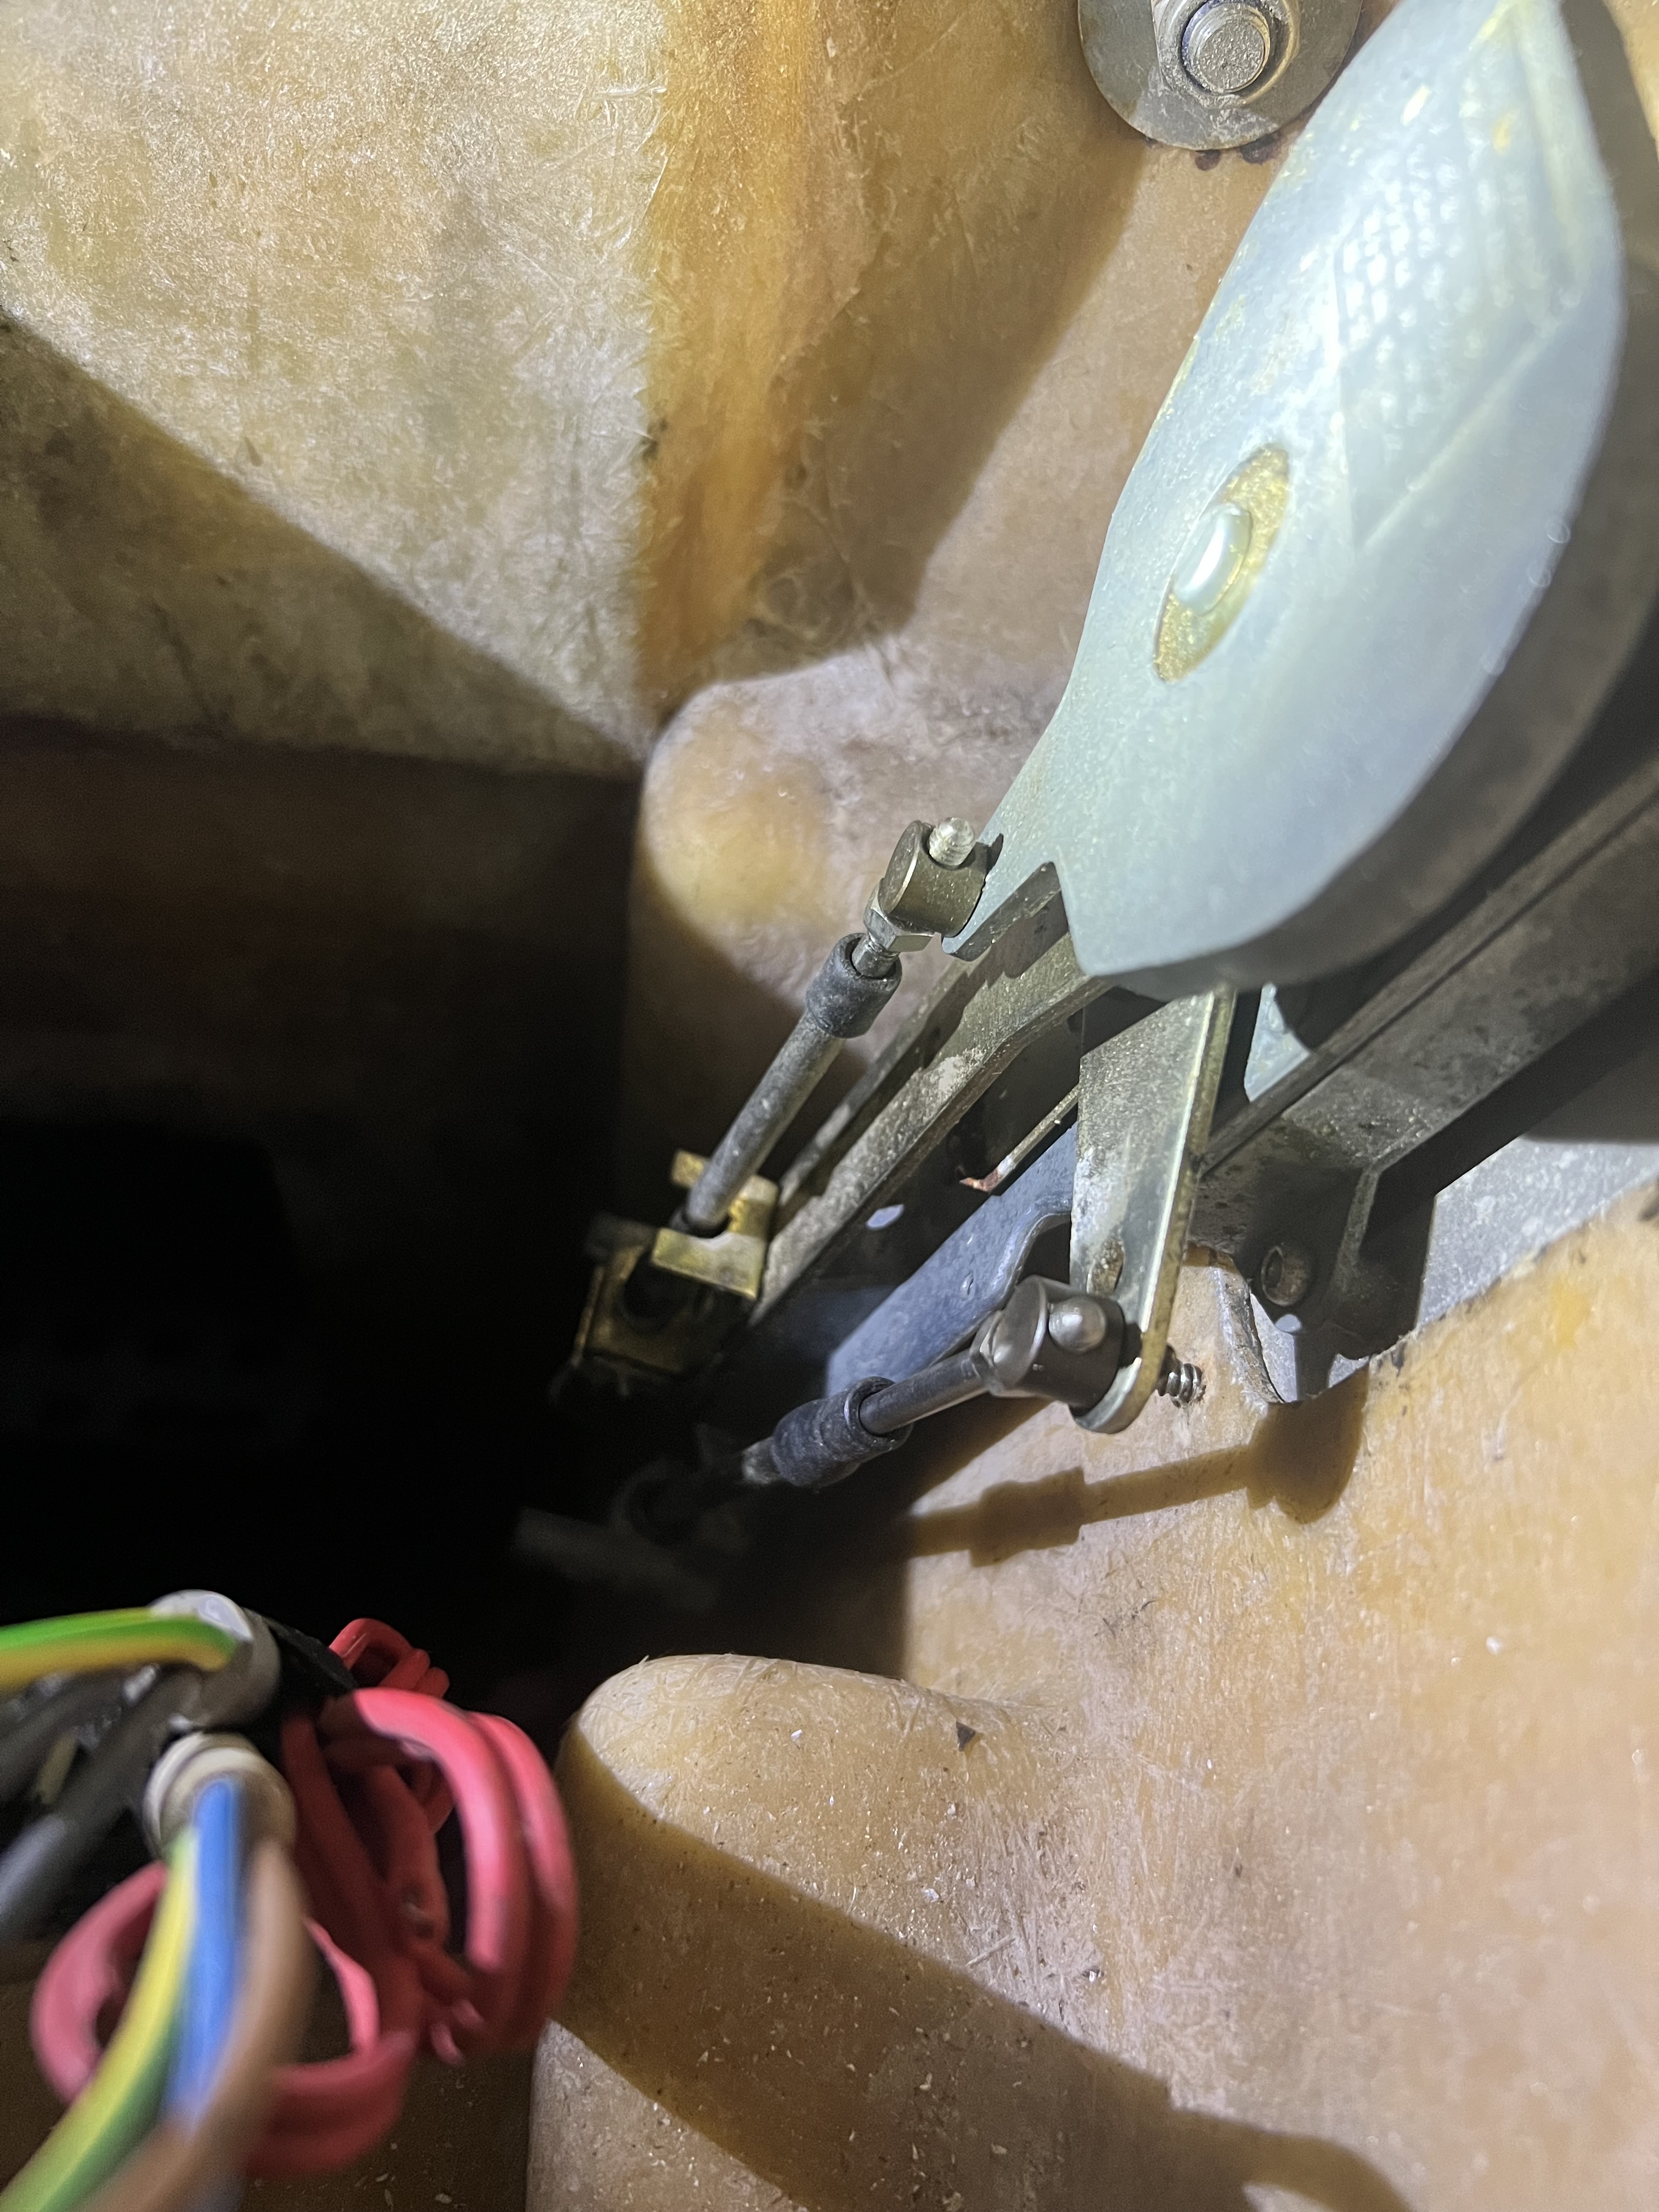
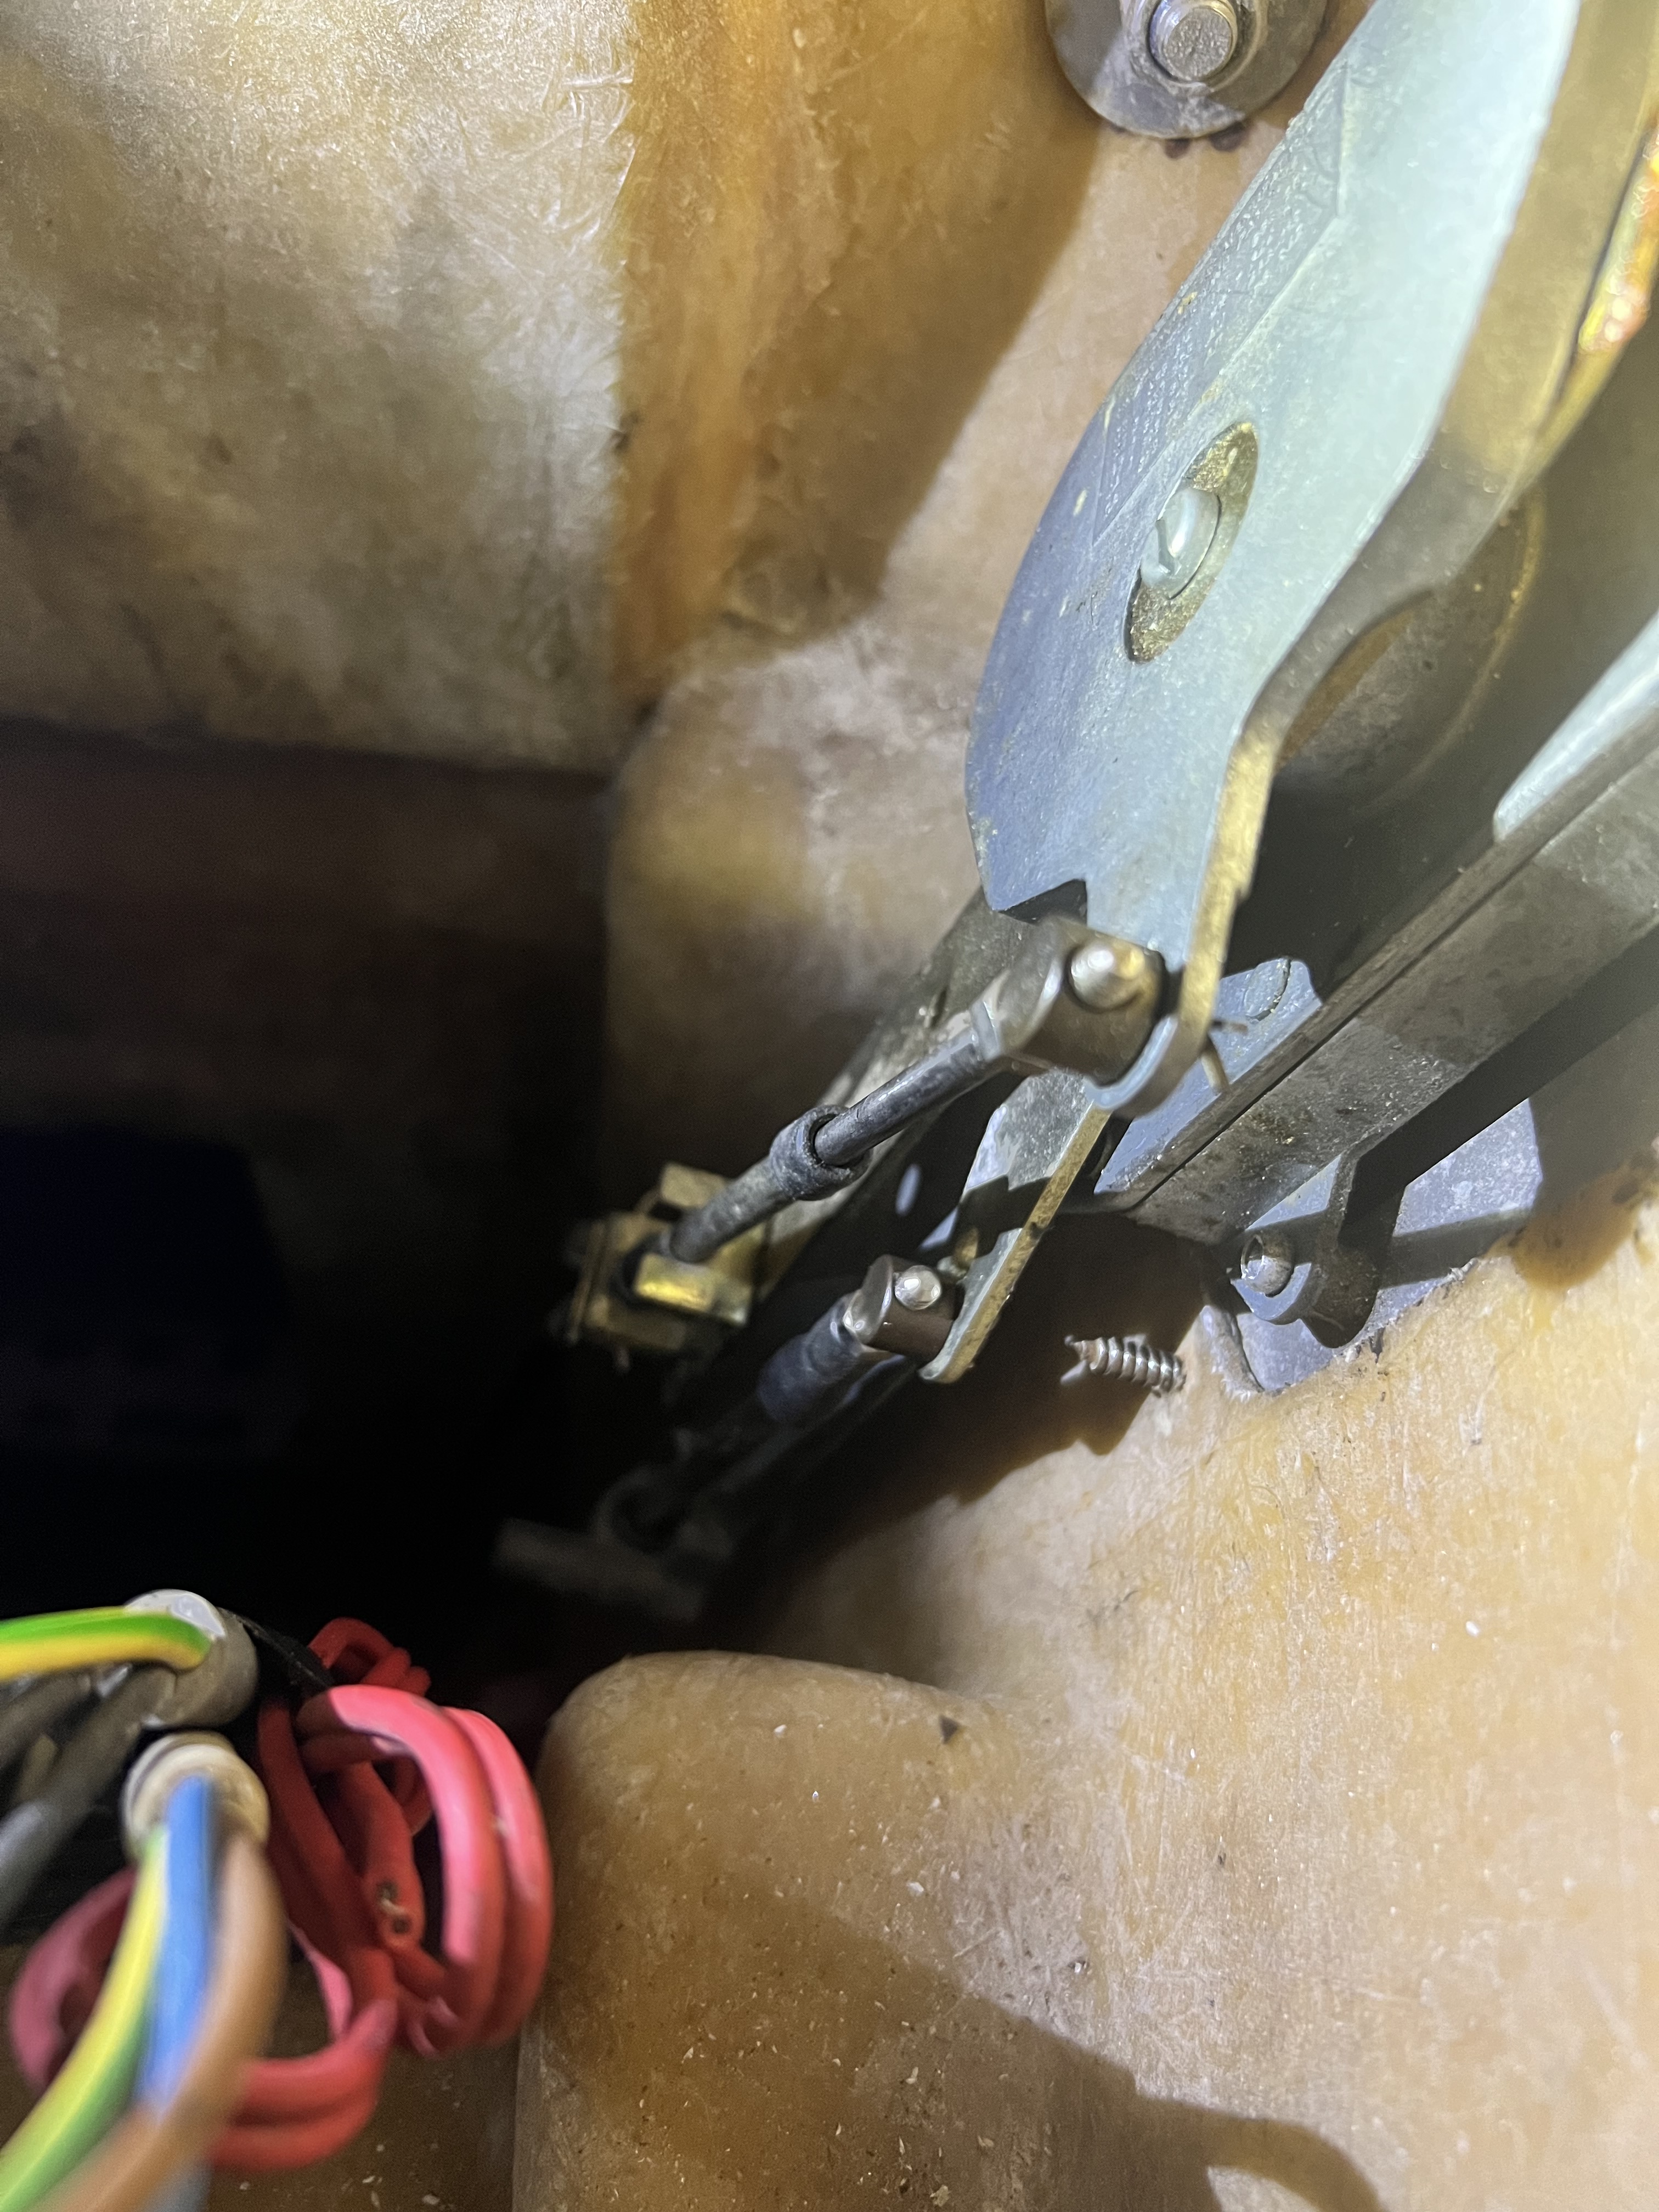
Next step was to reset the throttle cabling at the helm. Once we figured out that the prop was installed with the incorrect rotation last year, Ray reversed the gear shift cable as a temporary fix. I can do that on Skyward because my gearbox has the same ratio (1.96) in forward and reverse. After about 30 minutes, the cabling is returned to normal.
Finally, I make the hasty decision to spray down the propeller with Interlux Interzinc corrosion protection. I would have preferred to remove the prop, grind off all PropSpeed and redo the entire process again, but time was not on my side. BJYY had us back in the water early the next morning, and Skyward’s drive system worked as we had hoped…forward was forward and reverse was reverse.
We completed other projects during this timeframe:
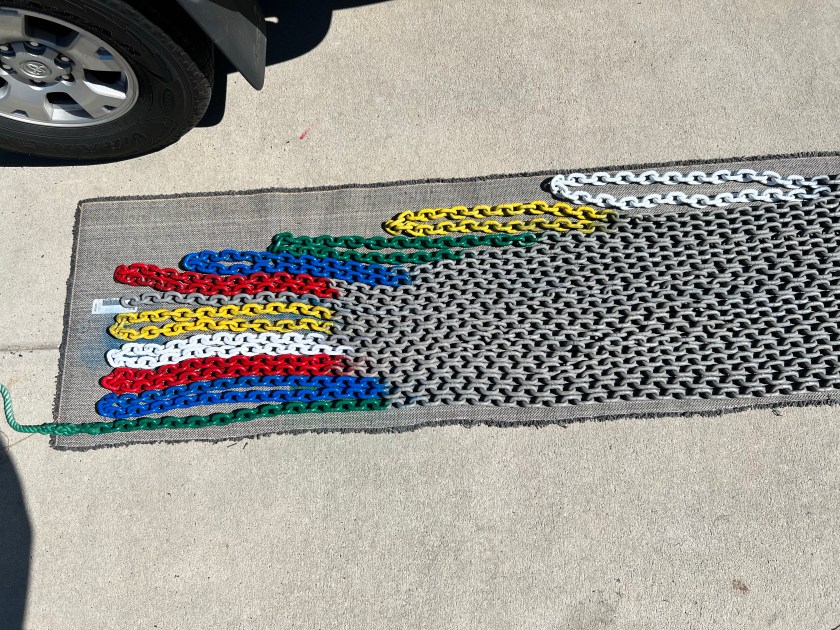
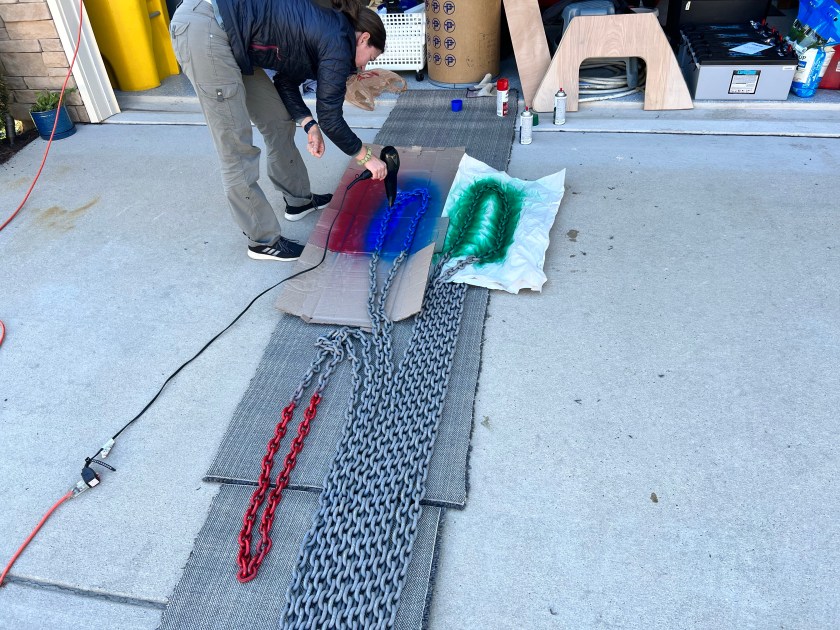
Installed the new anchor and G-4 chain (painted RYBWG every 25 feet) after the anchor locker was completely refreshed with 2 coats each of Interlux 2000e and Bilgekote
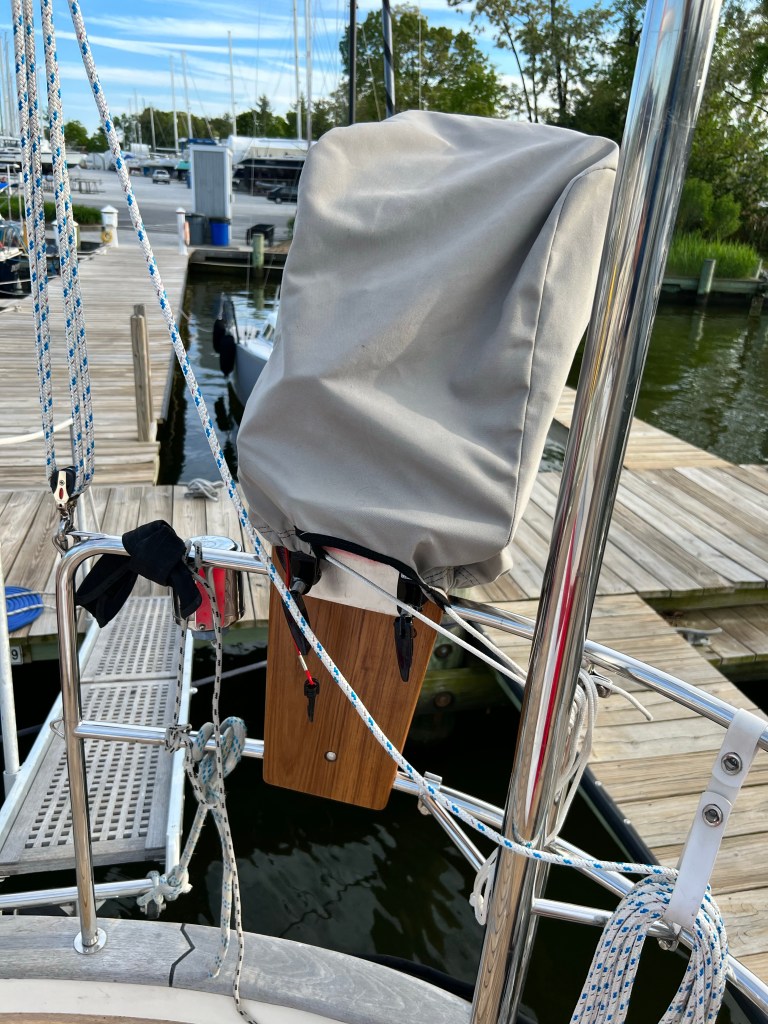
Installed a new teak dinghy motor stand topped with a sheath of stainless steel (thank you, Ray!)
Repaired the spinnaker bowsprit and modified it to fit above the new Ultra anchor
Installed a new 32″ Samsung Smart TV/monitor in the salon
Installed a new galley faucet from HR Parts
Replaced a couple of radio speakers in the main cabin
Sanded and varnish 4 floorboards
Washed and dried all of the interior carpets


There will always be more projects, but for now, let’s get sailing!

One thought on “Pin-to-Pin Re-Rig”