
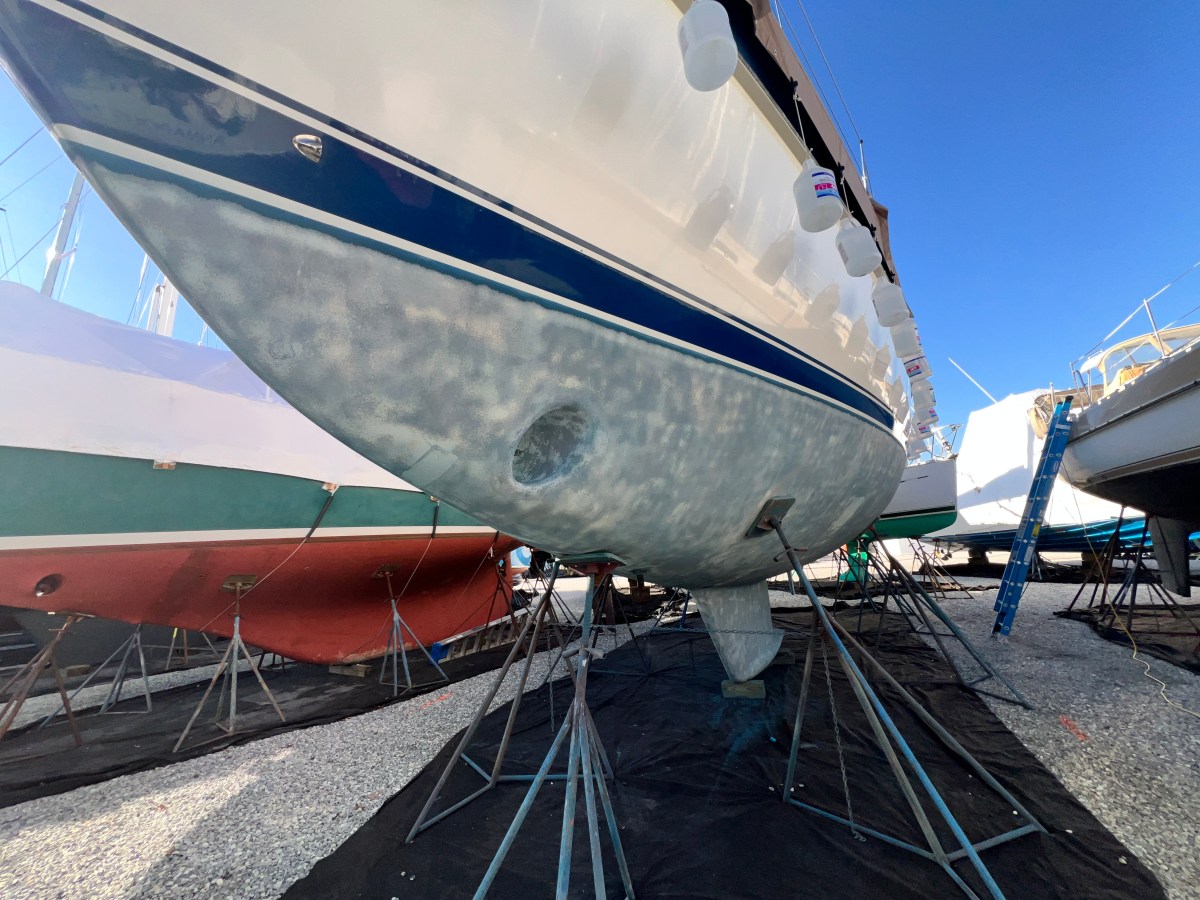
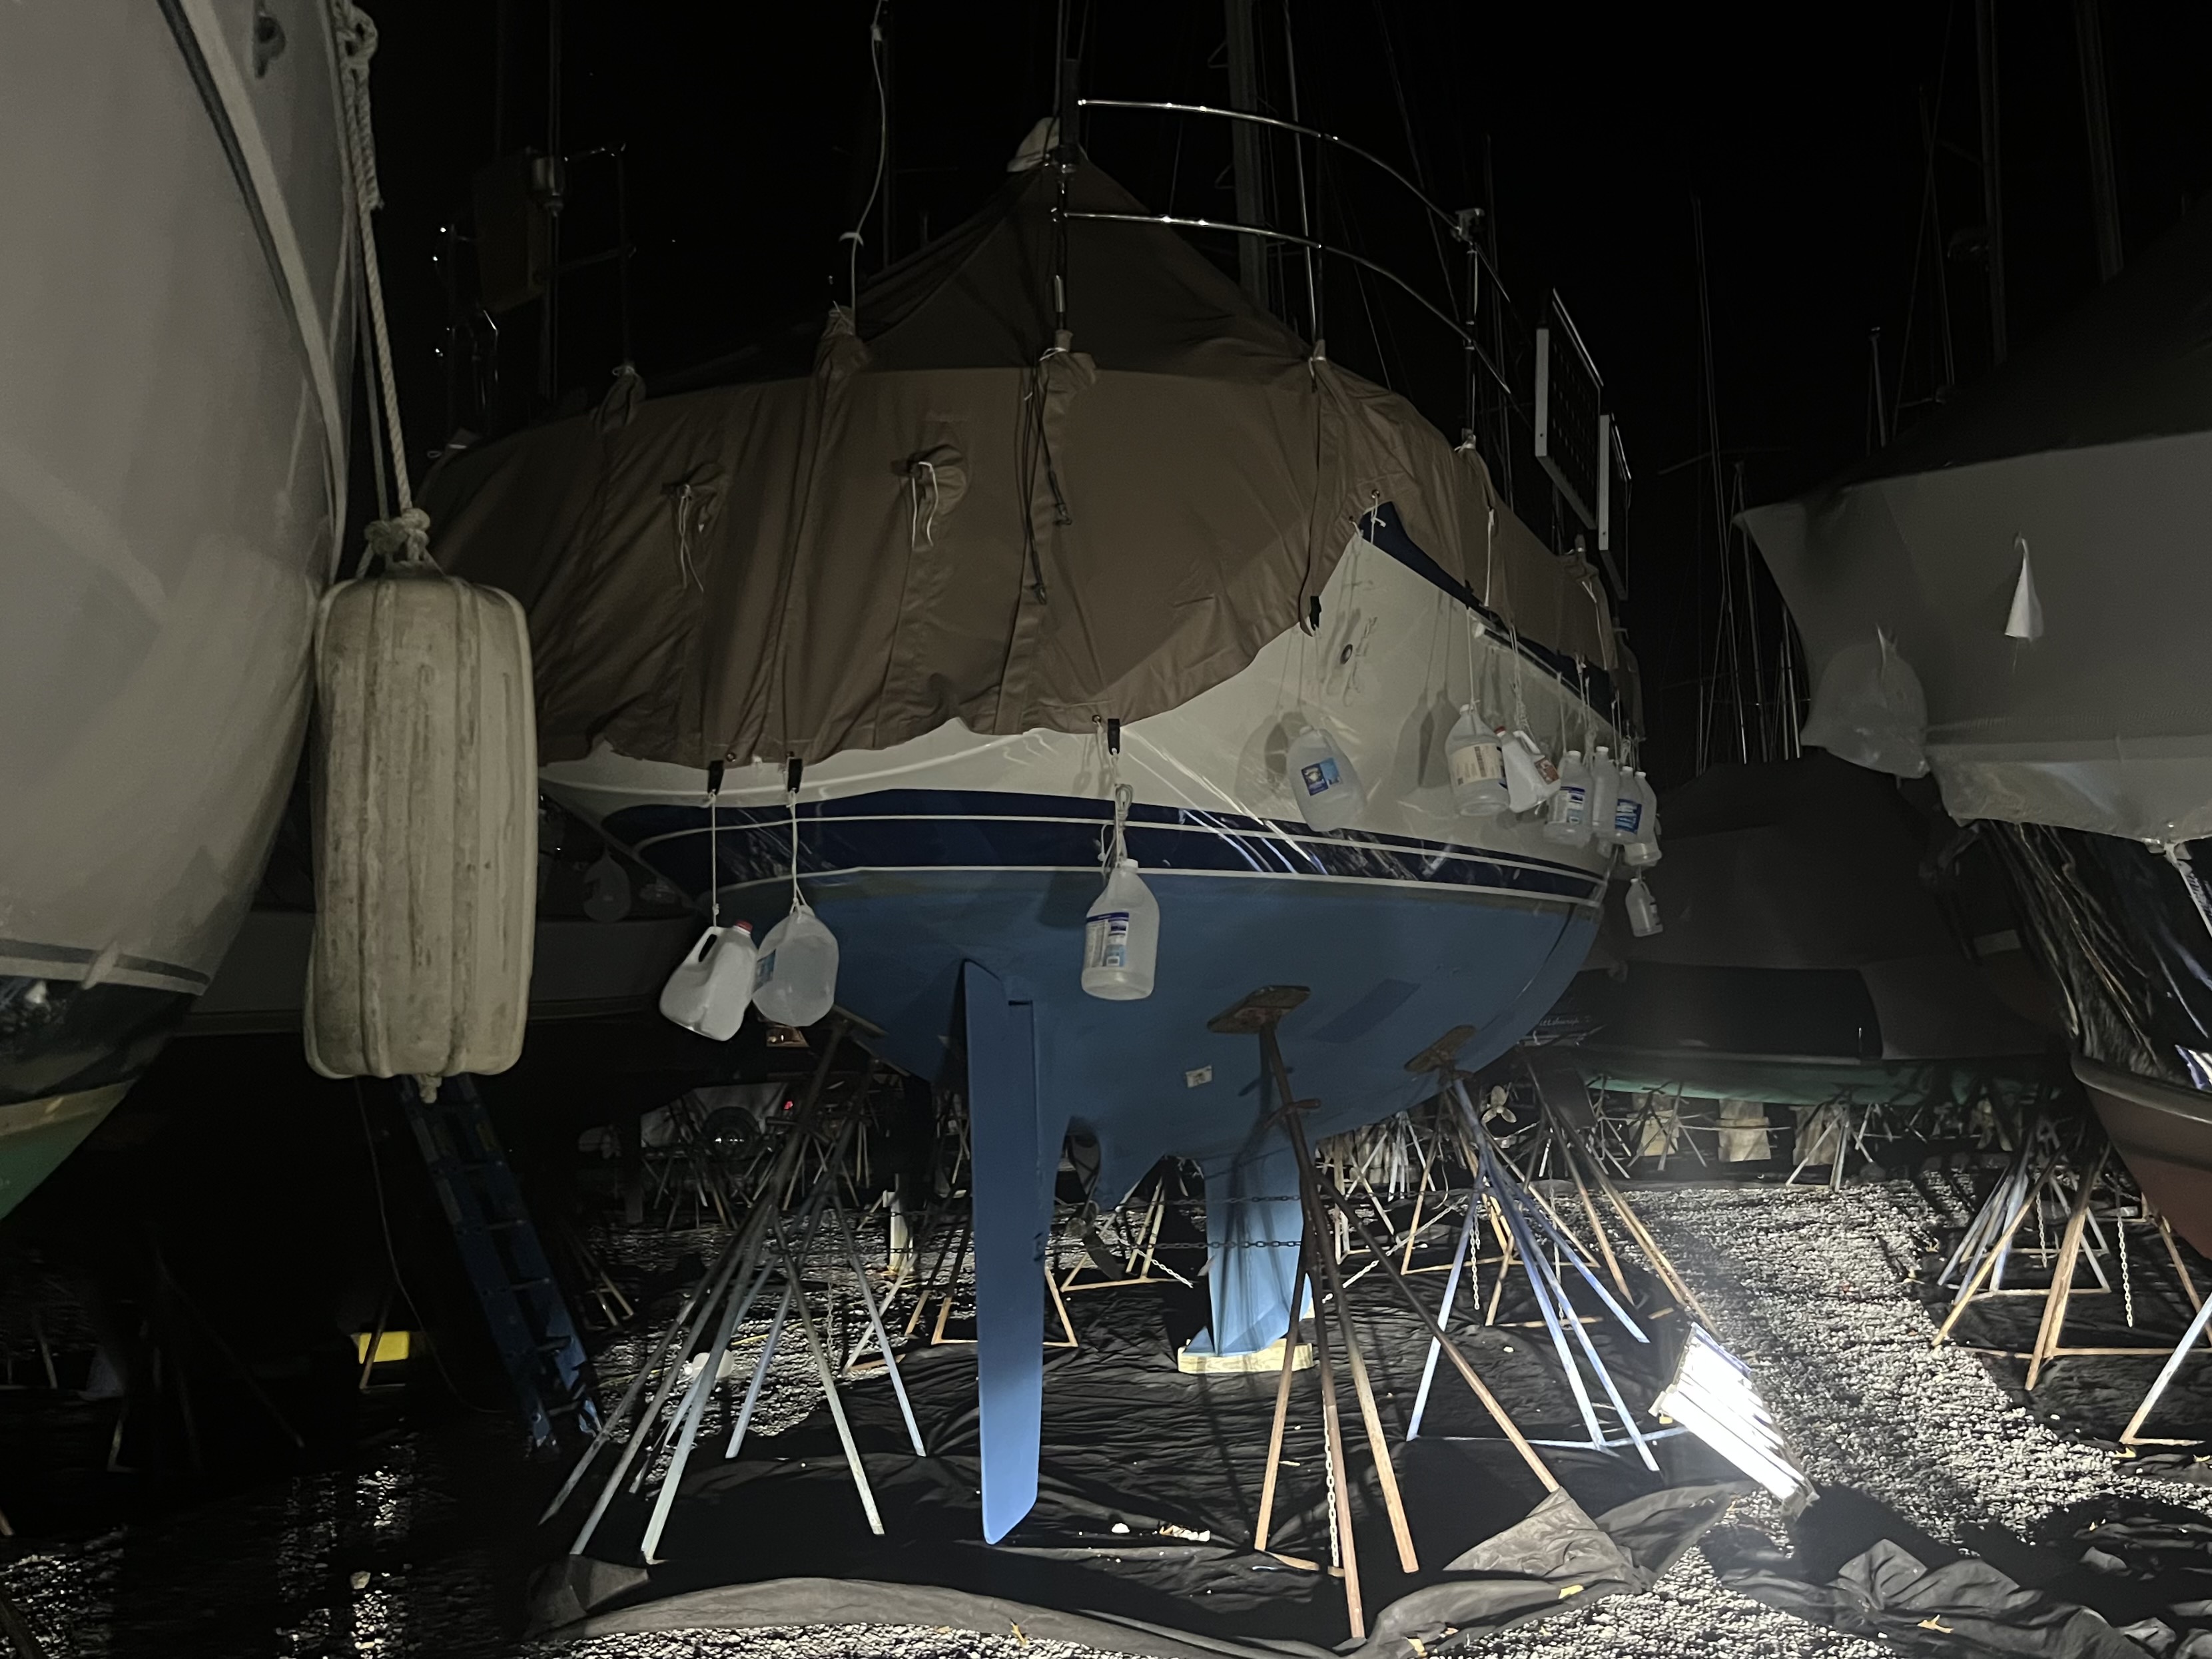
Two previous owner’s ago in 2016 oversaw that the hull was media blasted down to gelcoat. They applied 4 layers of barrier coat alternating white-gray-white-gray. Over the past 9-10 years, a lot of different people prep’d the bottom and applied new coats of antifoul paint and under a lot of different conditions. Antifoul has been built up to a point where there are too many layers, and there has been spotty adhesion issues causing imperfections. With the good advice by Greg at Annapolis Boat Service, we thought it was time to start over.
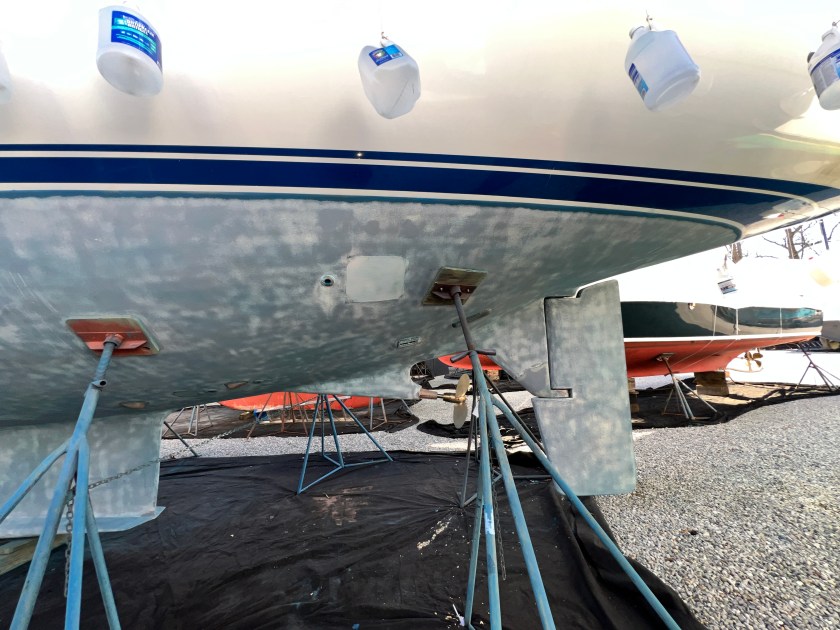
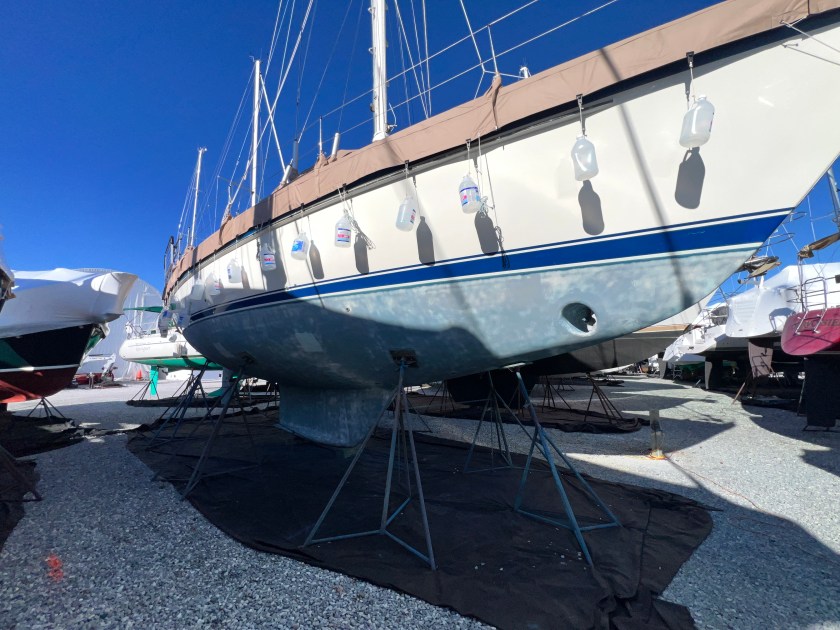
Our goal is a blemish-free and smooth coat of antifoul paint with the final 4-5 original thruhulls replaced. In addition, we are considering replacement of the keel joint sealant, the bilge drain plug and also the two grounding anodes that are not used. Greg worked up stepwise plan to media blast the bottom hull down to the last barrier coat to see if we have any signs of osmosis or other abnormalities that would cause us to go deeper with blasting.
Chesapeak Blasting Service made quick work of this first task. They laid down plastic under the boat and within less than 8 hours of work the antifoul was completely blasted down to barrier coat. These guys did a great job and worked on Christmas Eve; hats off to them!
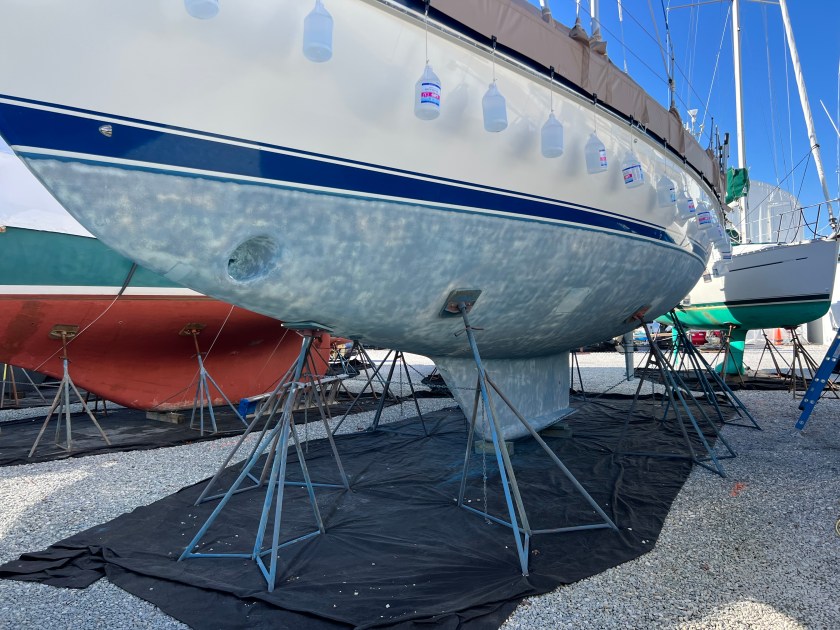
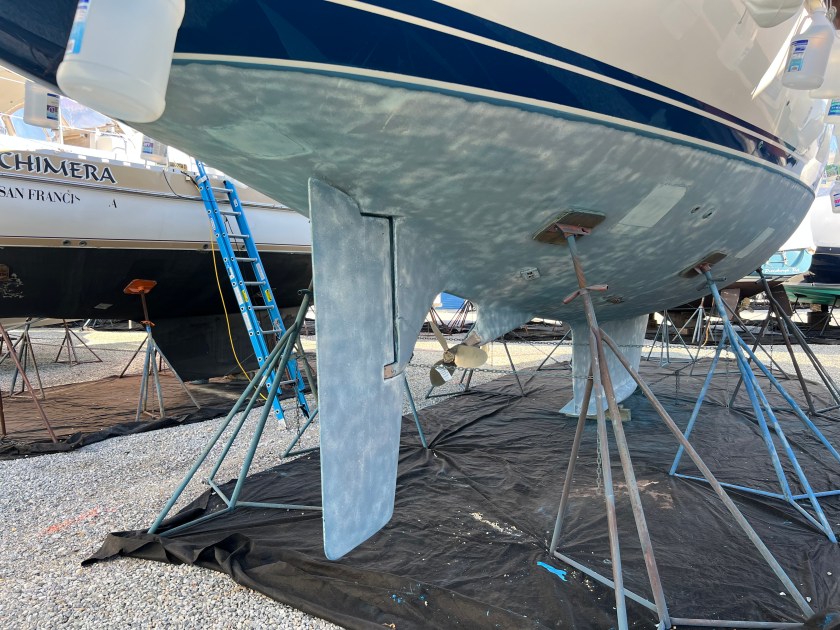
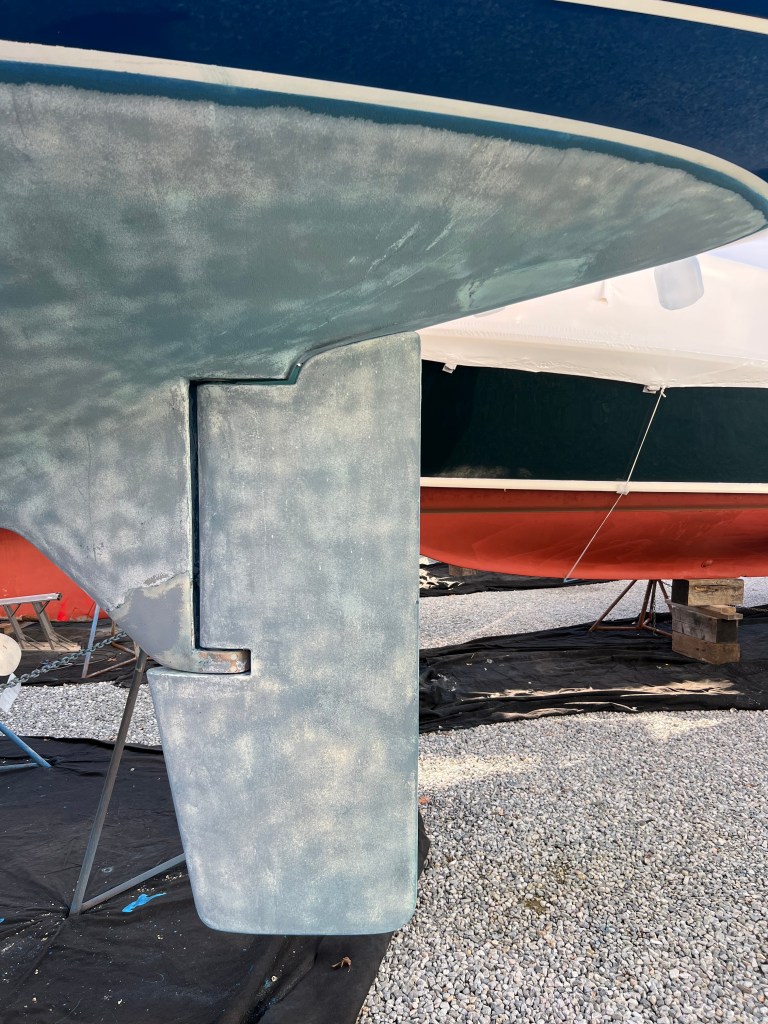
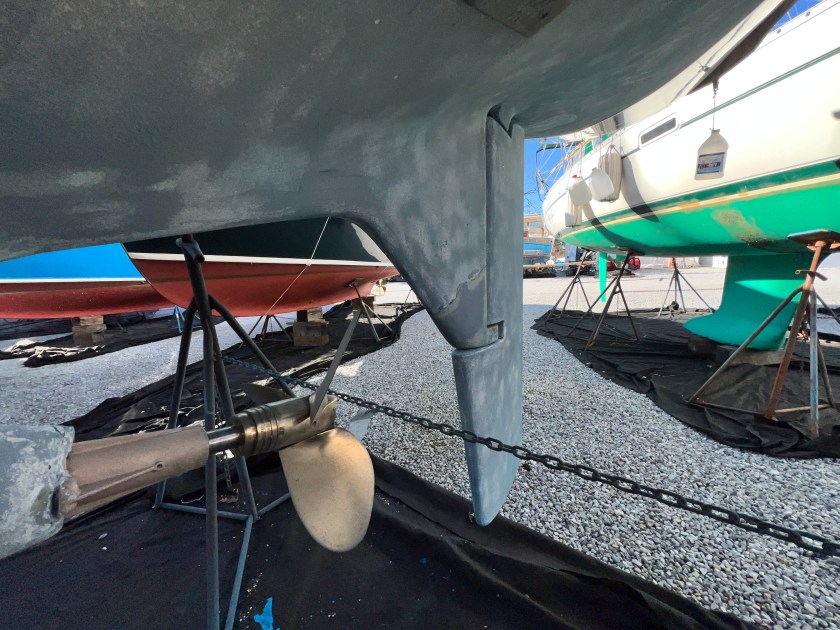
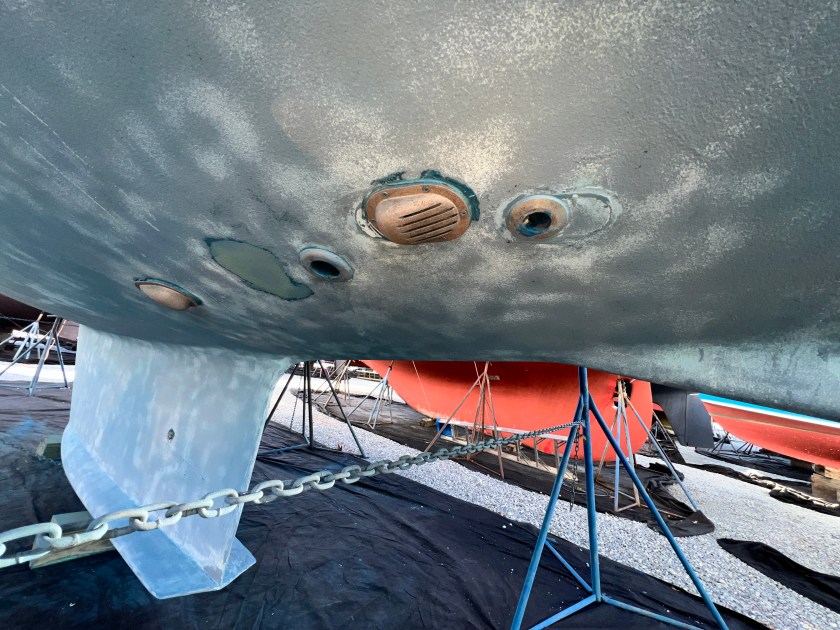
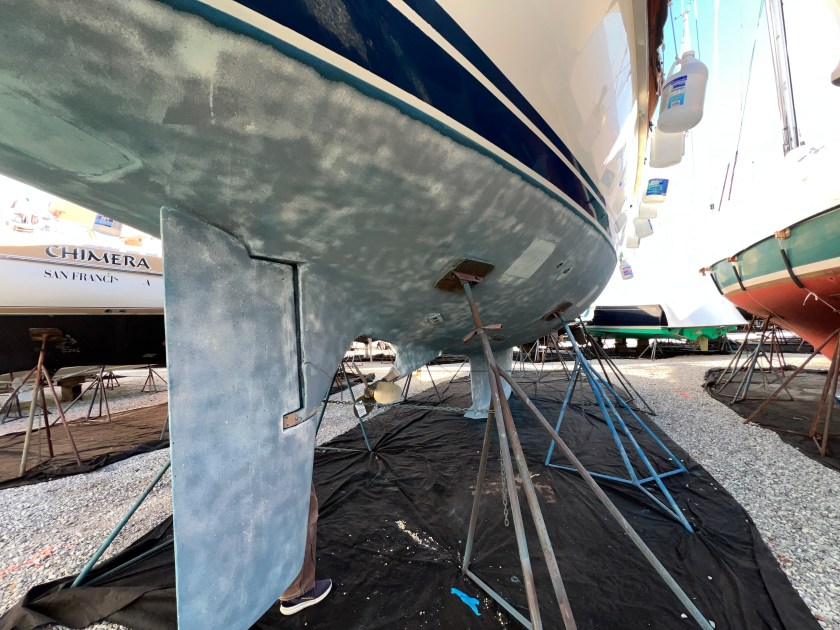

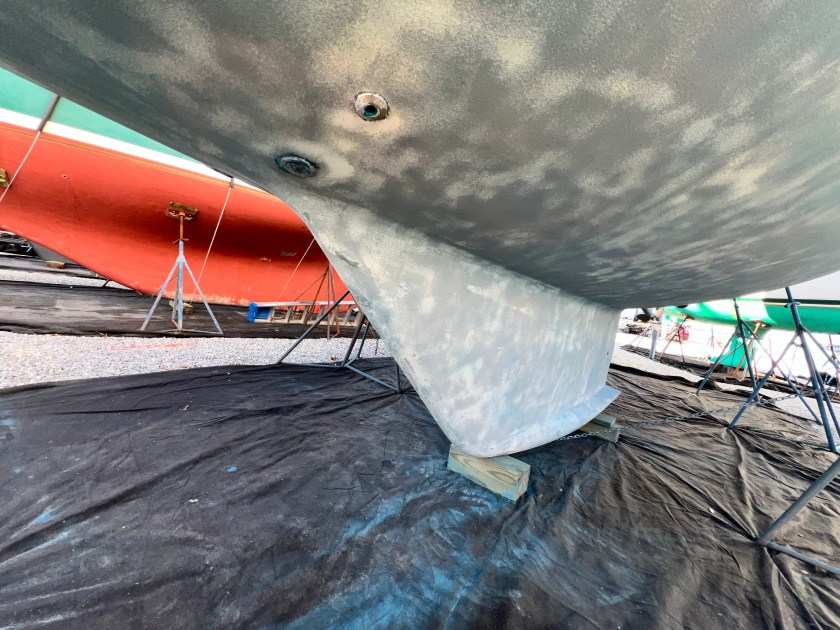
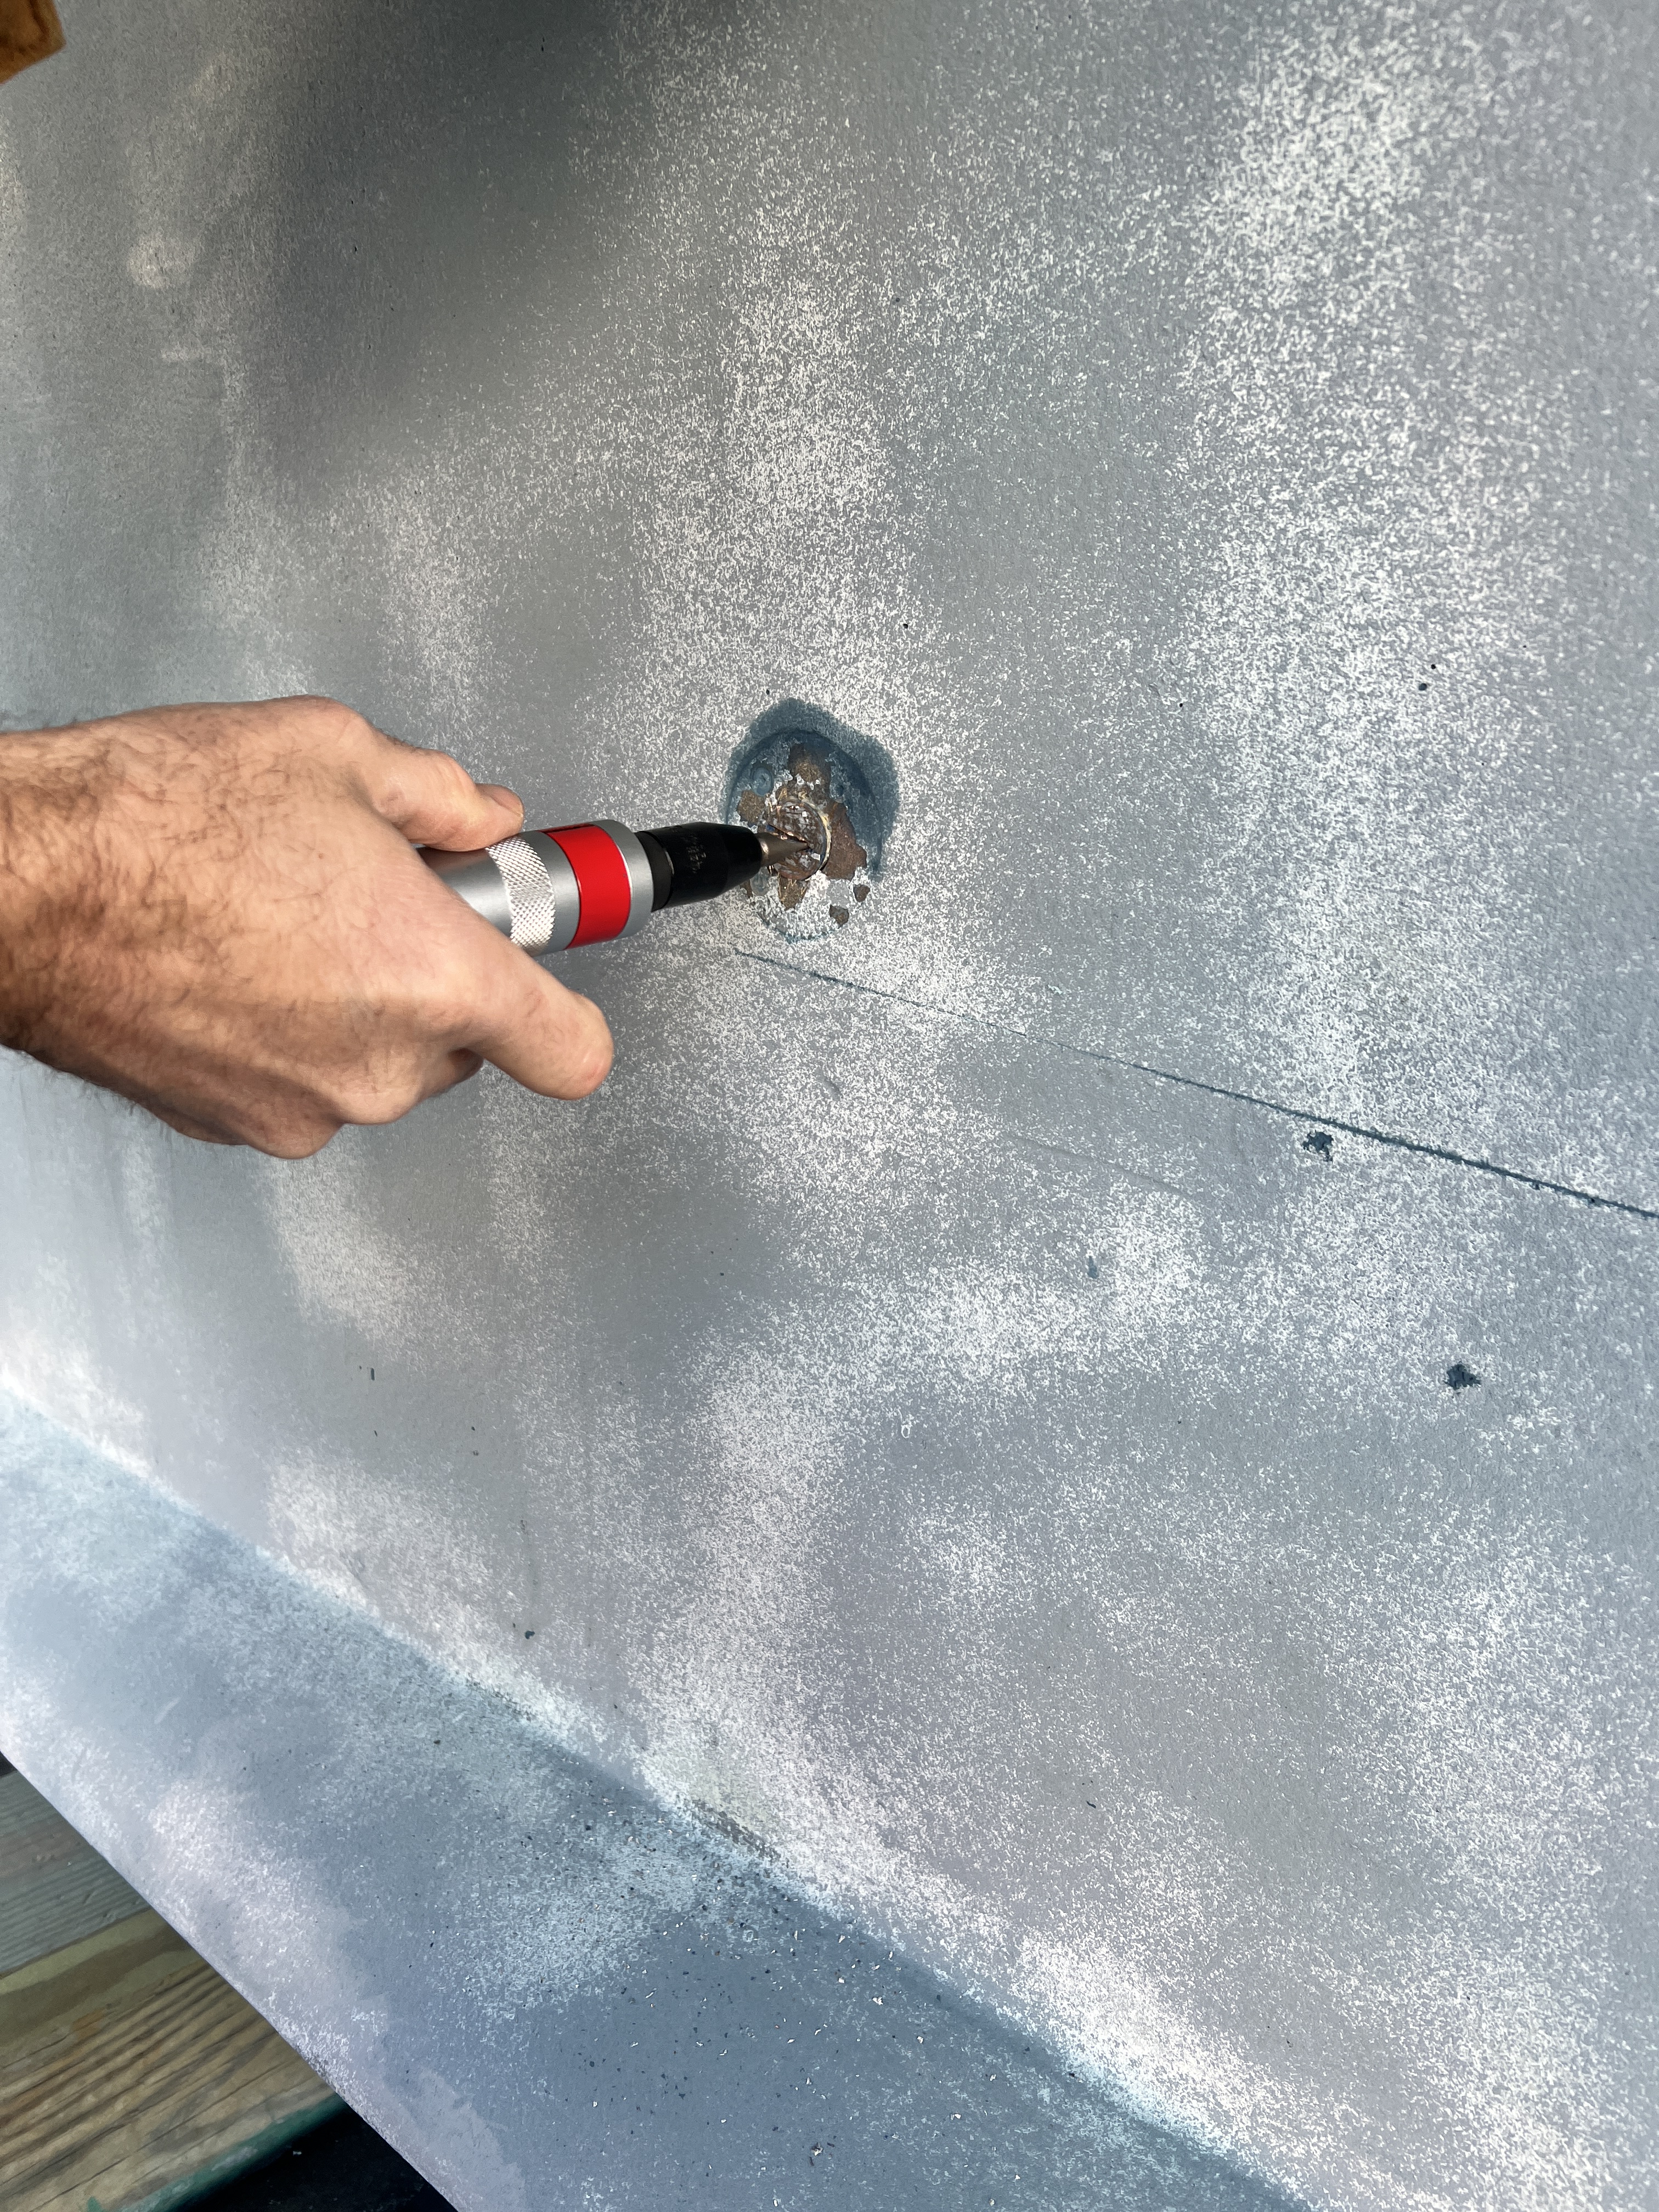
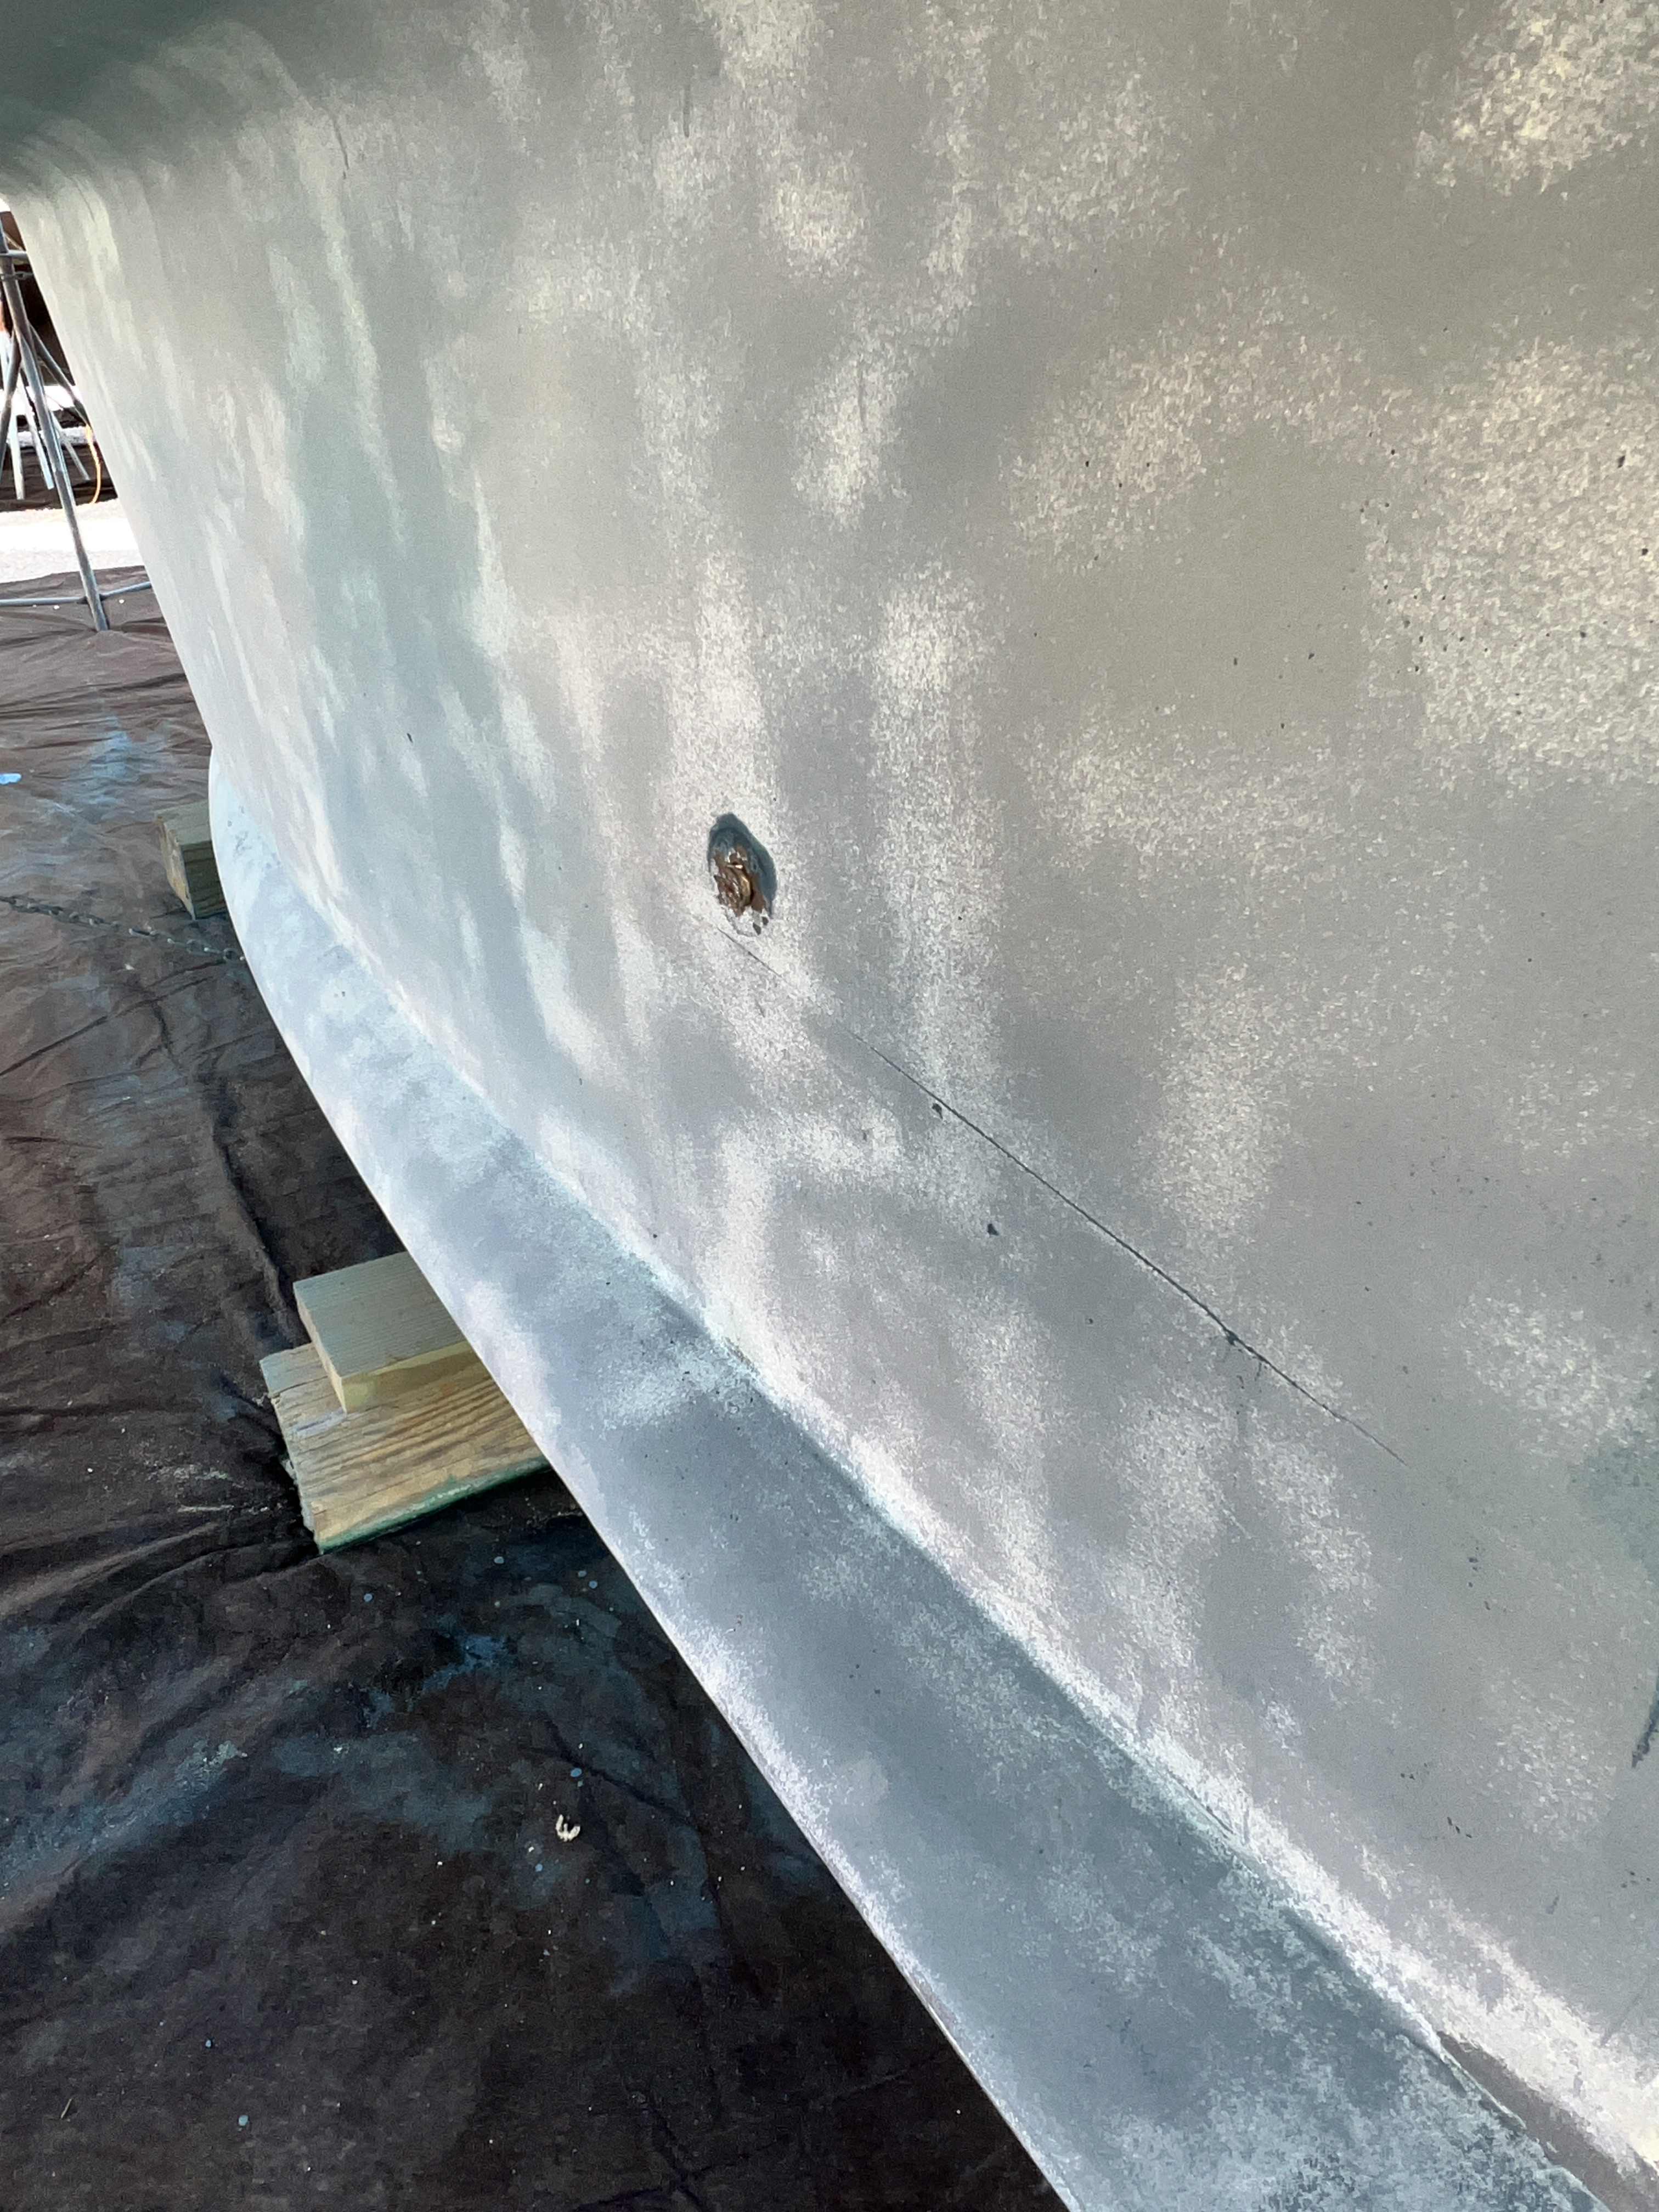
There appear to be no blisters, and the hull is in good condition. While a few minor surface anomalies exist they are expected for a boat of this age. I could not see evidence of hard groundings or other hull damage previously covered up by antifoul paint. Media blasting uncovered the bilge drain, and I couldn’t wait to open it up.
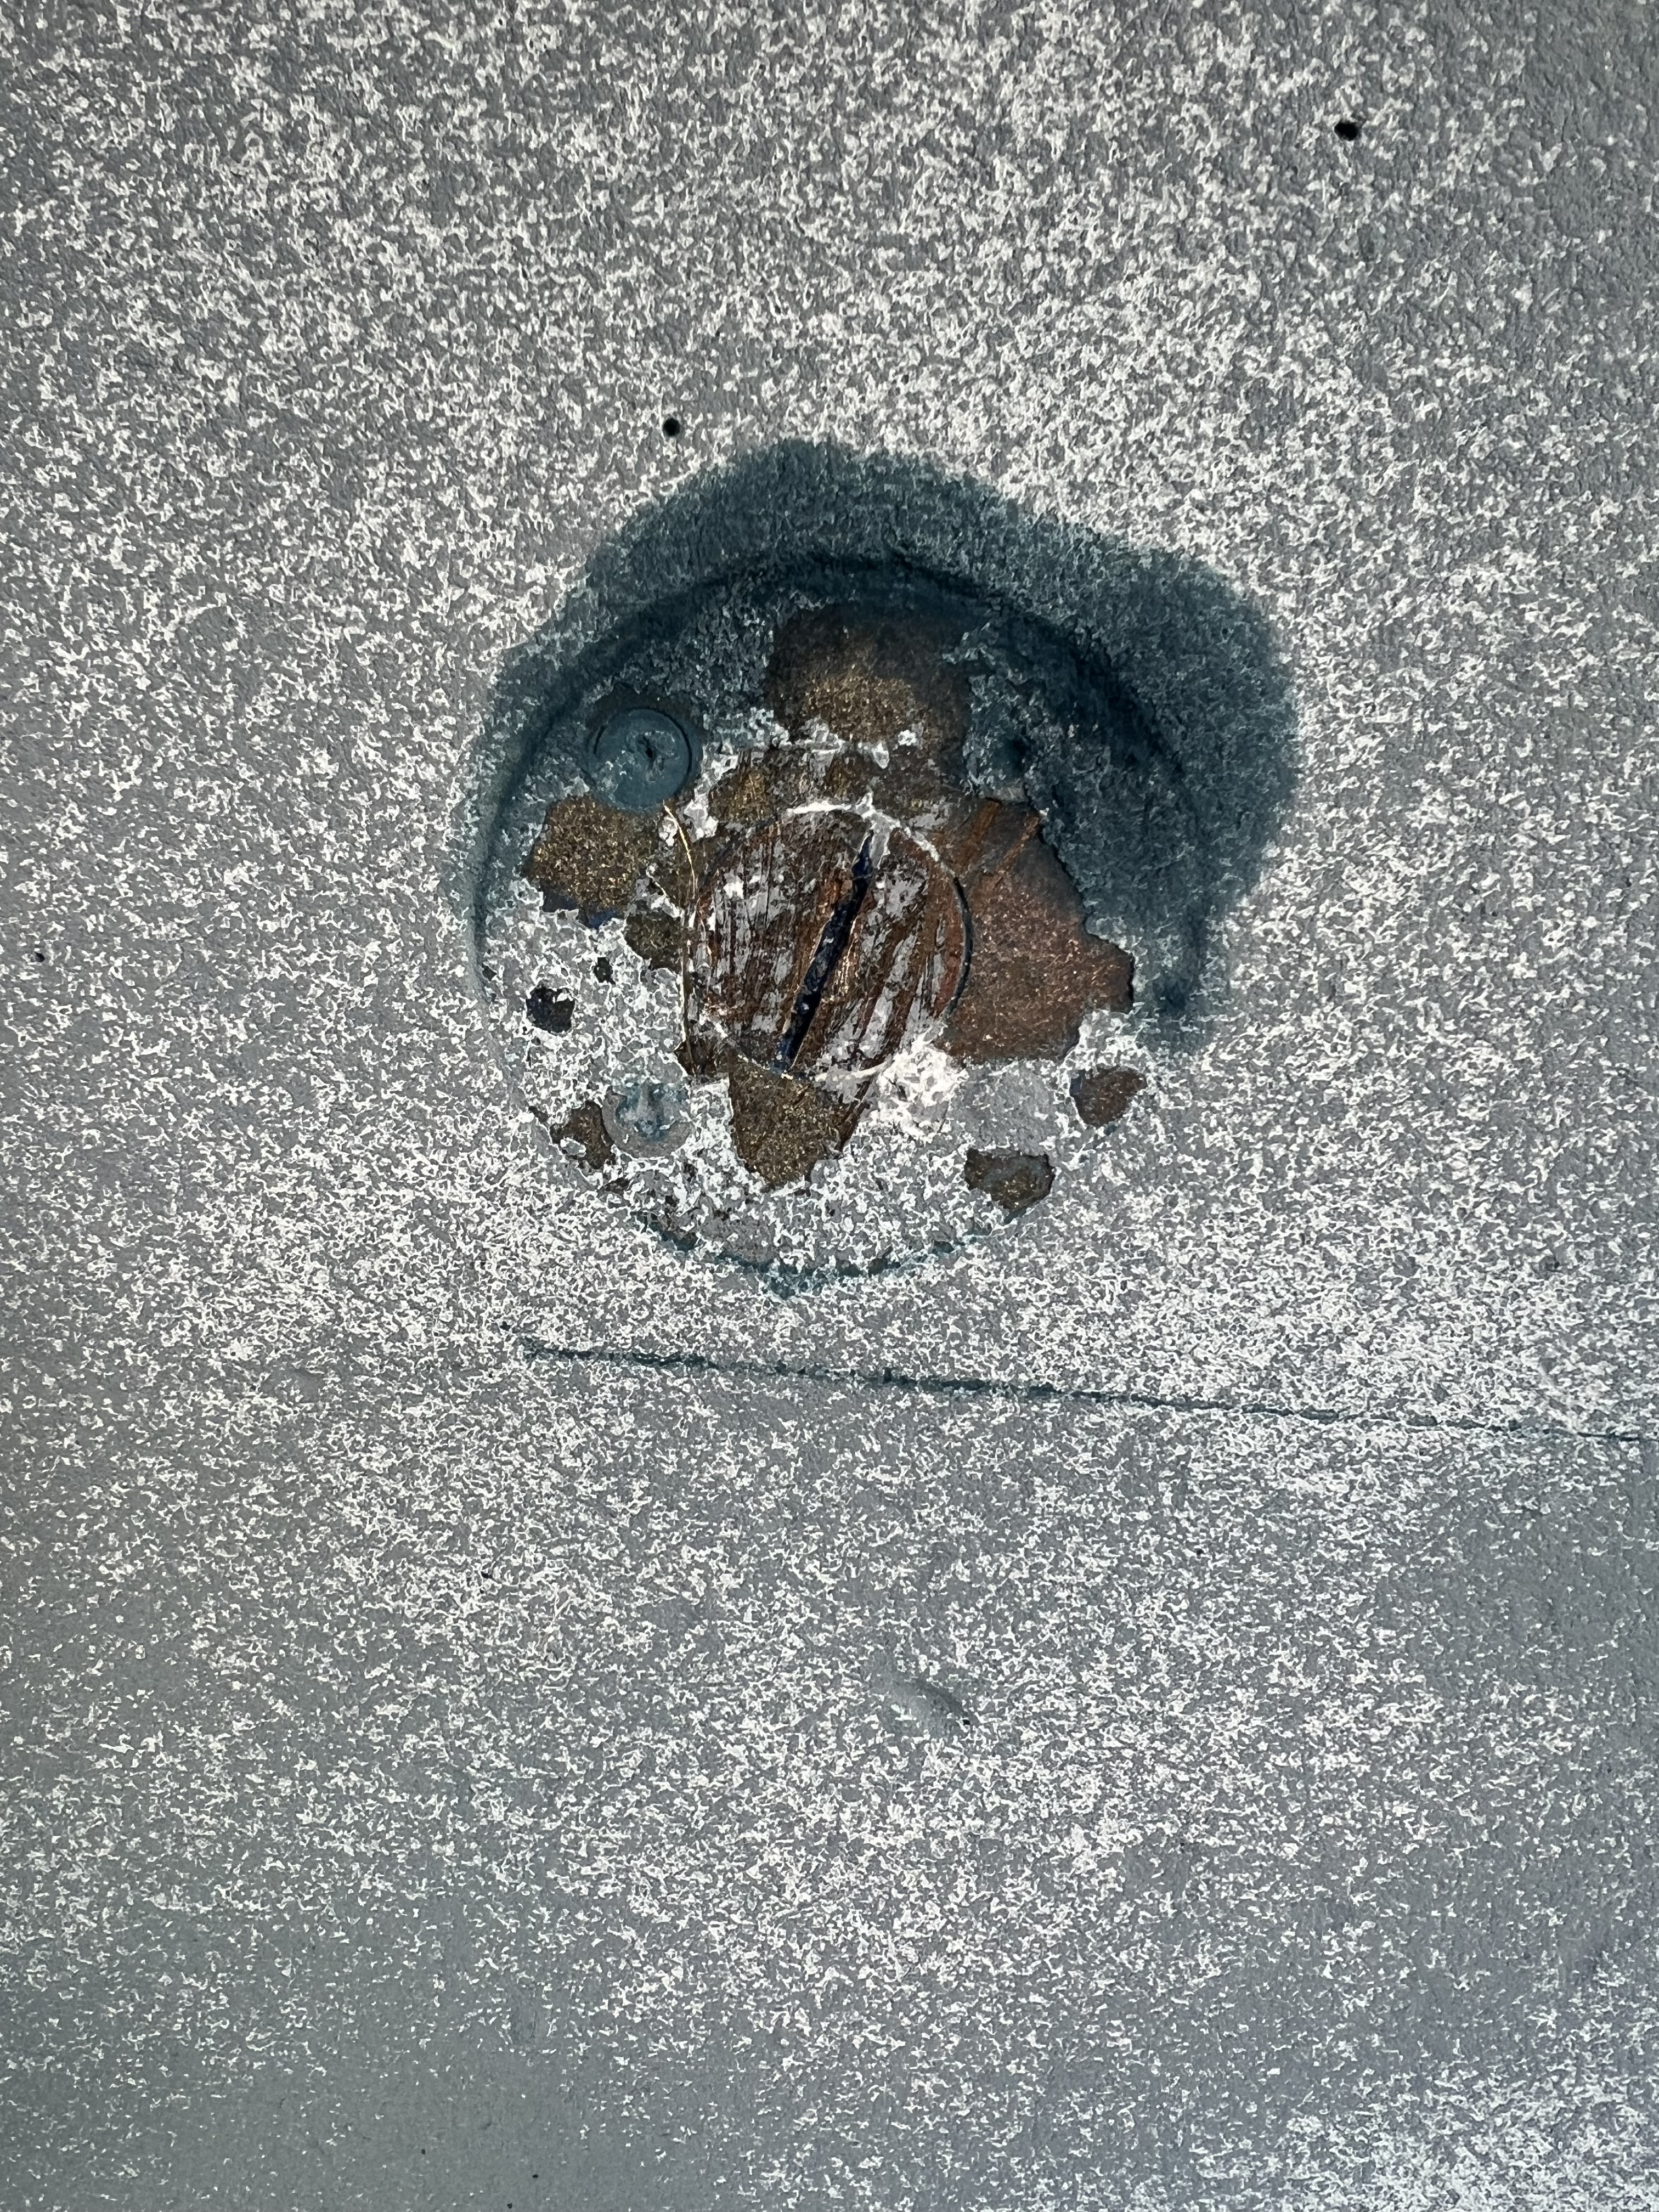
I pulled out my handy Craftsman Impact Driver tool and a 3 lb sledge hammer to break open the drain cap screw. The cap screw has a thin flat groove to allow a flathead screwdriver to fit into the slot, but as a warning, the slot is not very deep. It didn’t take too many hits and the cap screw freely turned in my hands. My objective was to inspect the cap screw, because I had learned that Hallberg-Rassy installed cap screws that were not solid and provided a very thin layer of protection. New cap screws are solid.
Sure enough, the cap screw is thin and not solid. When I opened the screw, nothing came out which might indicate that the drain is plugged. I will run a wire up the drain to confirm that theory the next time I am at the boat.

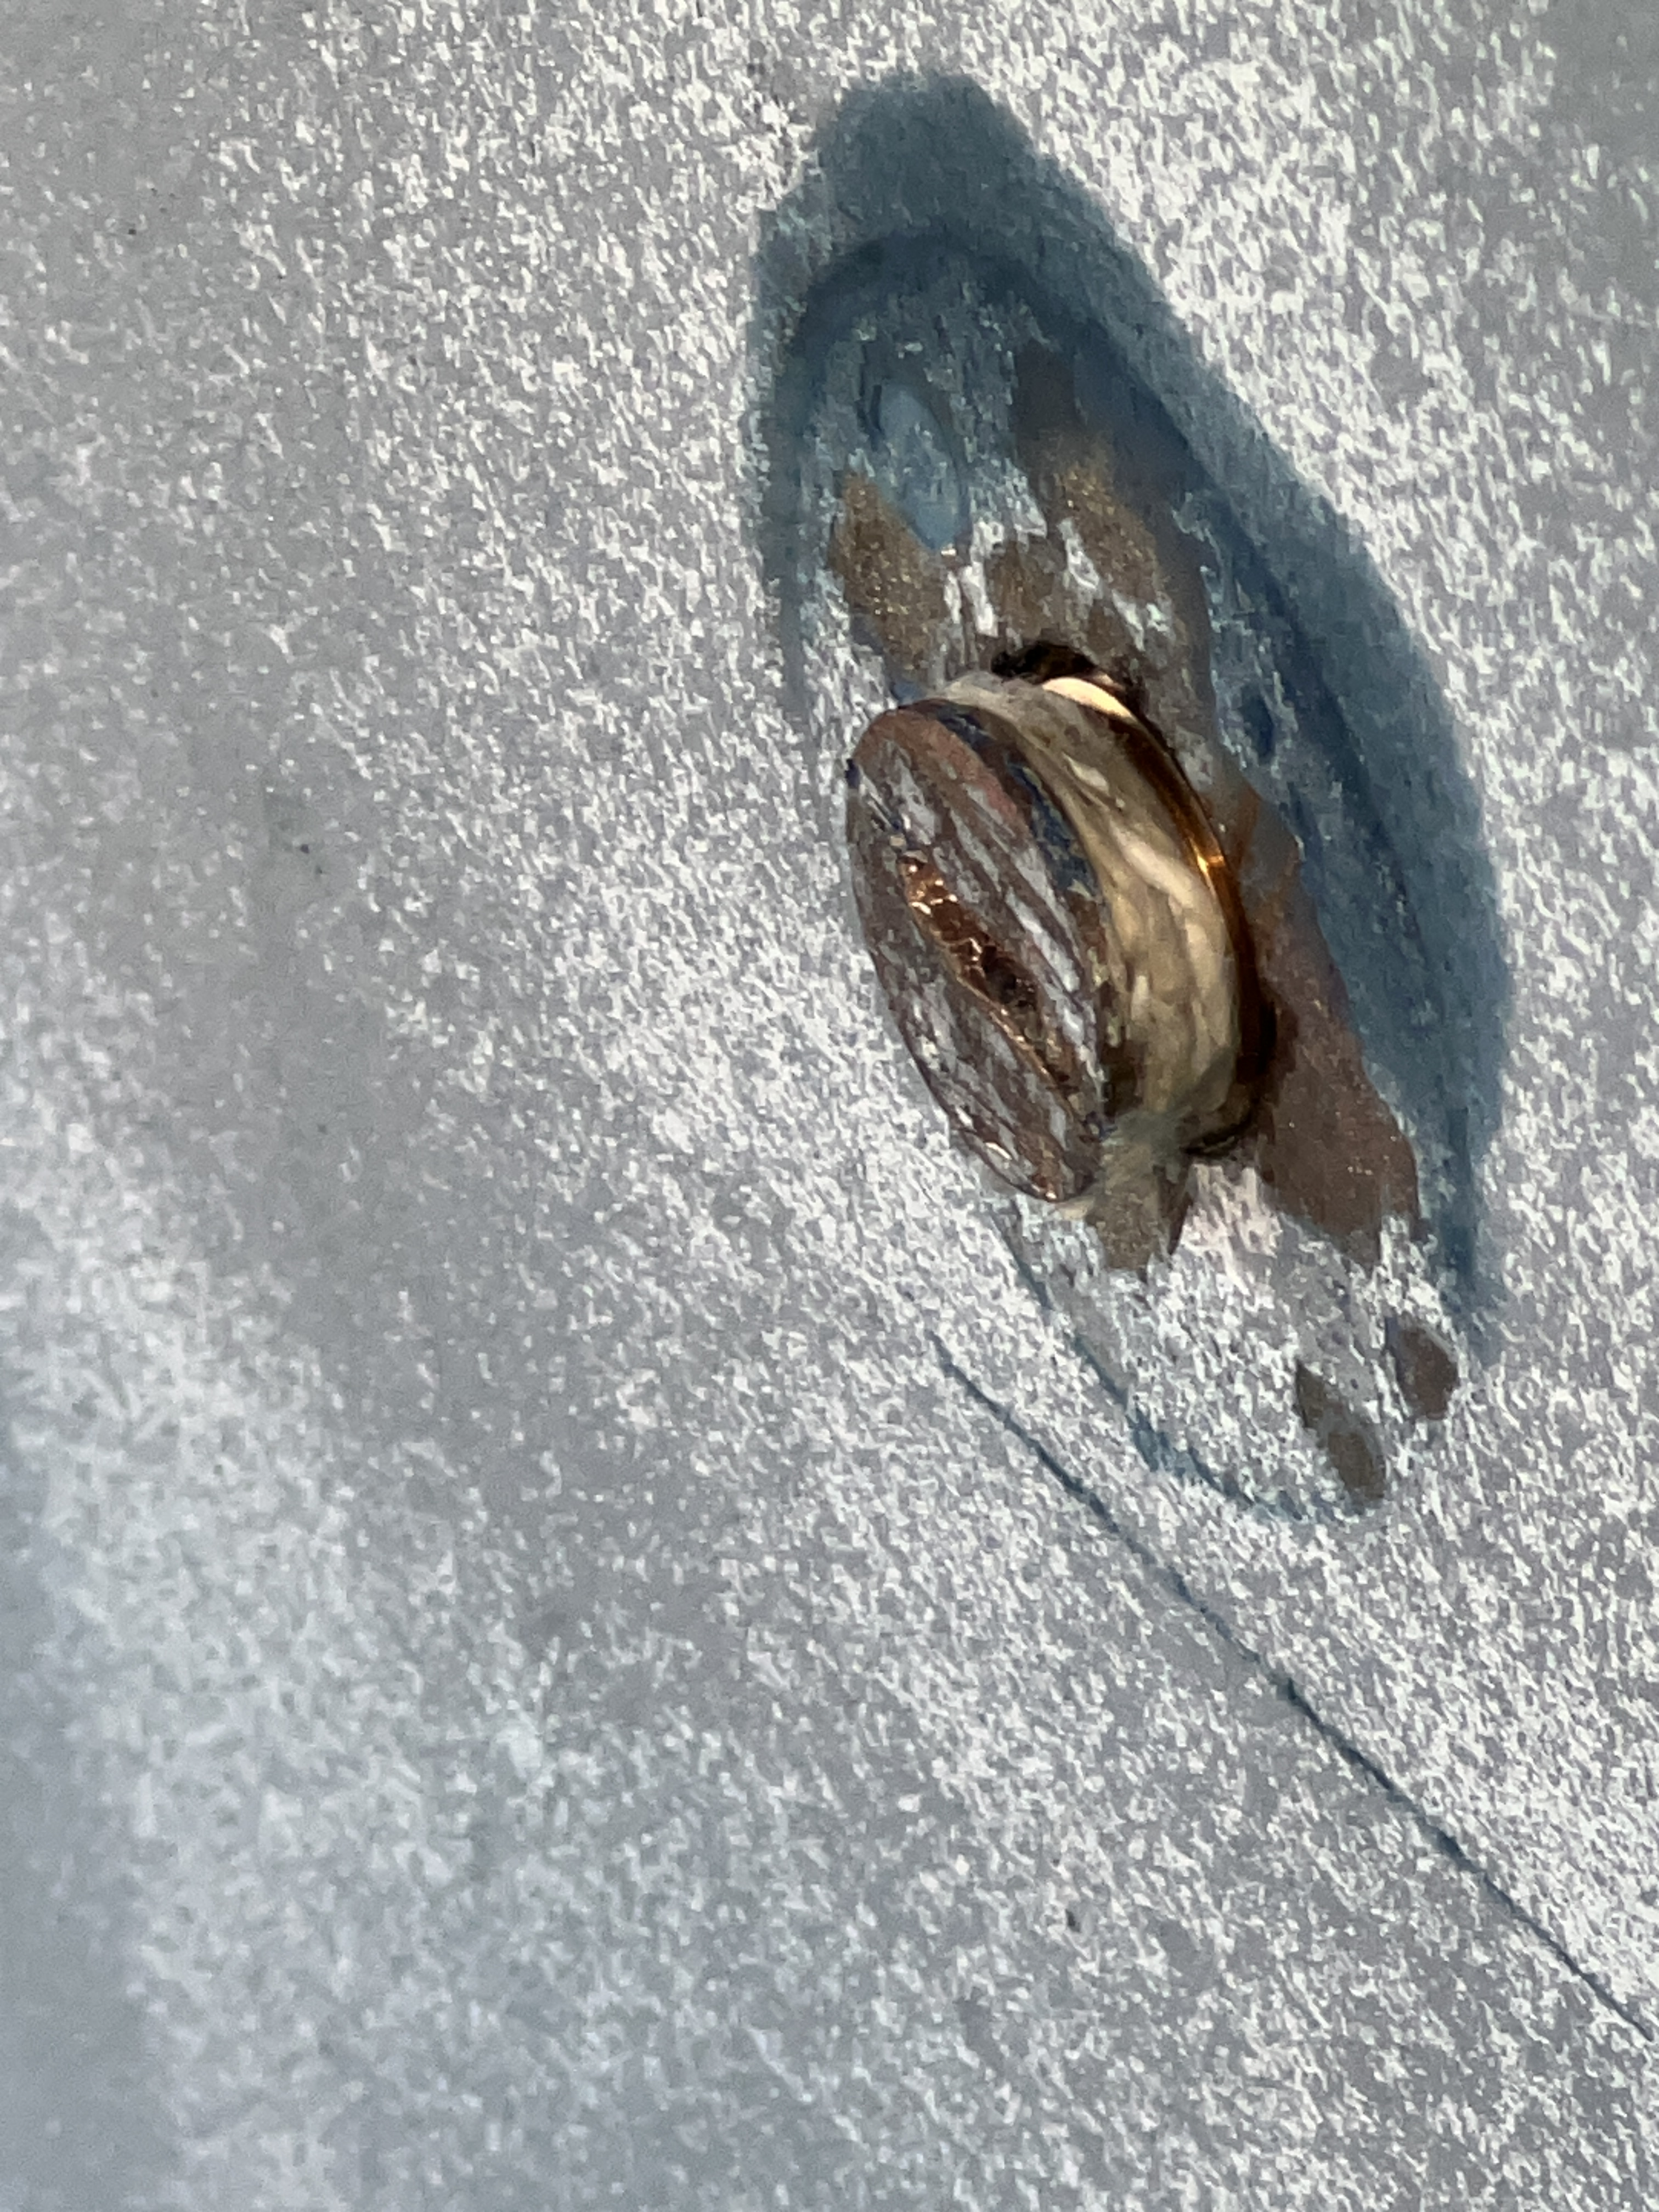
I ordered a new cap screw from Hallberg-Rassy, and I’ve decided to keep the bilge drain plug rather than glassing it over. The next steps include a full sanding and inspection by Greg then other work planned prior to antifoul painting in the Spring.
