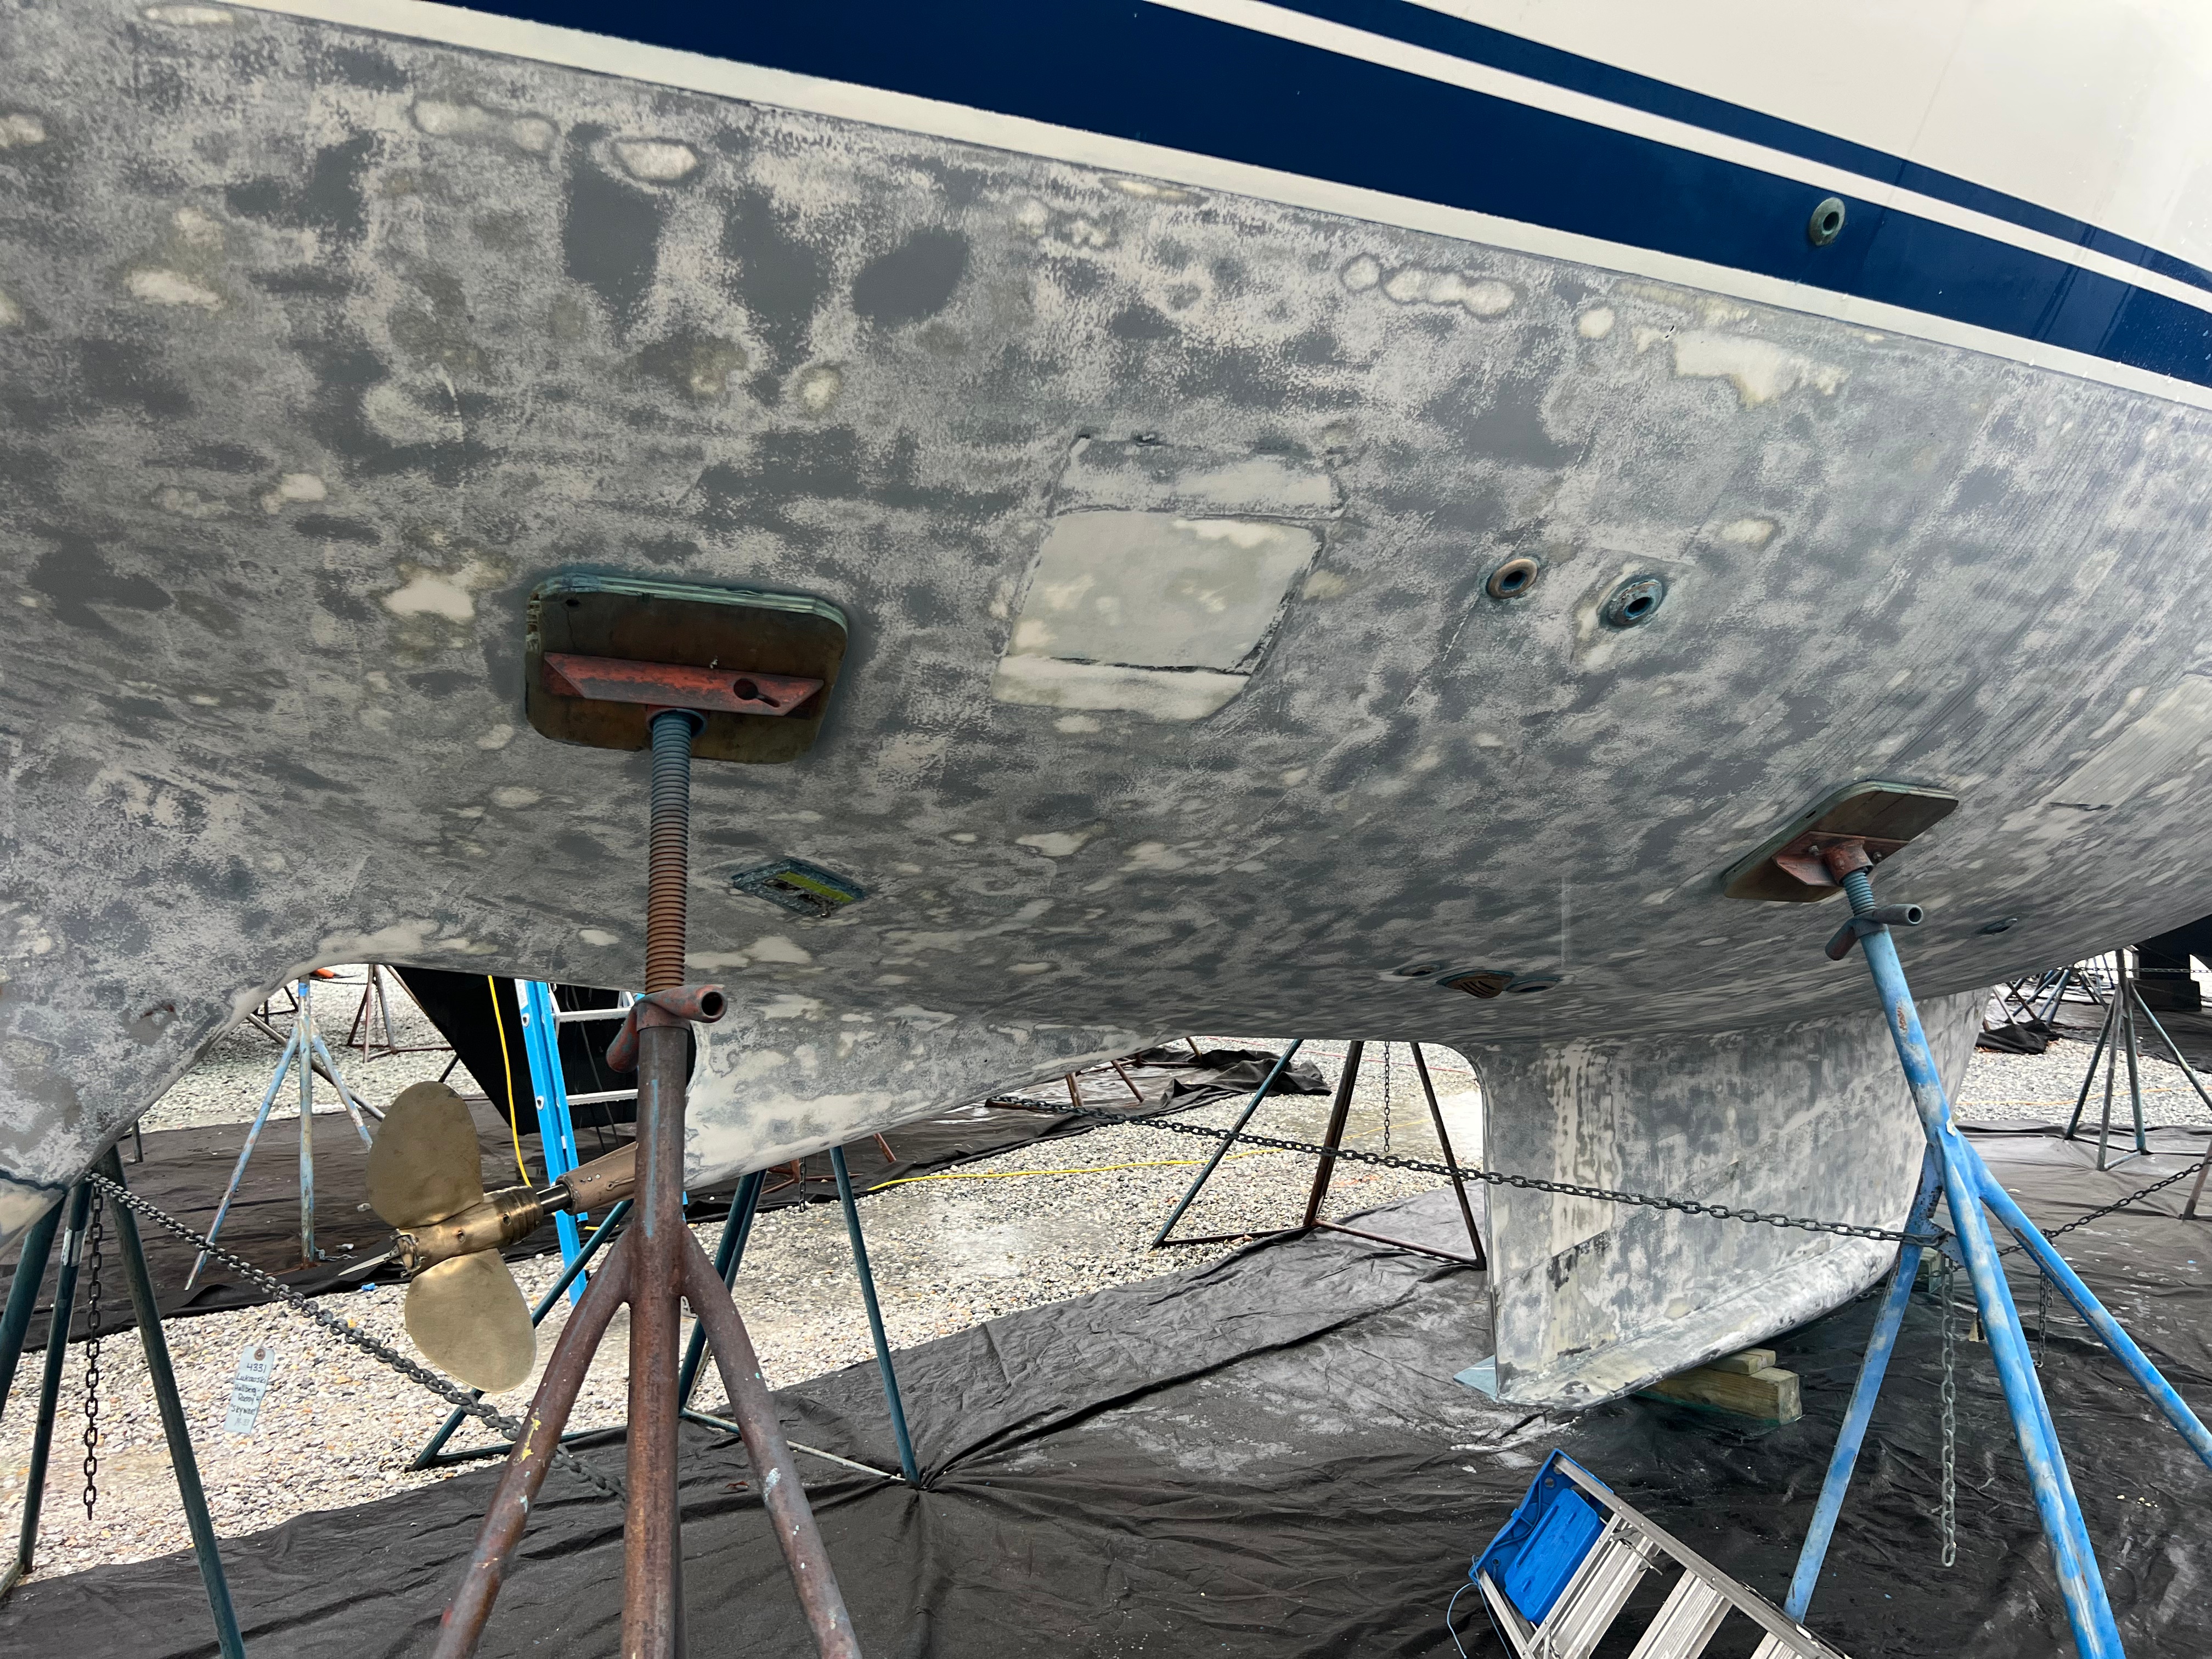
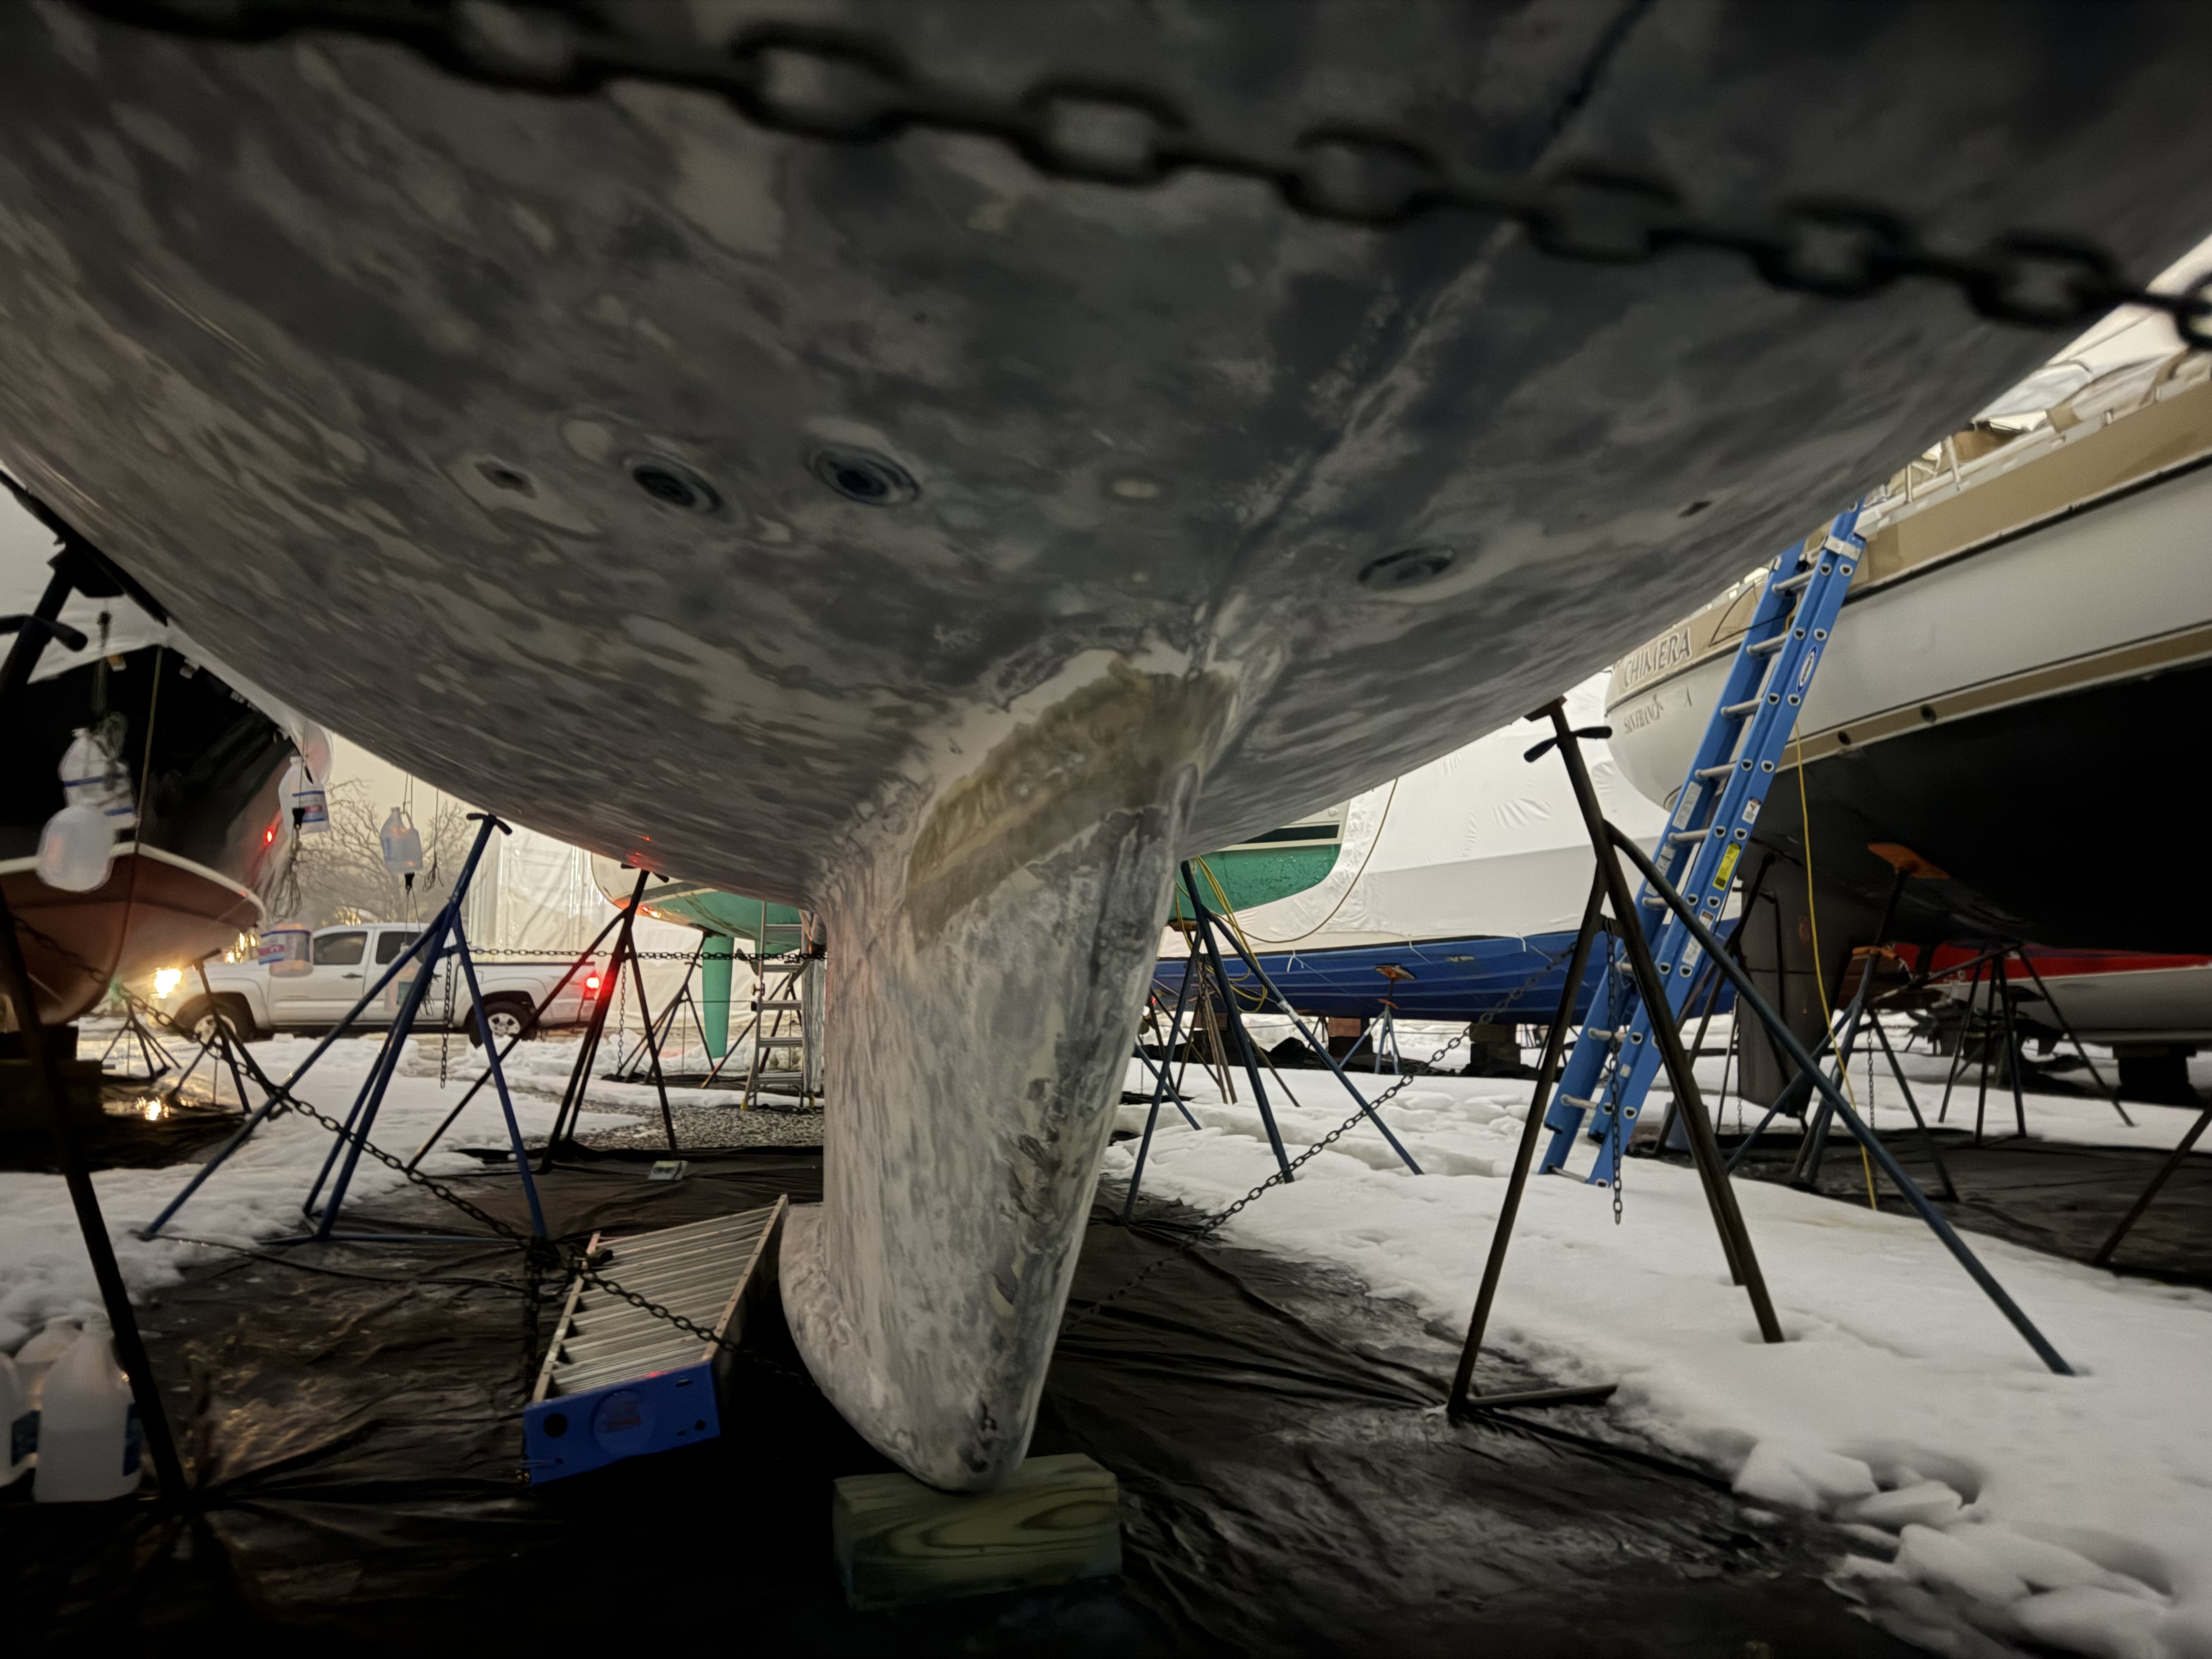
As mentioned in the previous post, the previous owner put on 4 barrier coats. They did a nice job and there was no blistering found on Skyward under all of this. After the media blasting during Christmas, Annapolis Boat Service carefully sanded the bottom down by hand and took off about 2 layers of barrier coat. All thruhull fittings were sanded clean in prep for finishing the bottom.
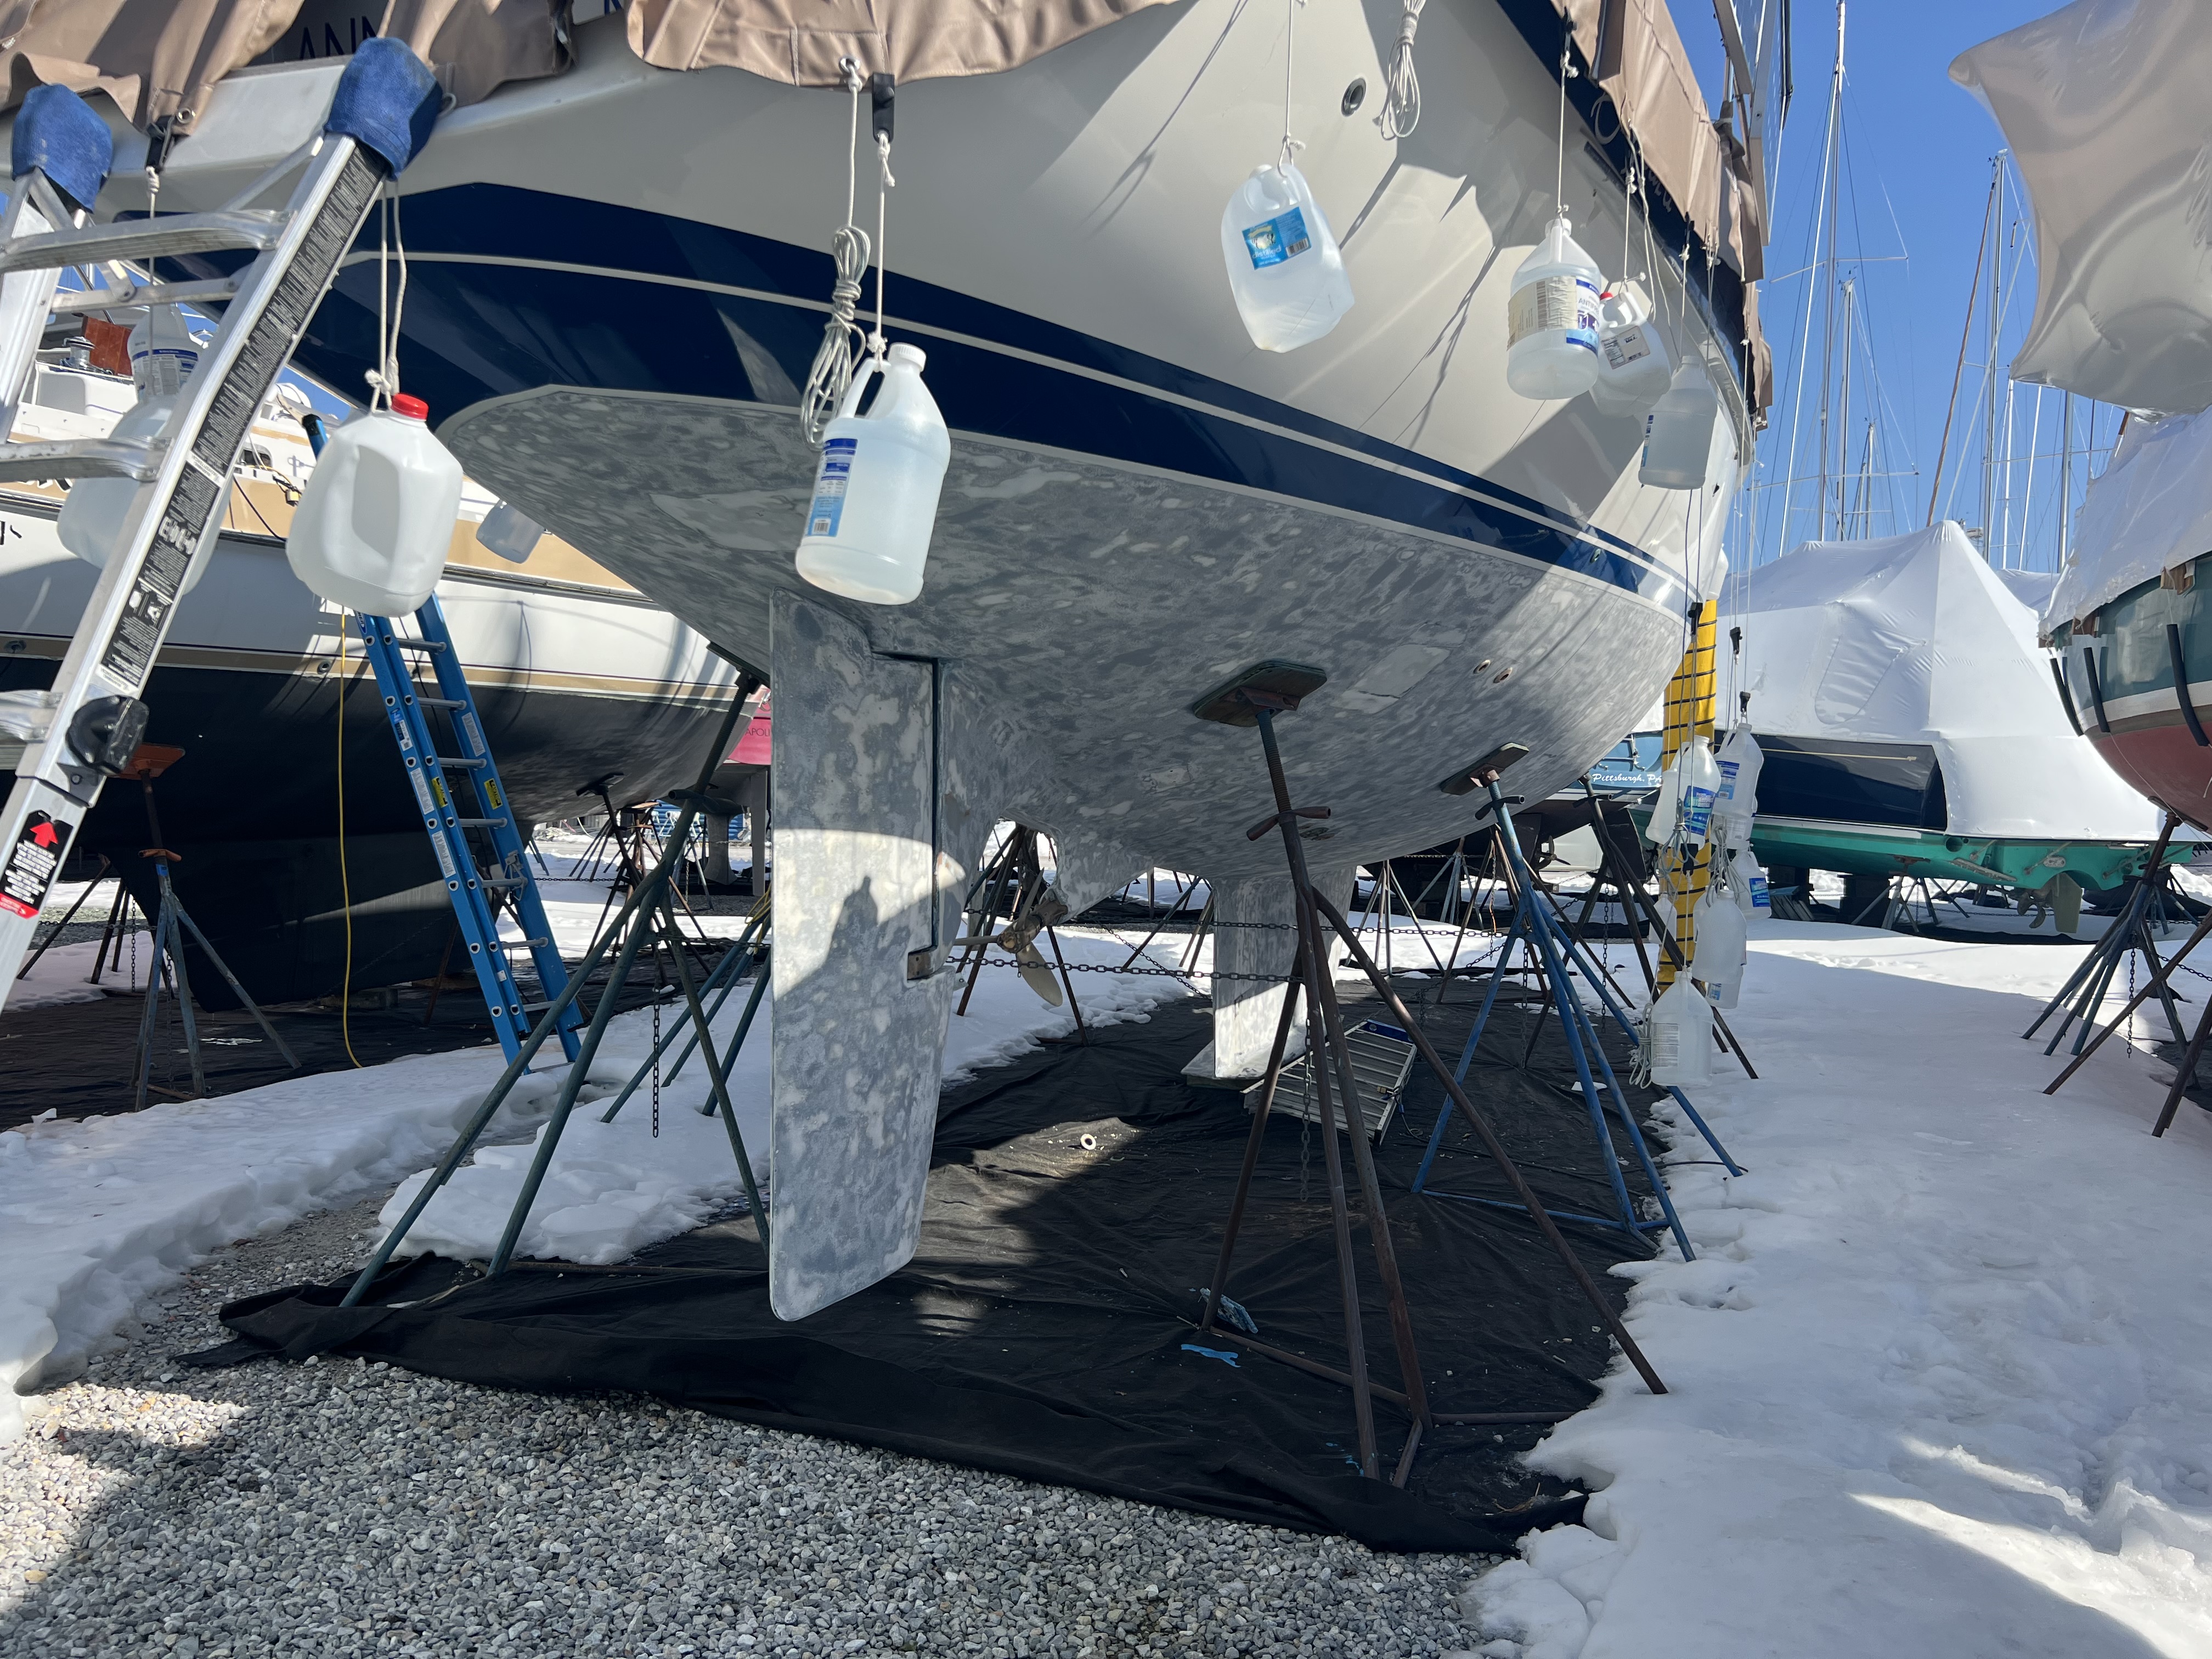
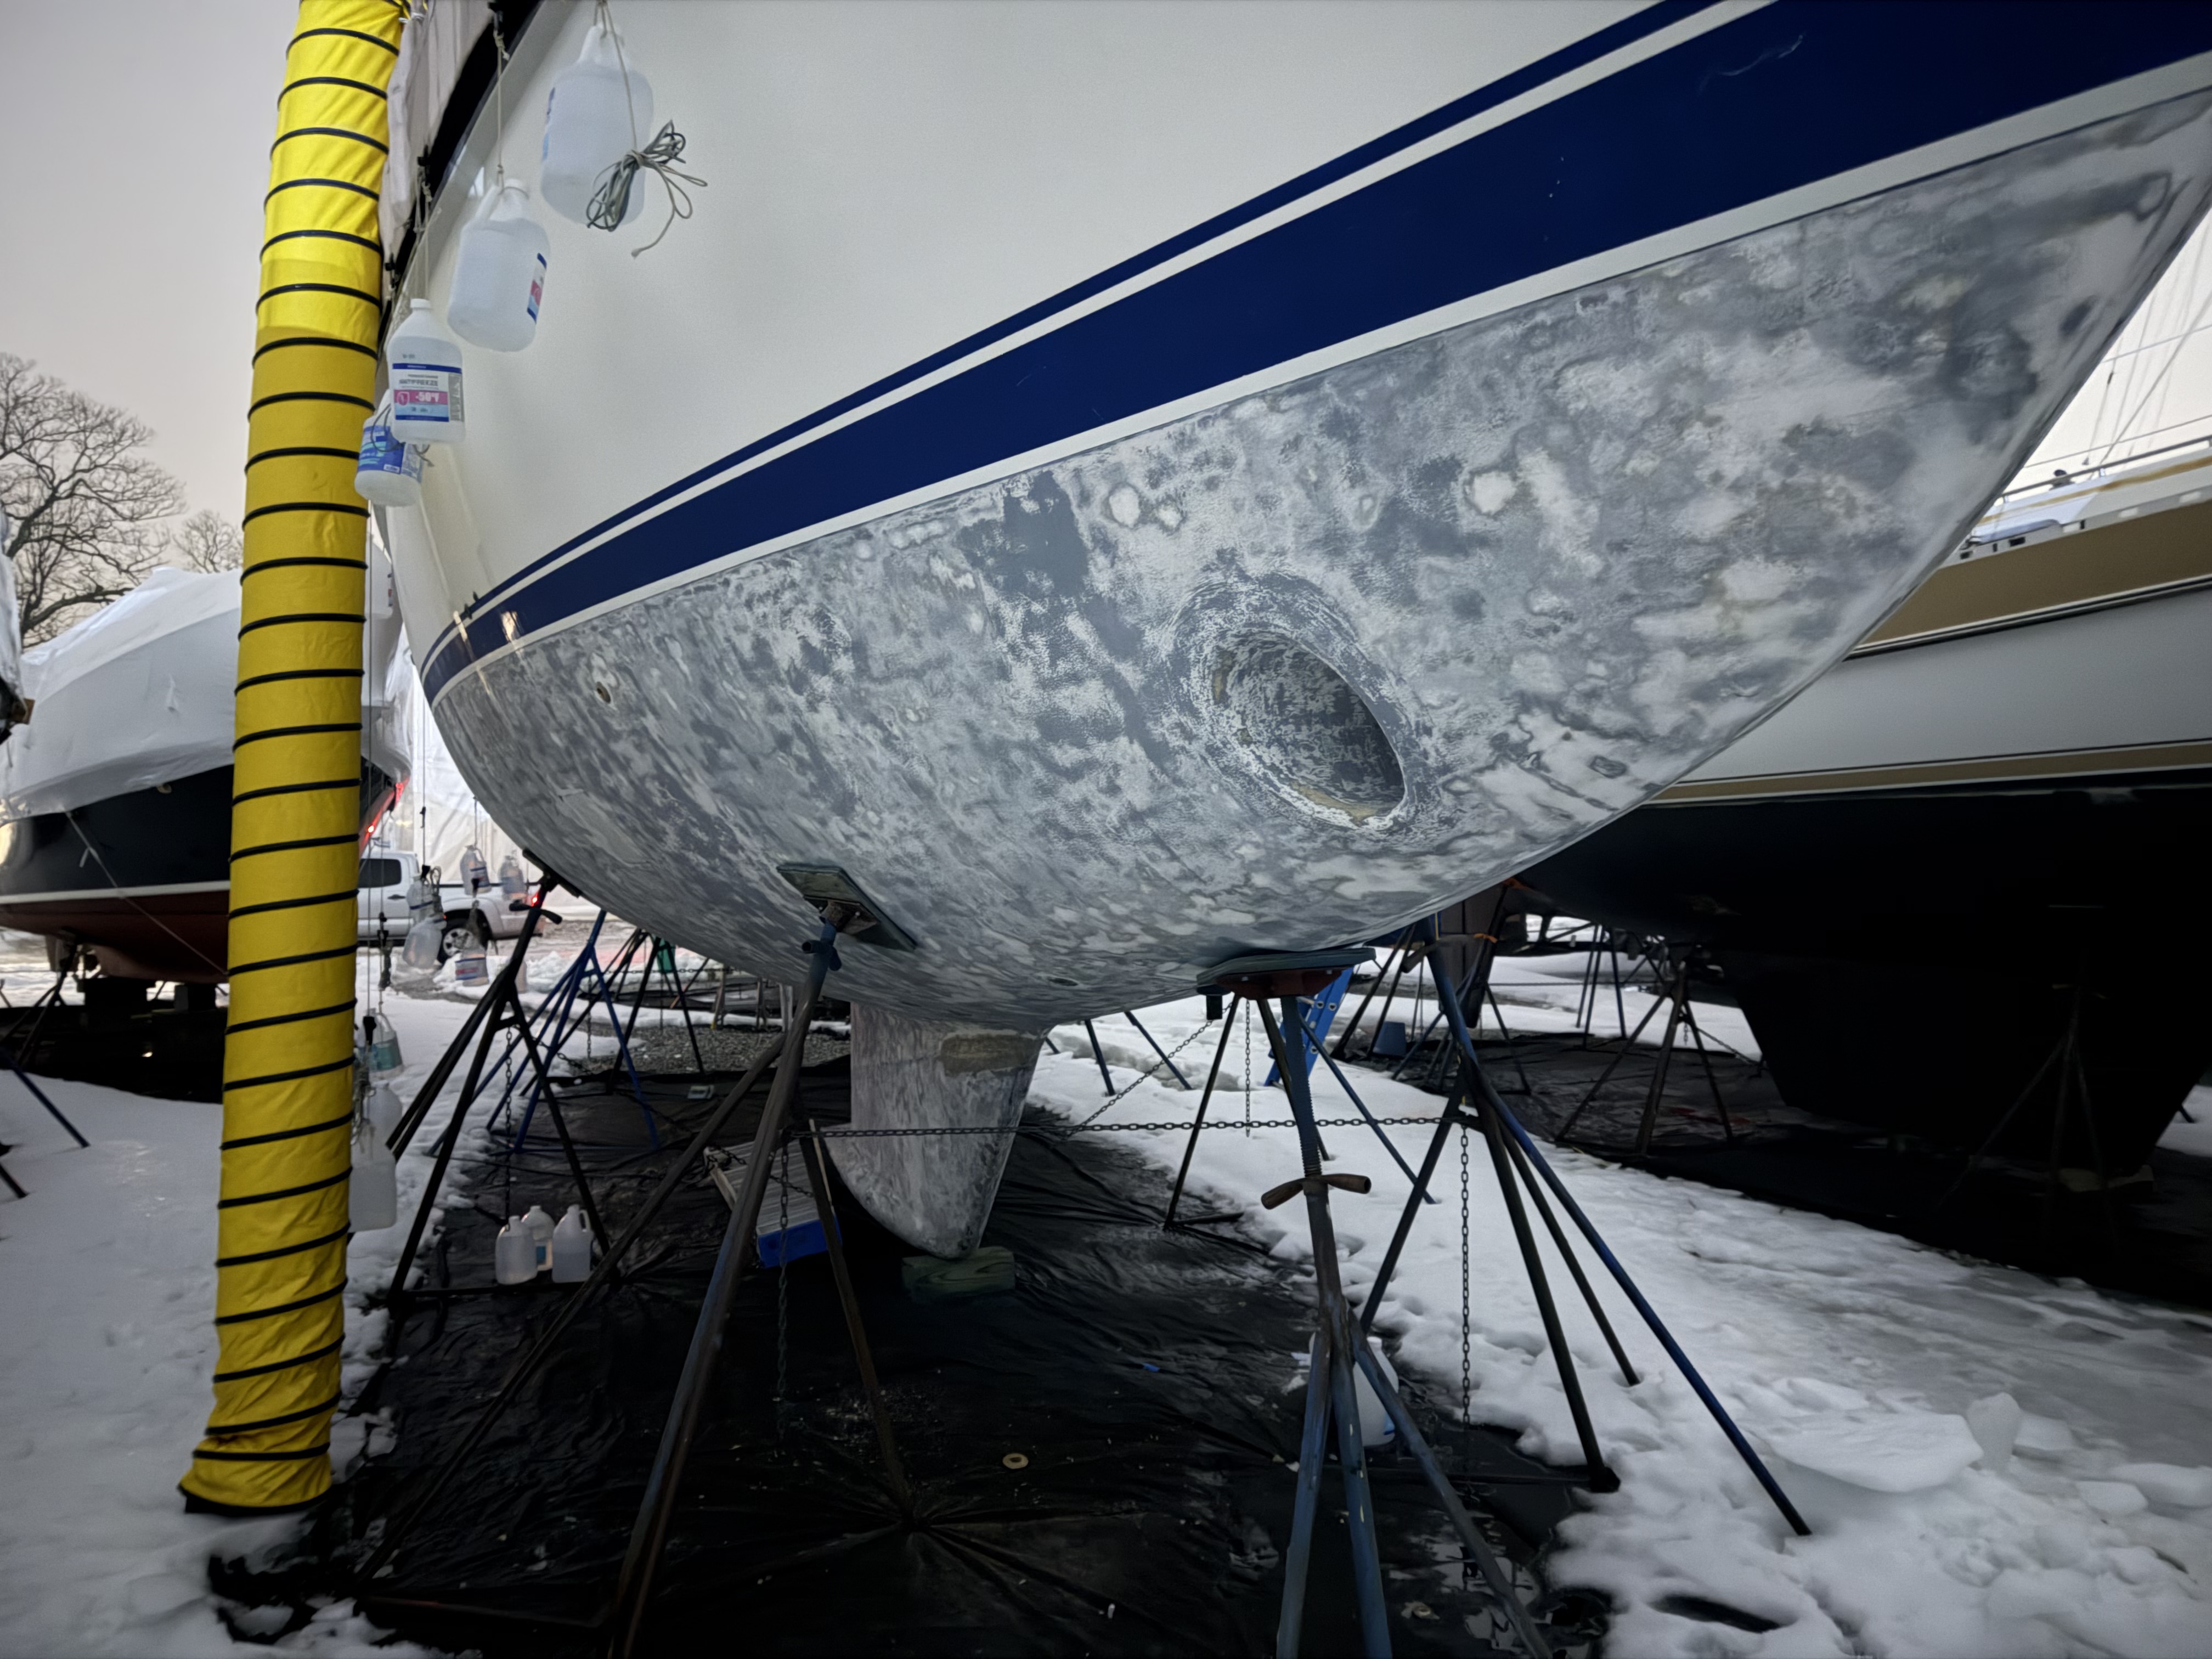
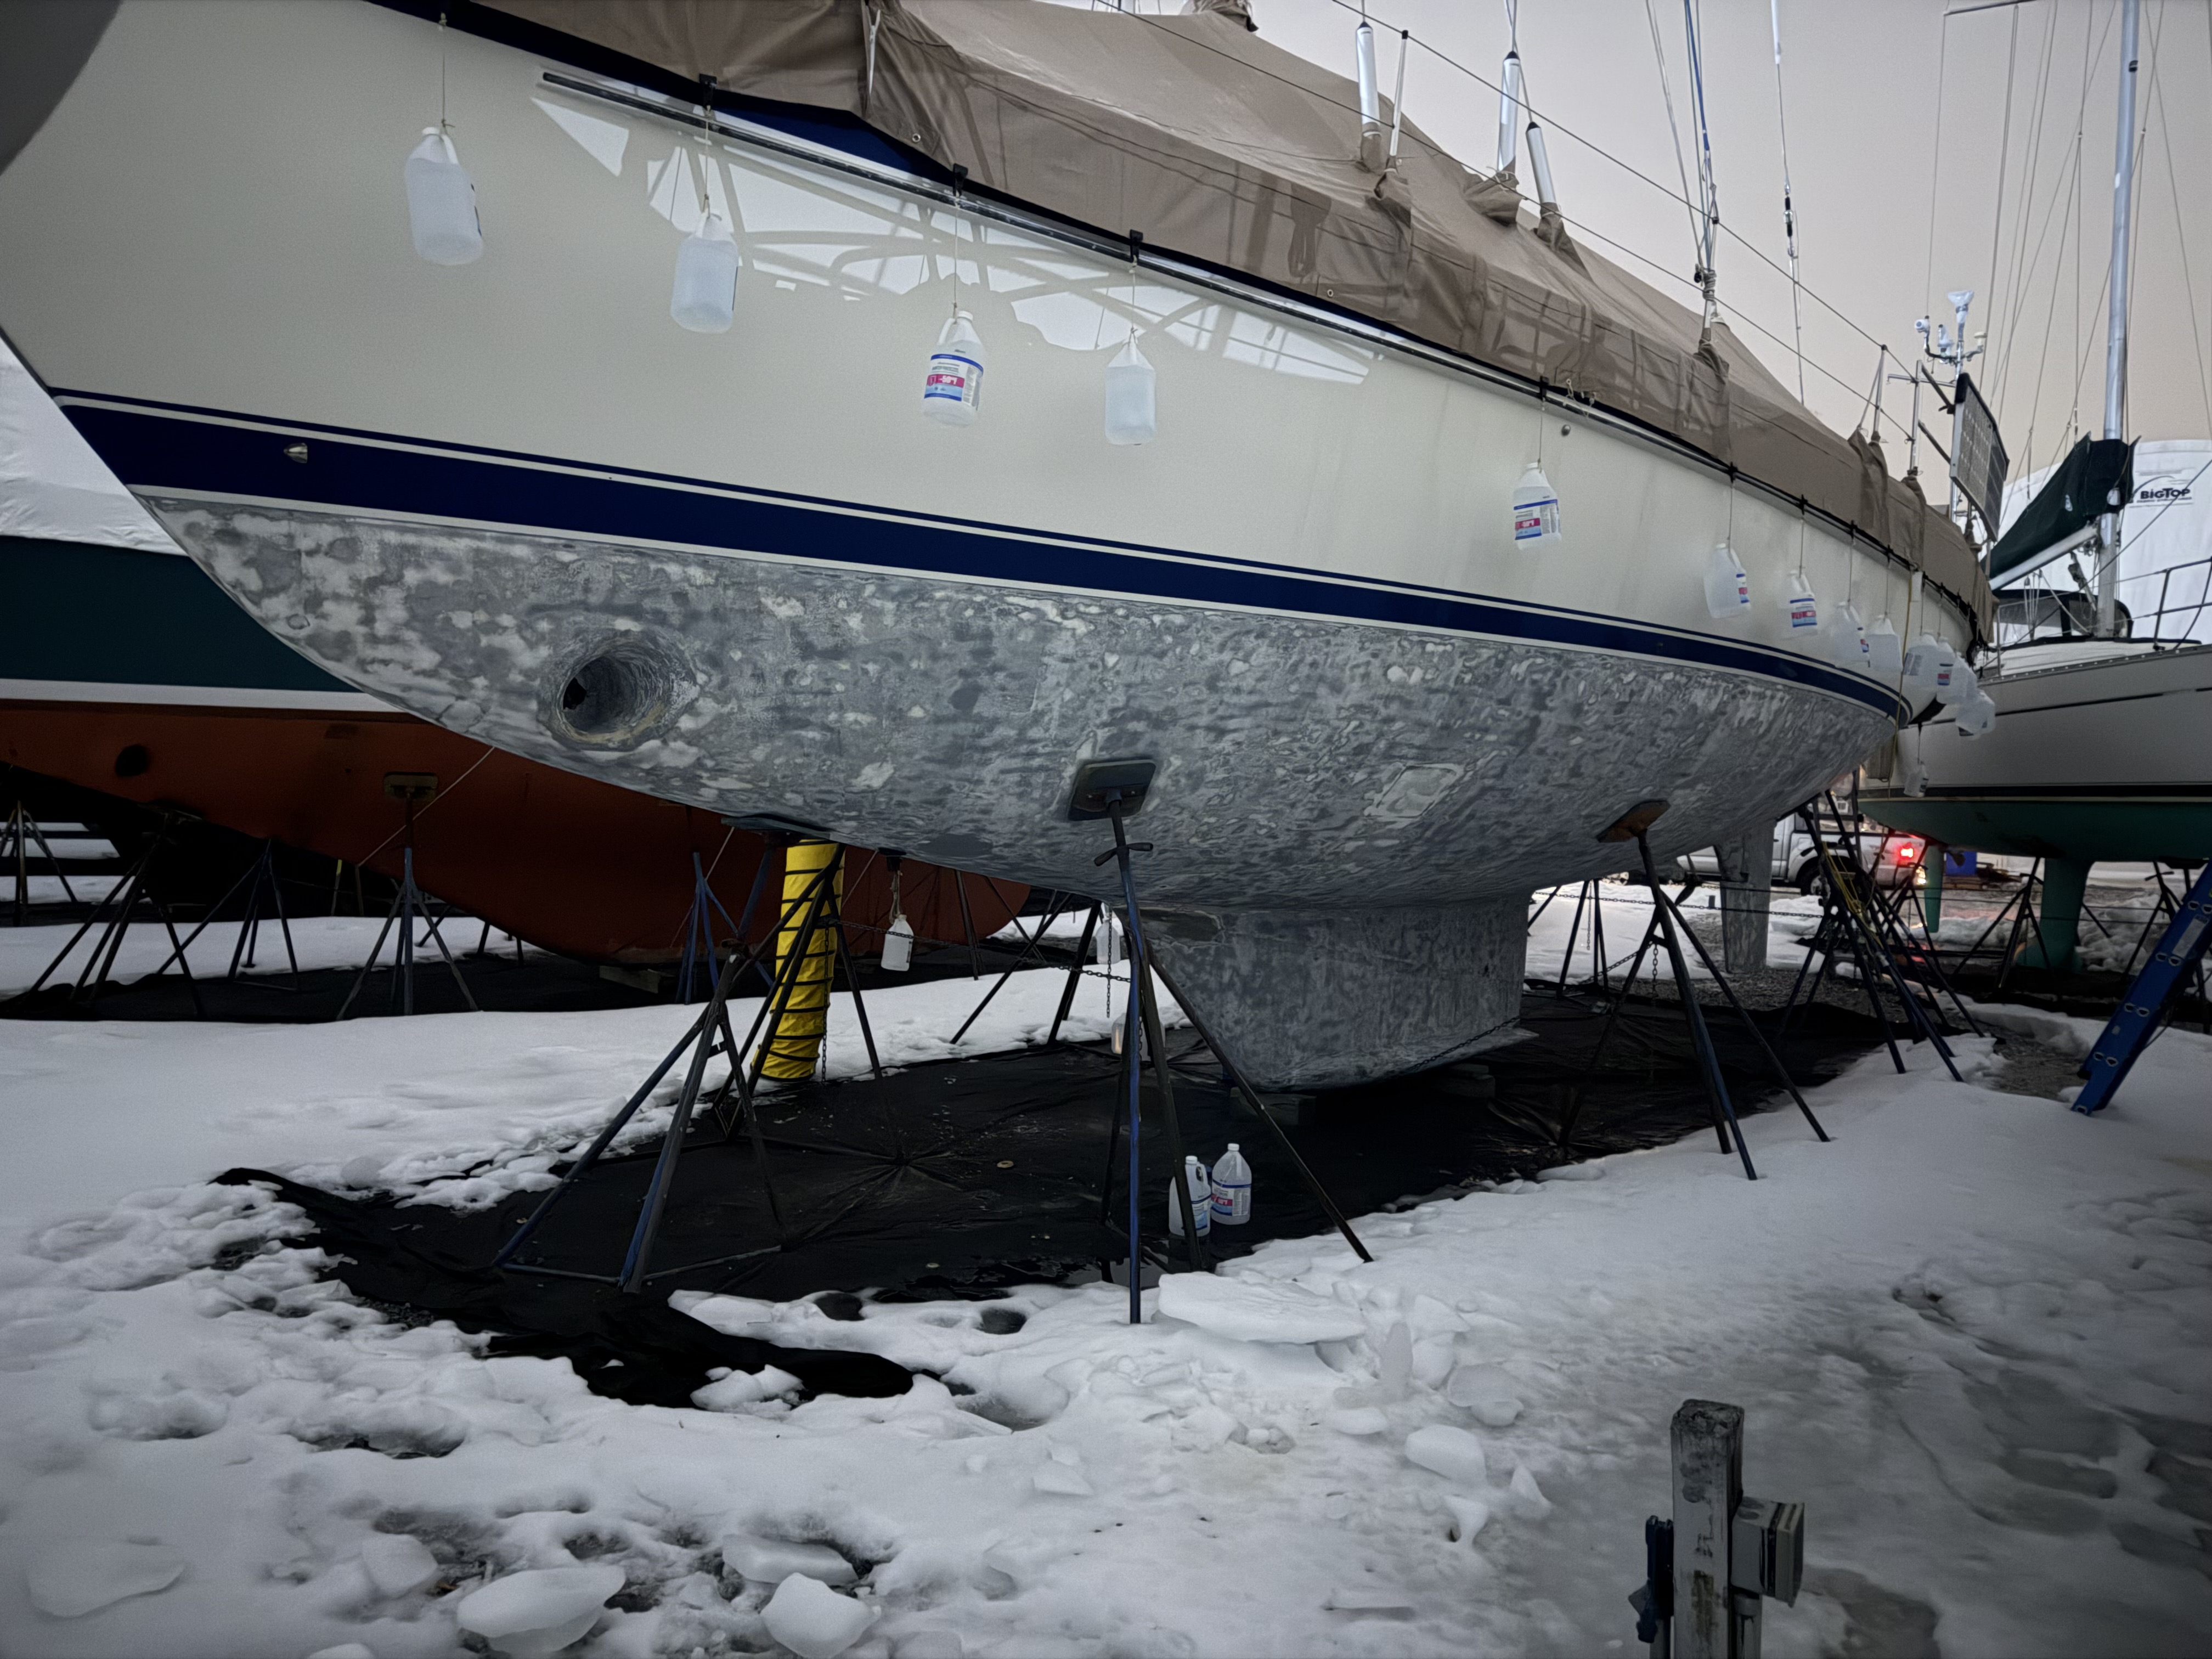
We are taking the opportunity while the bottom is clean down to barrier coat to replace five (5) of the remaining original or older thruhulls. It made the most sense to do this now rather than after we’ve completed all of the work with barrier coat and antifoul:
- The forward sanitary-to-sea thruhull
- A thruhull which we will eventually connect to a new watermaker
- The thruhull supplying seawater to the salon air conditioner and freezer. We are upsizing this one to 1″.
- The galley drain thruhull
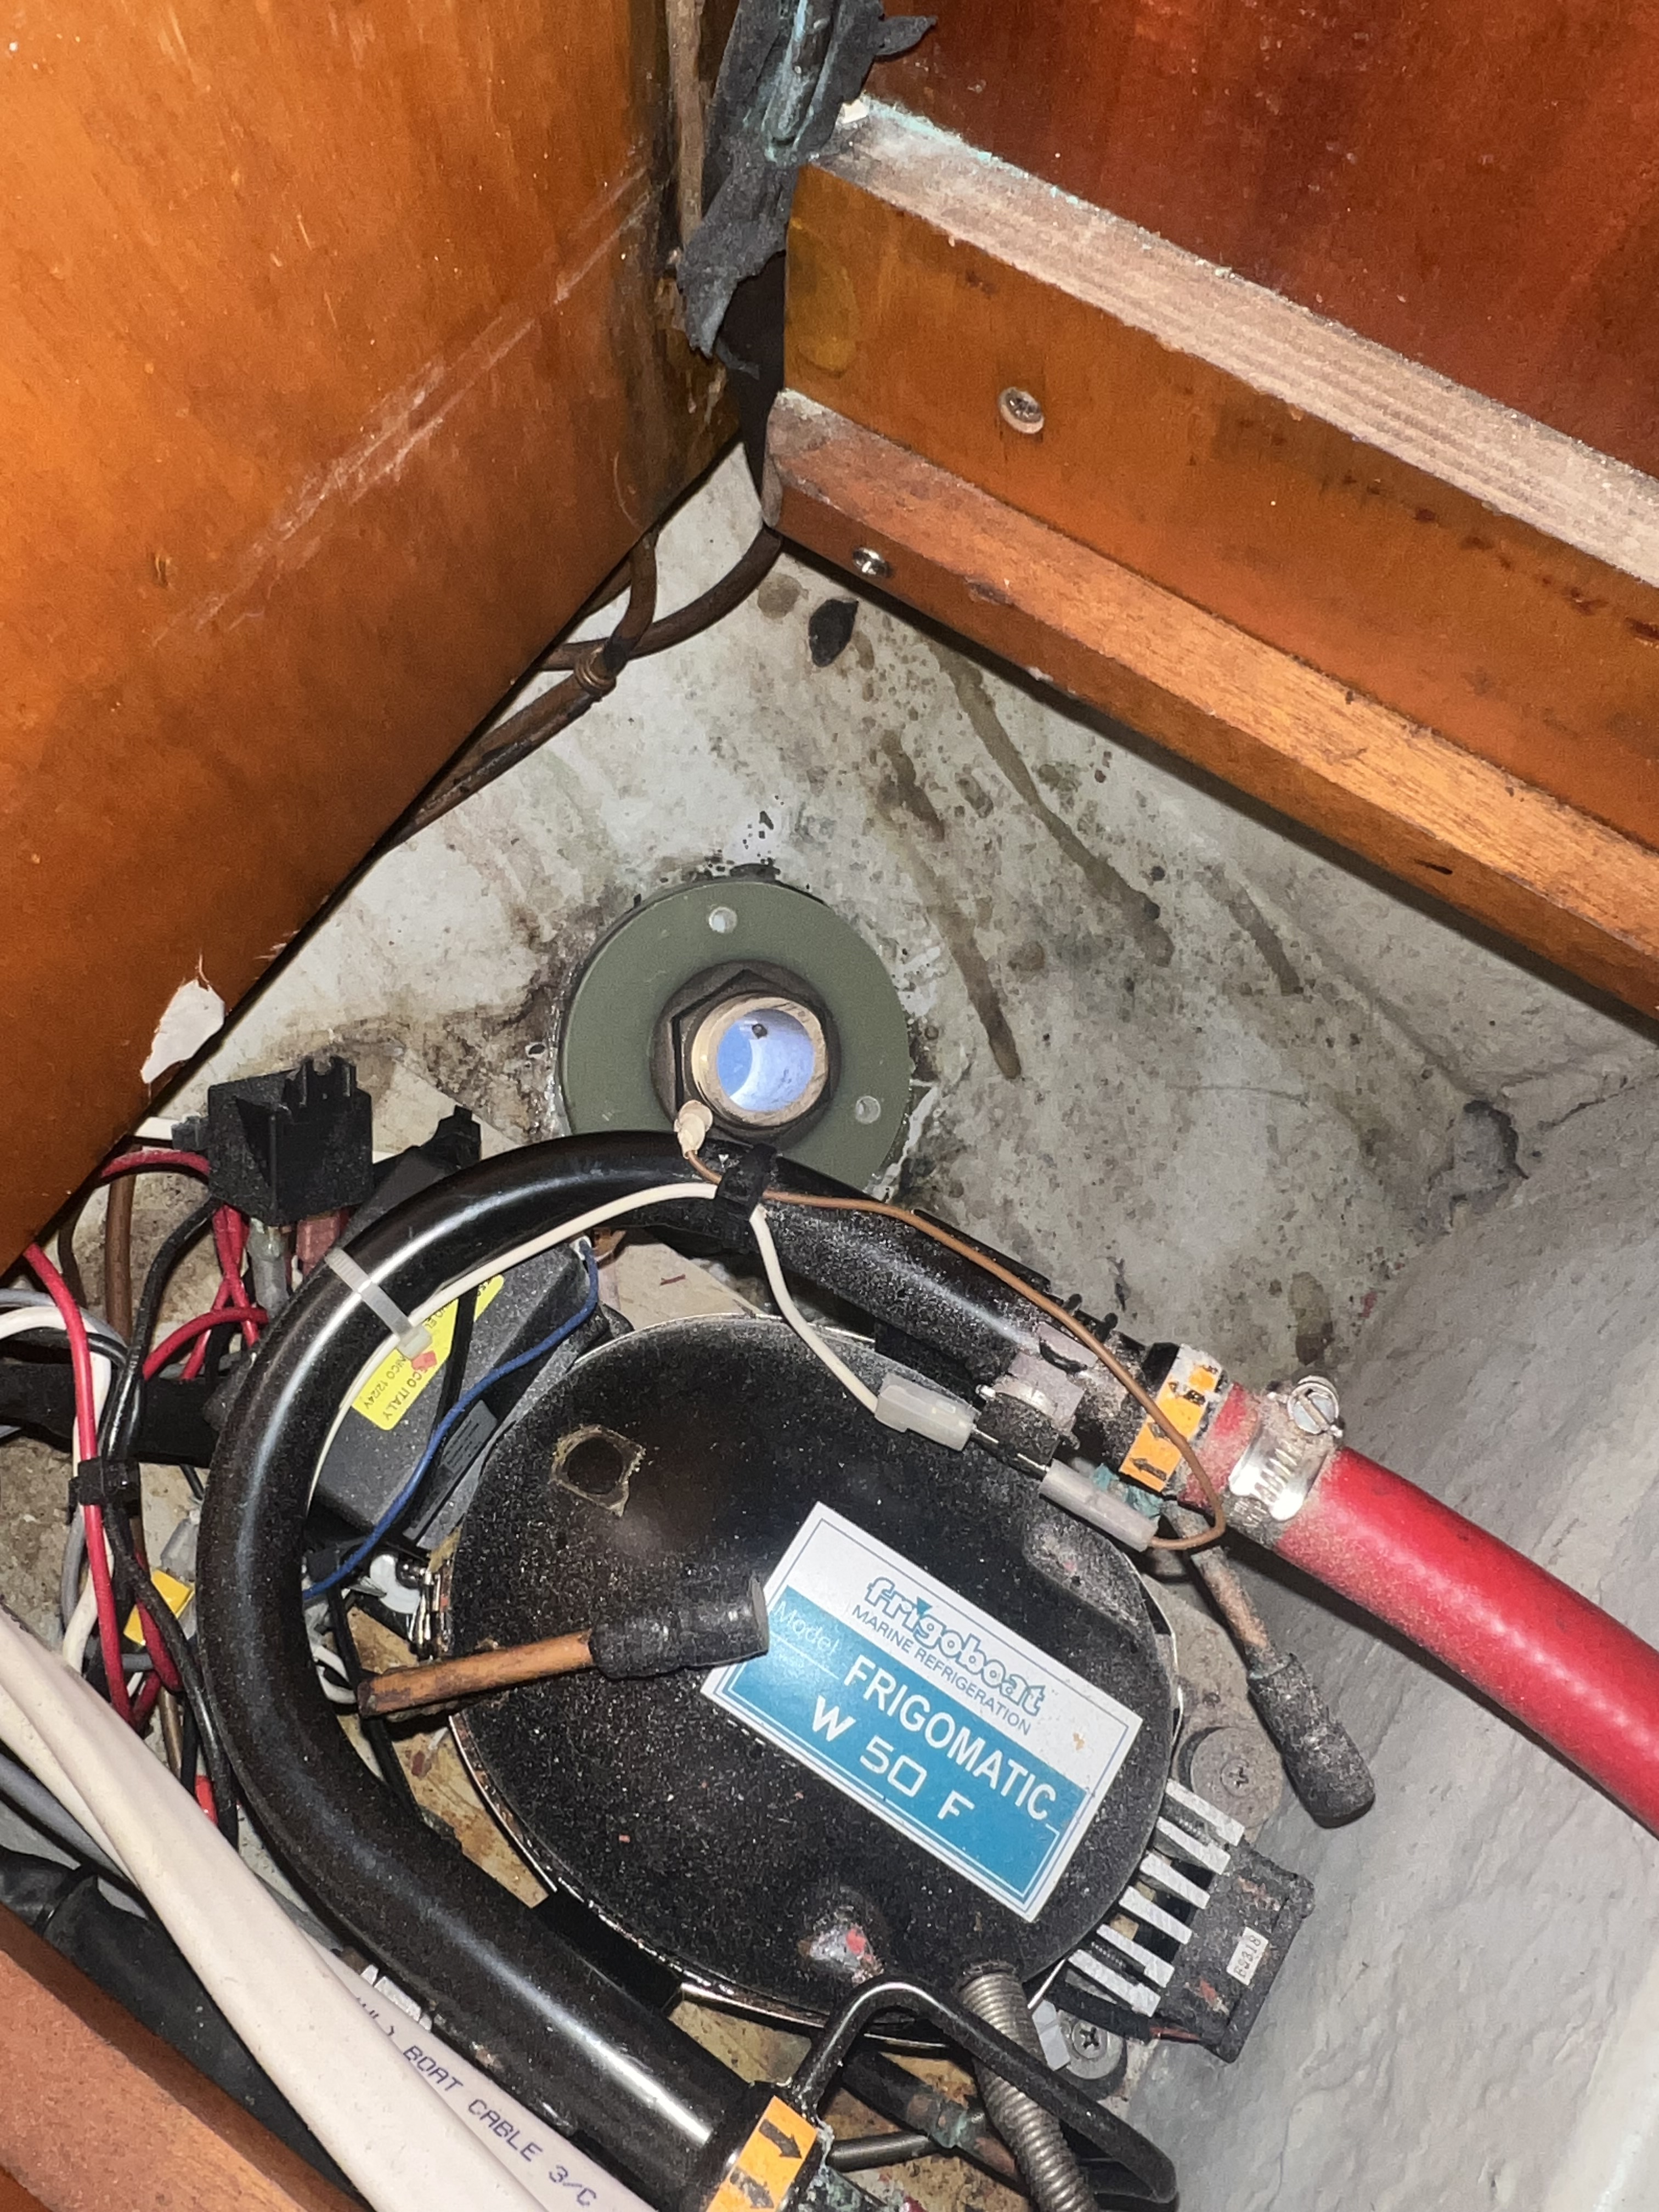
- The thruhull in the engine room supplying seawater to the deck wash pump and to the refrigerator
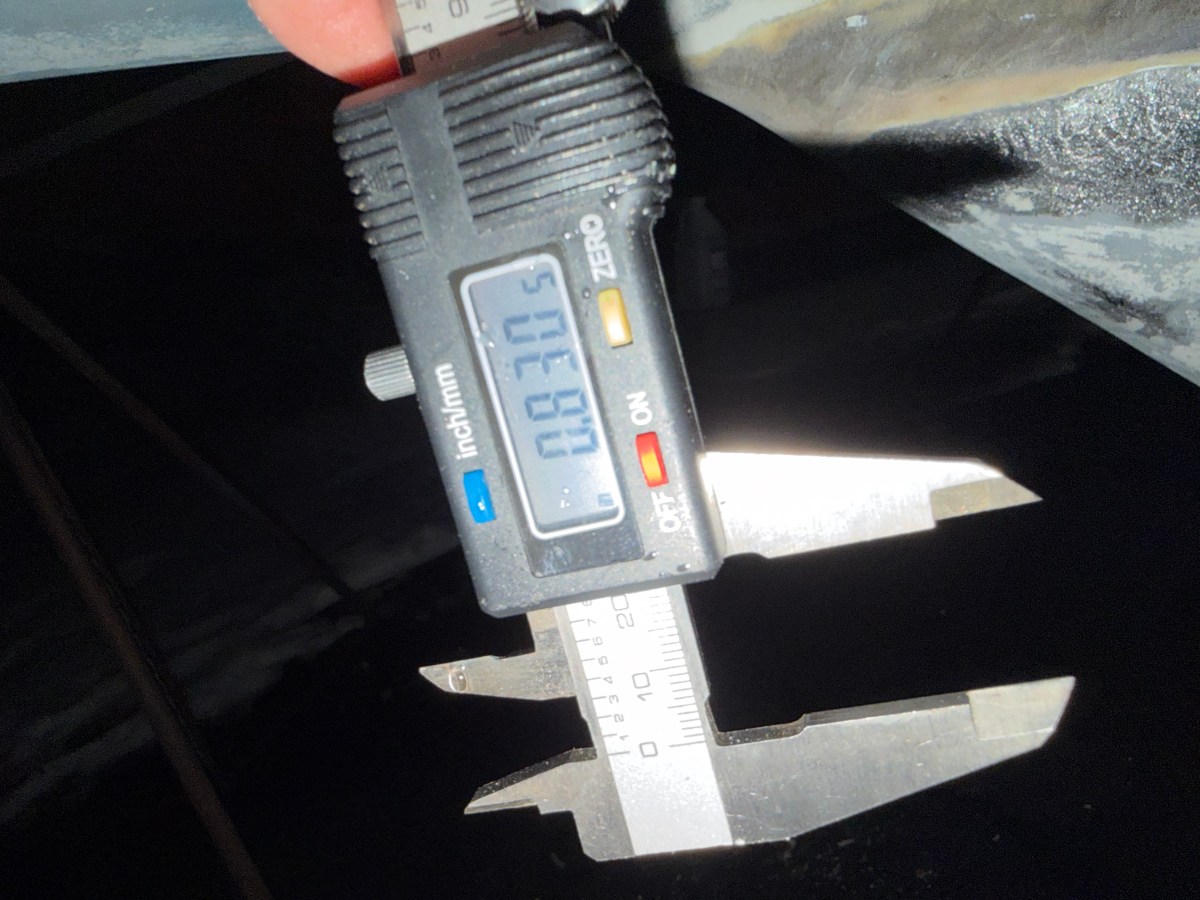
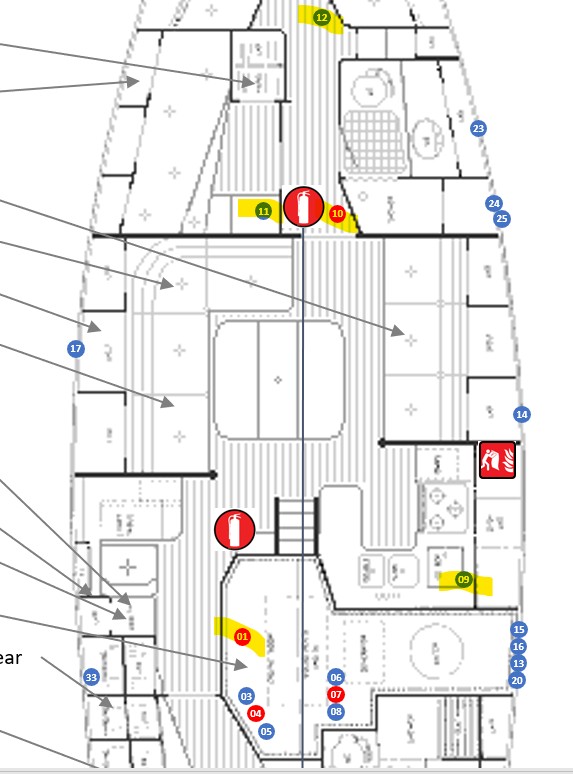
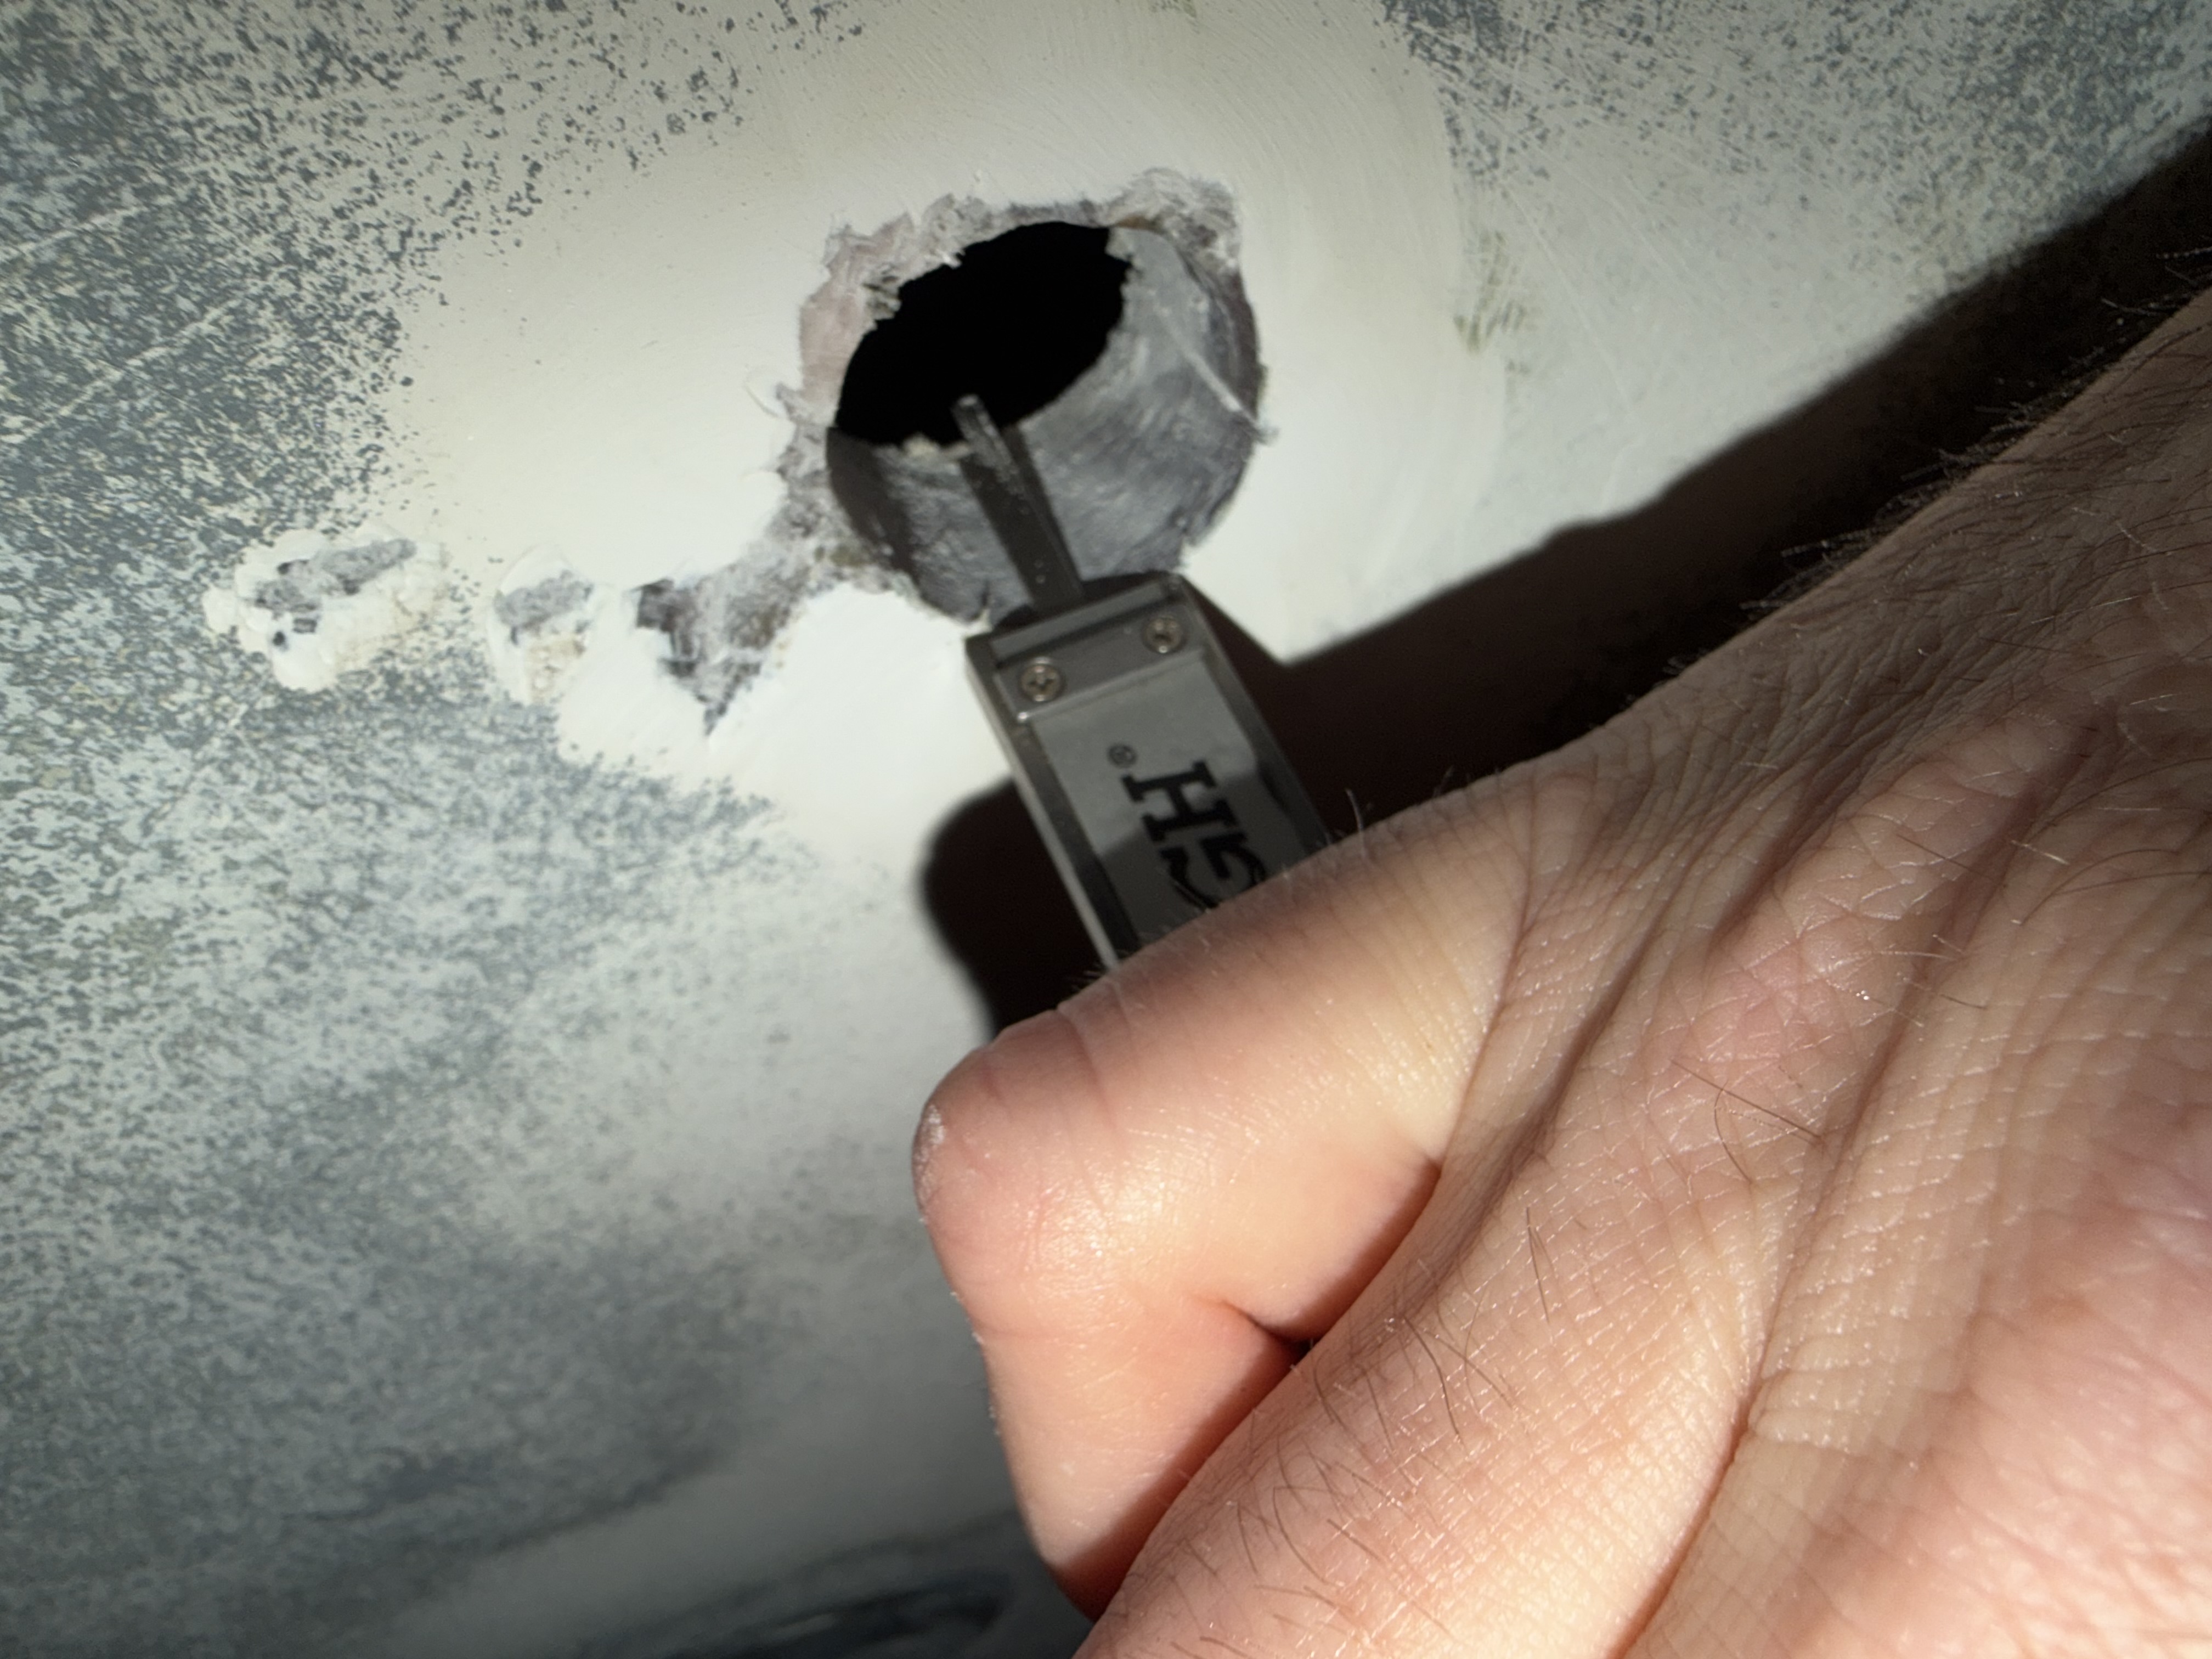
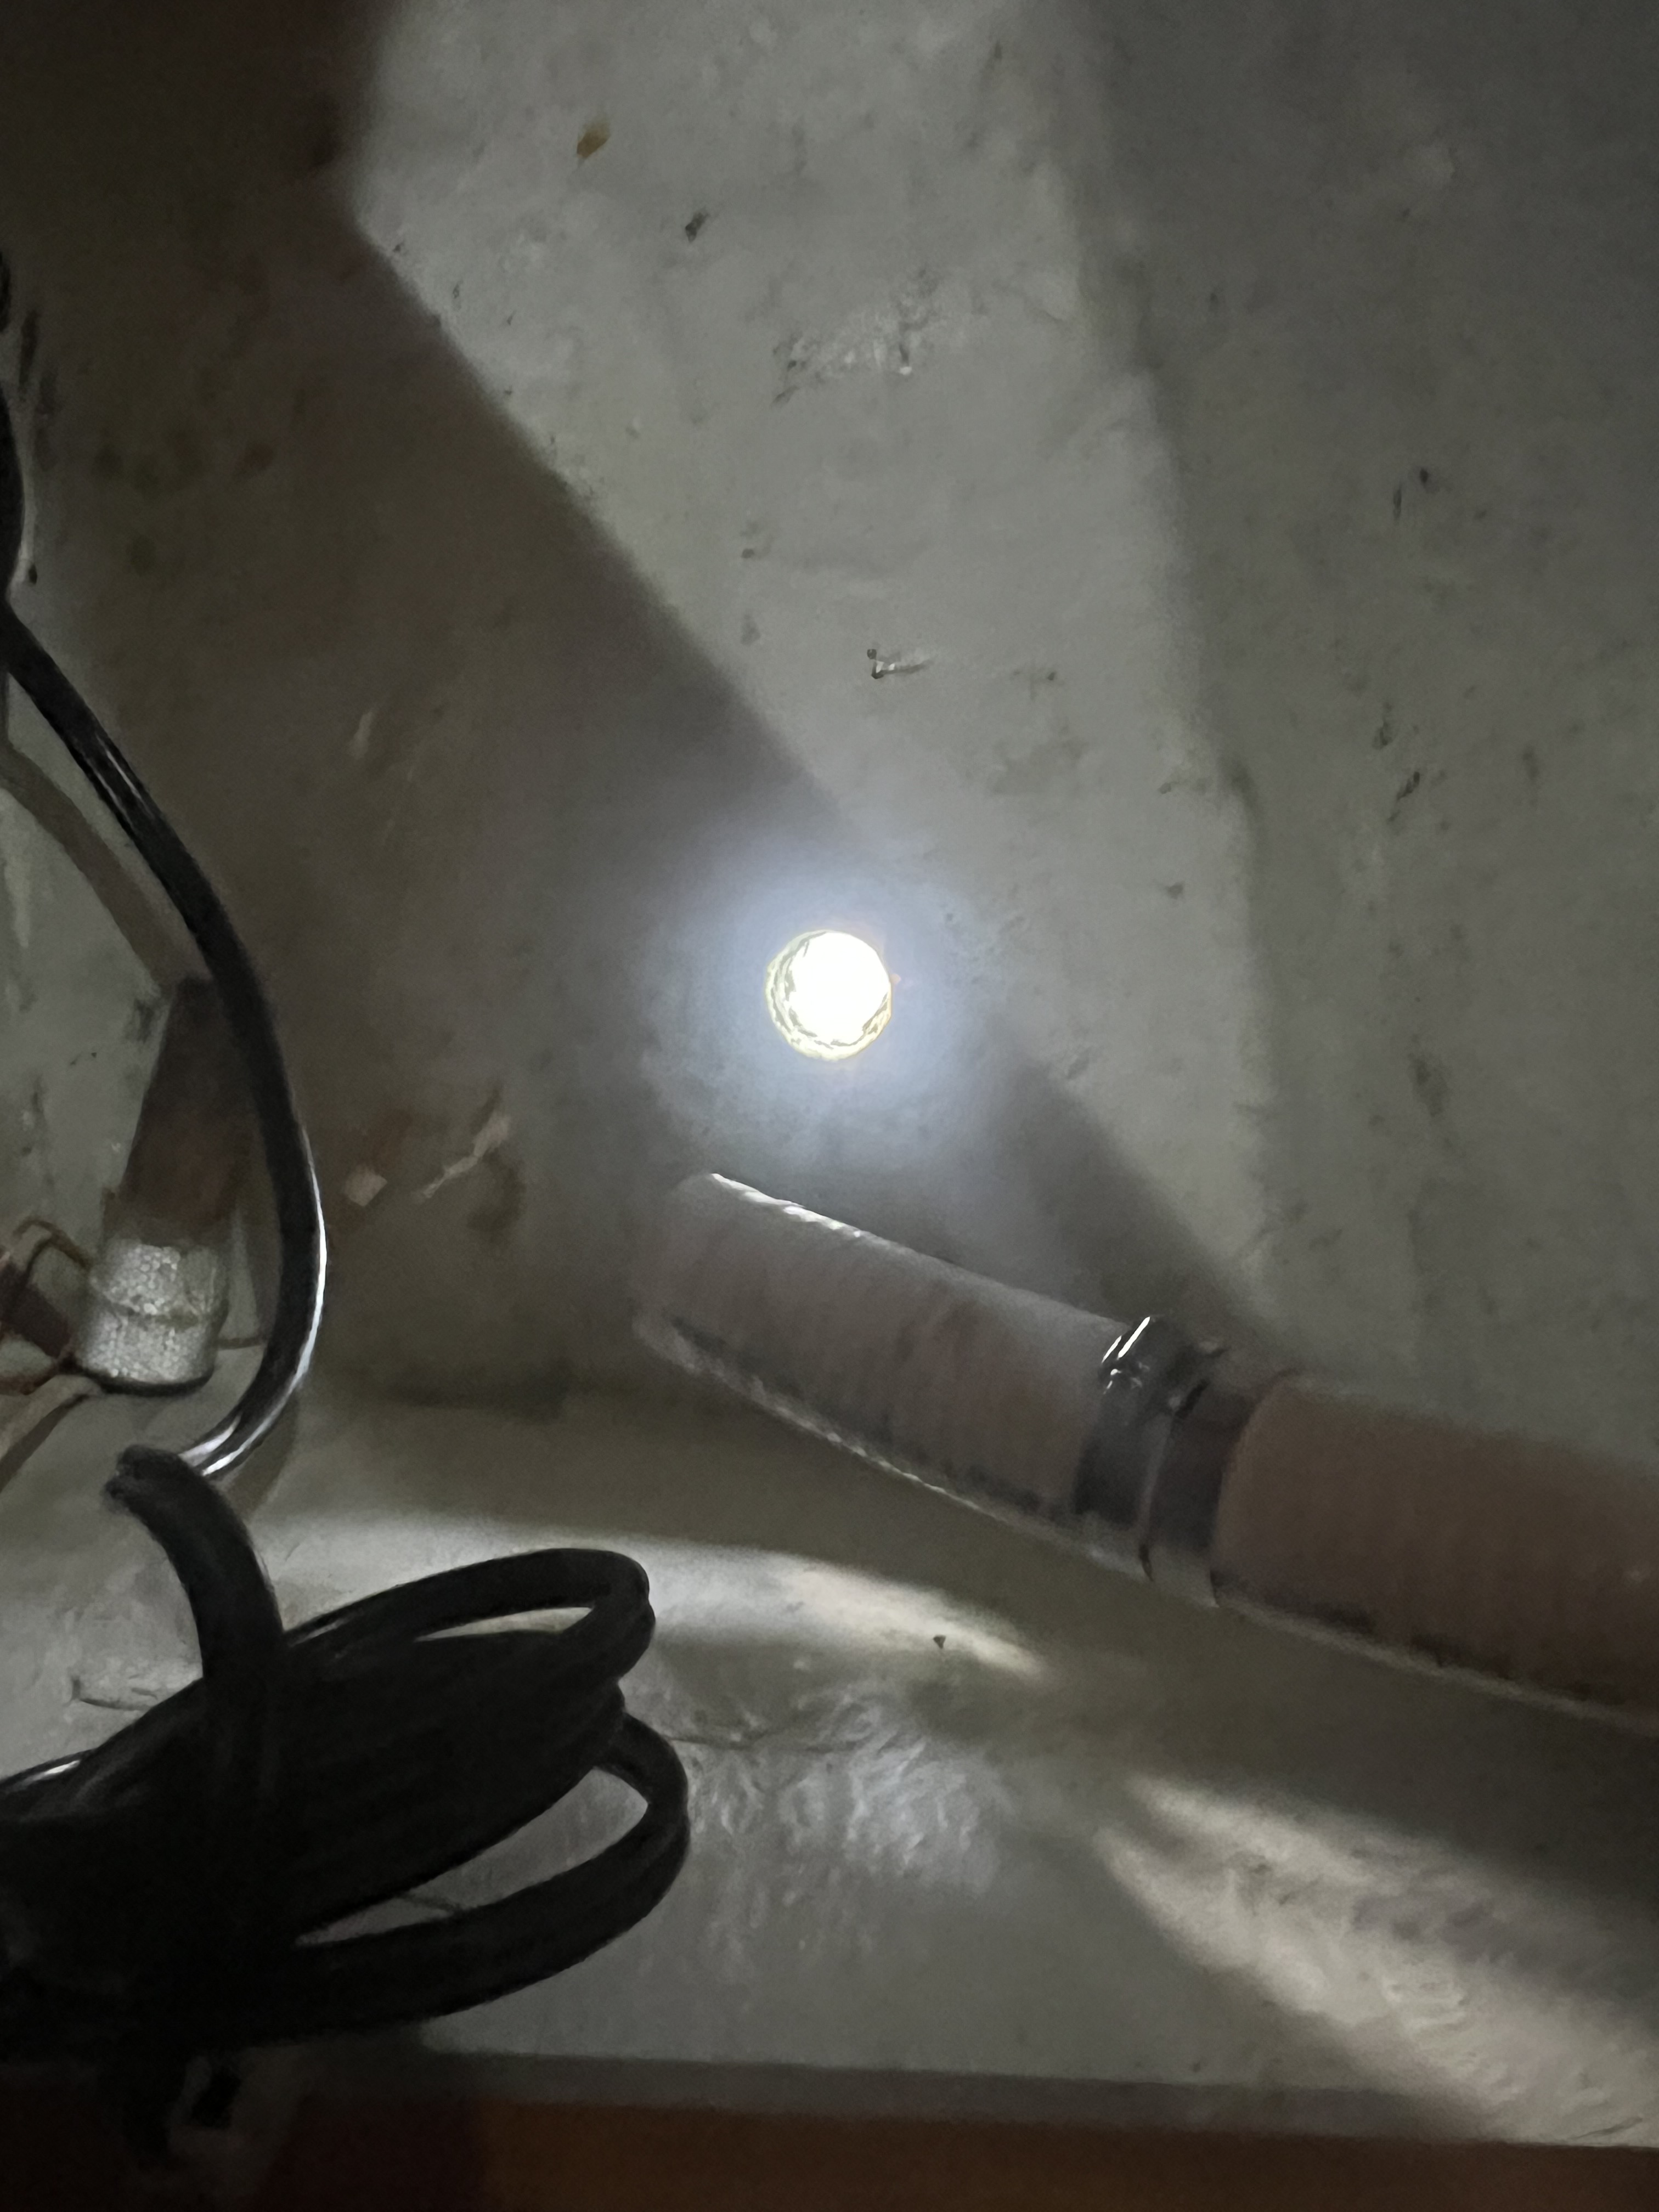
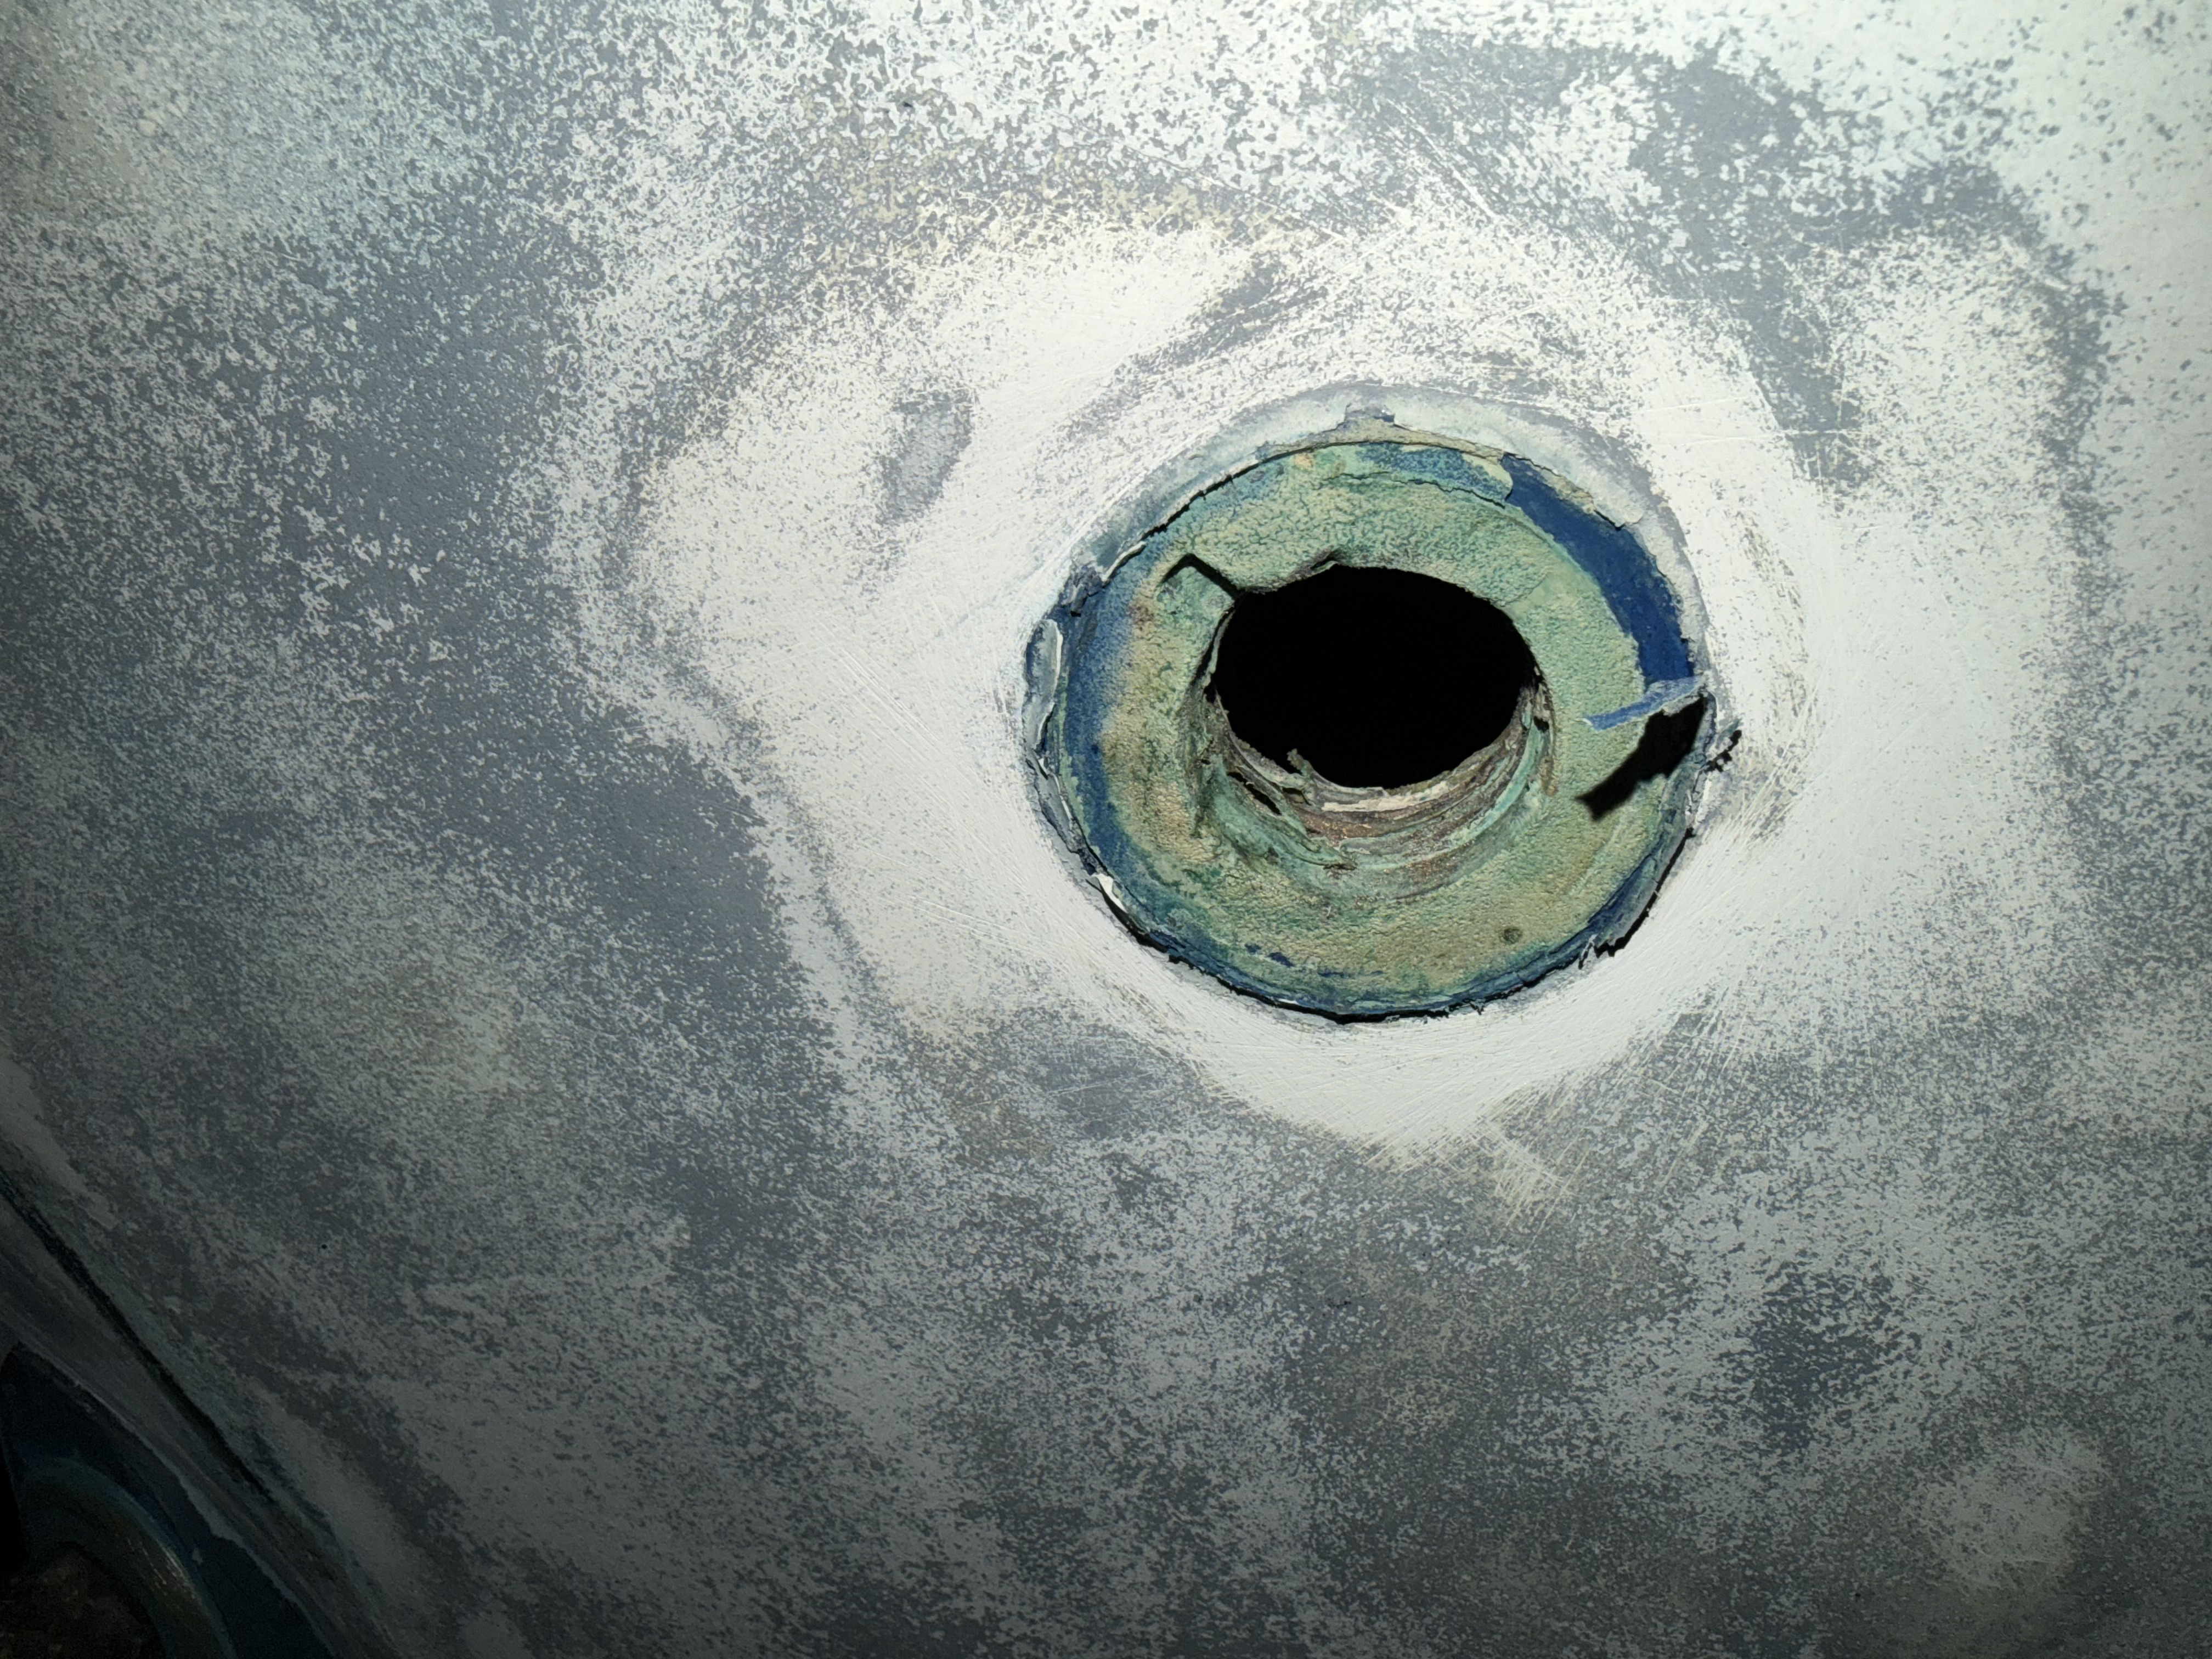
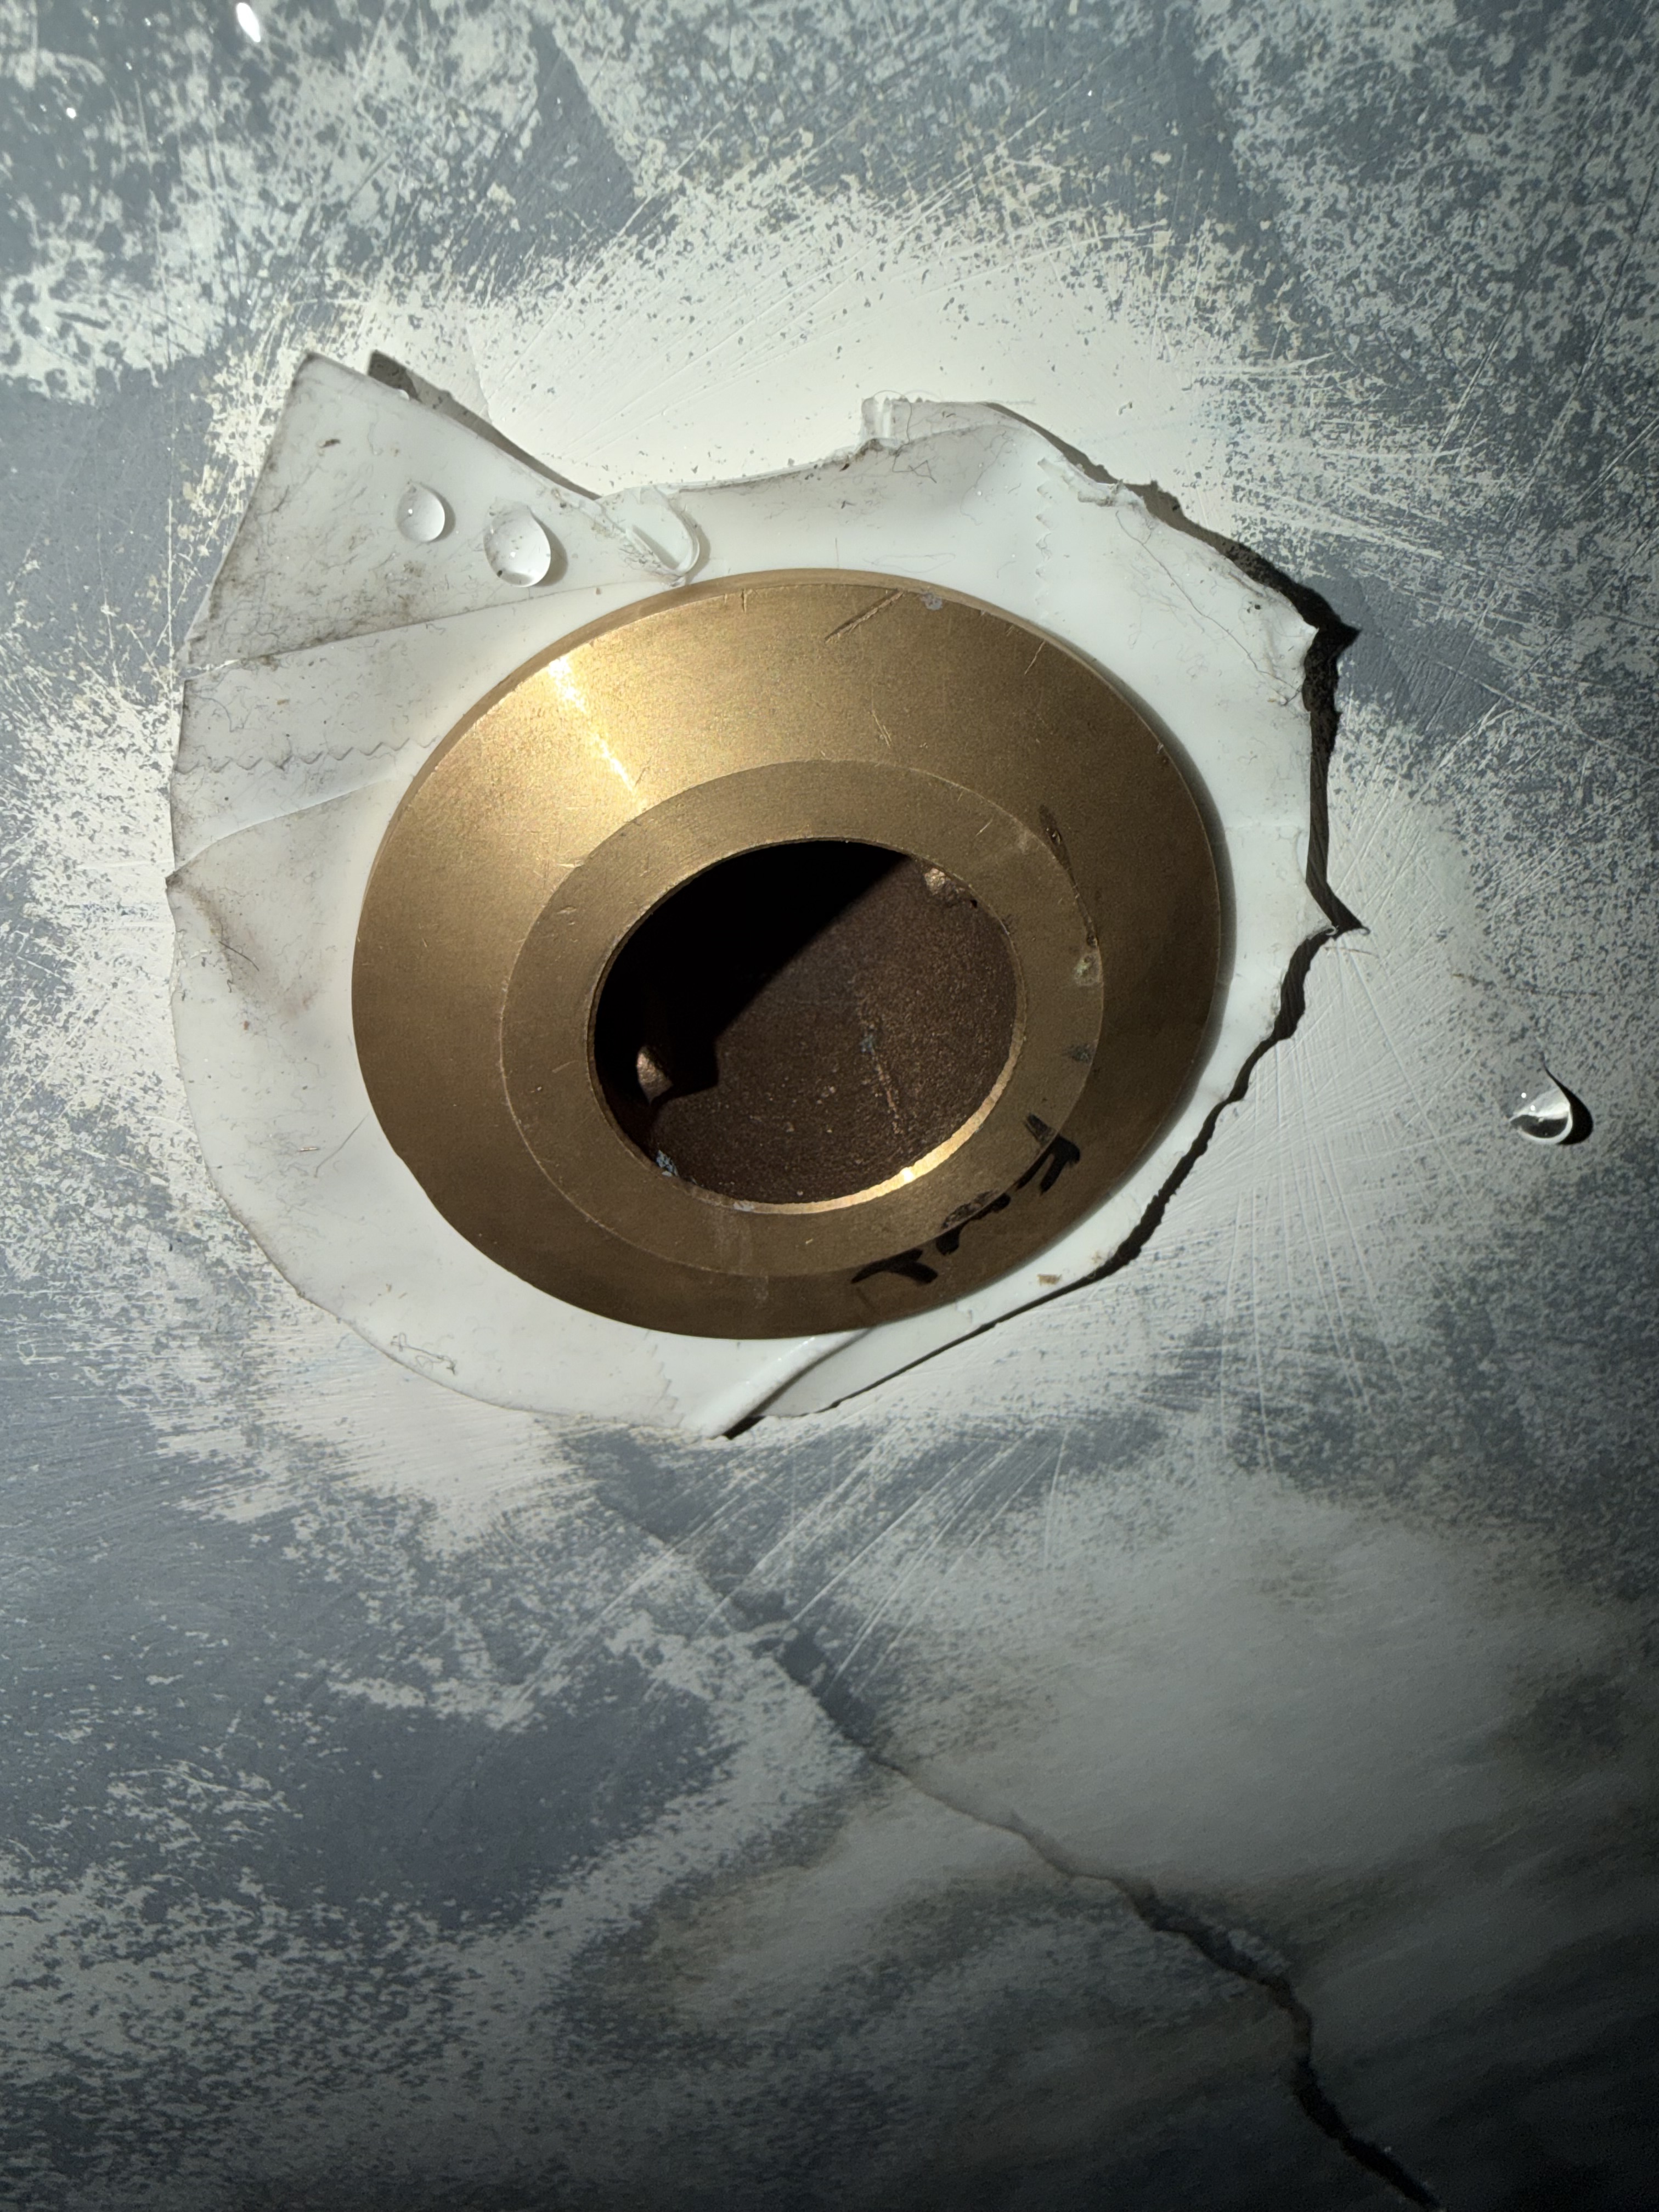
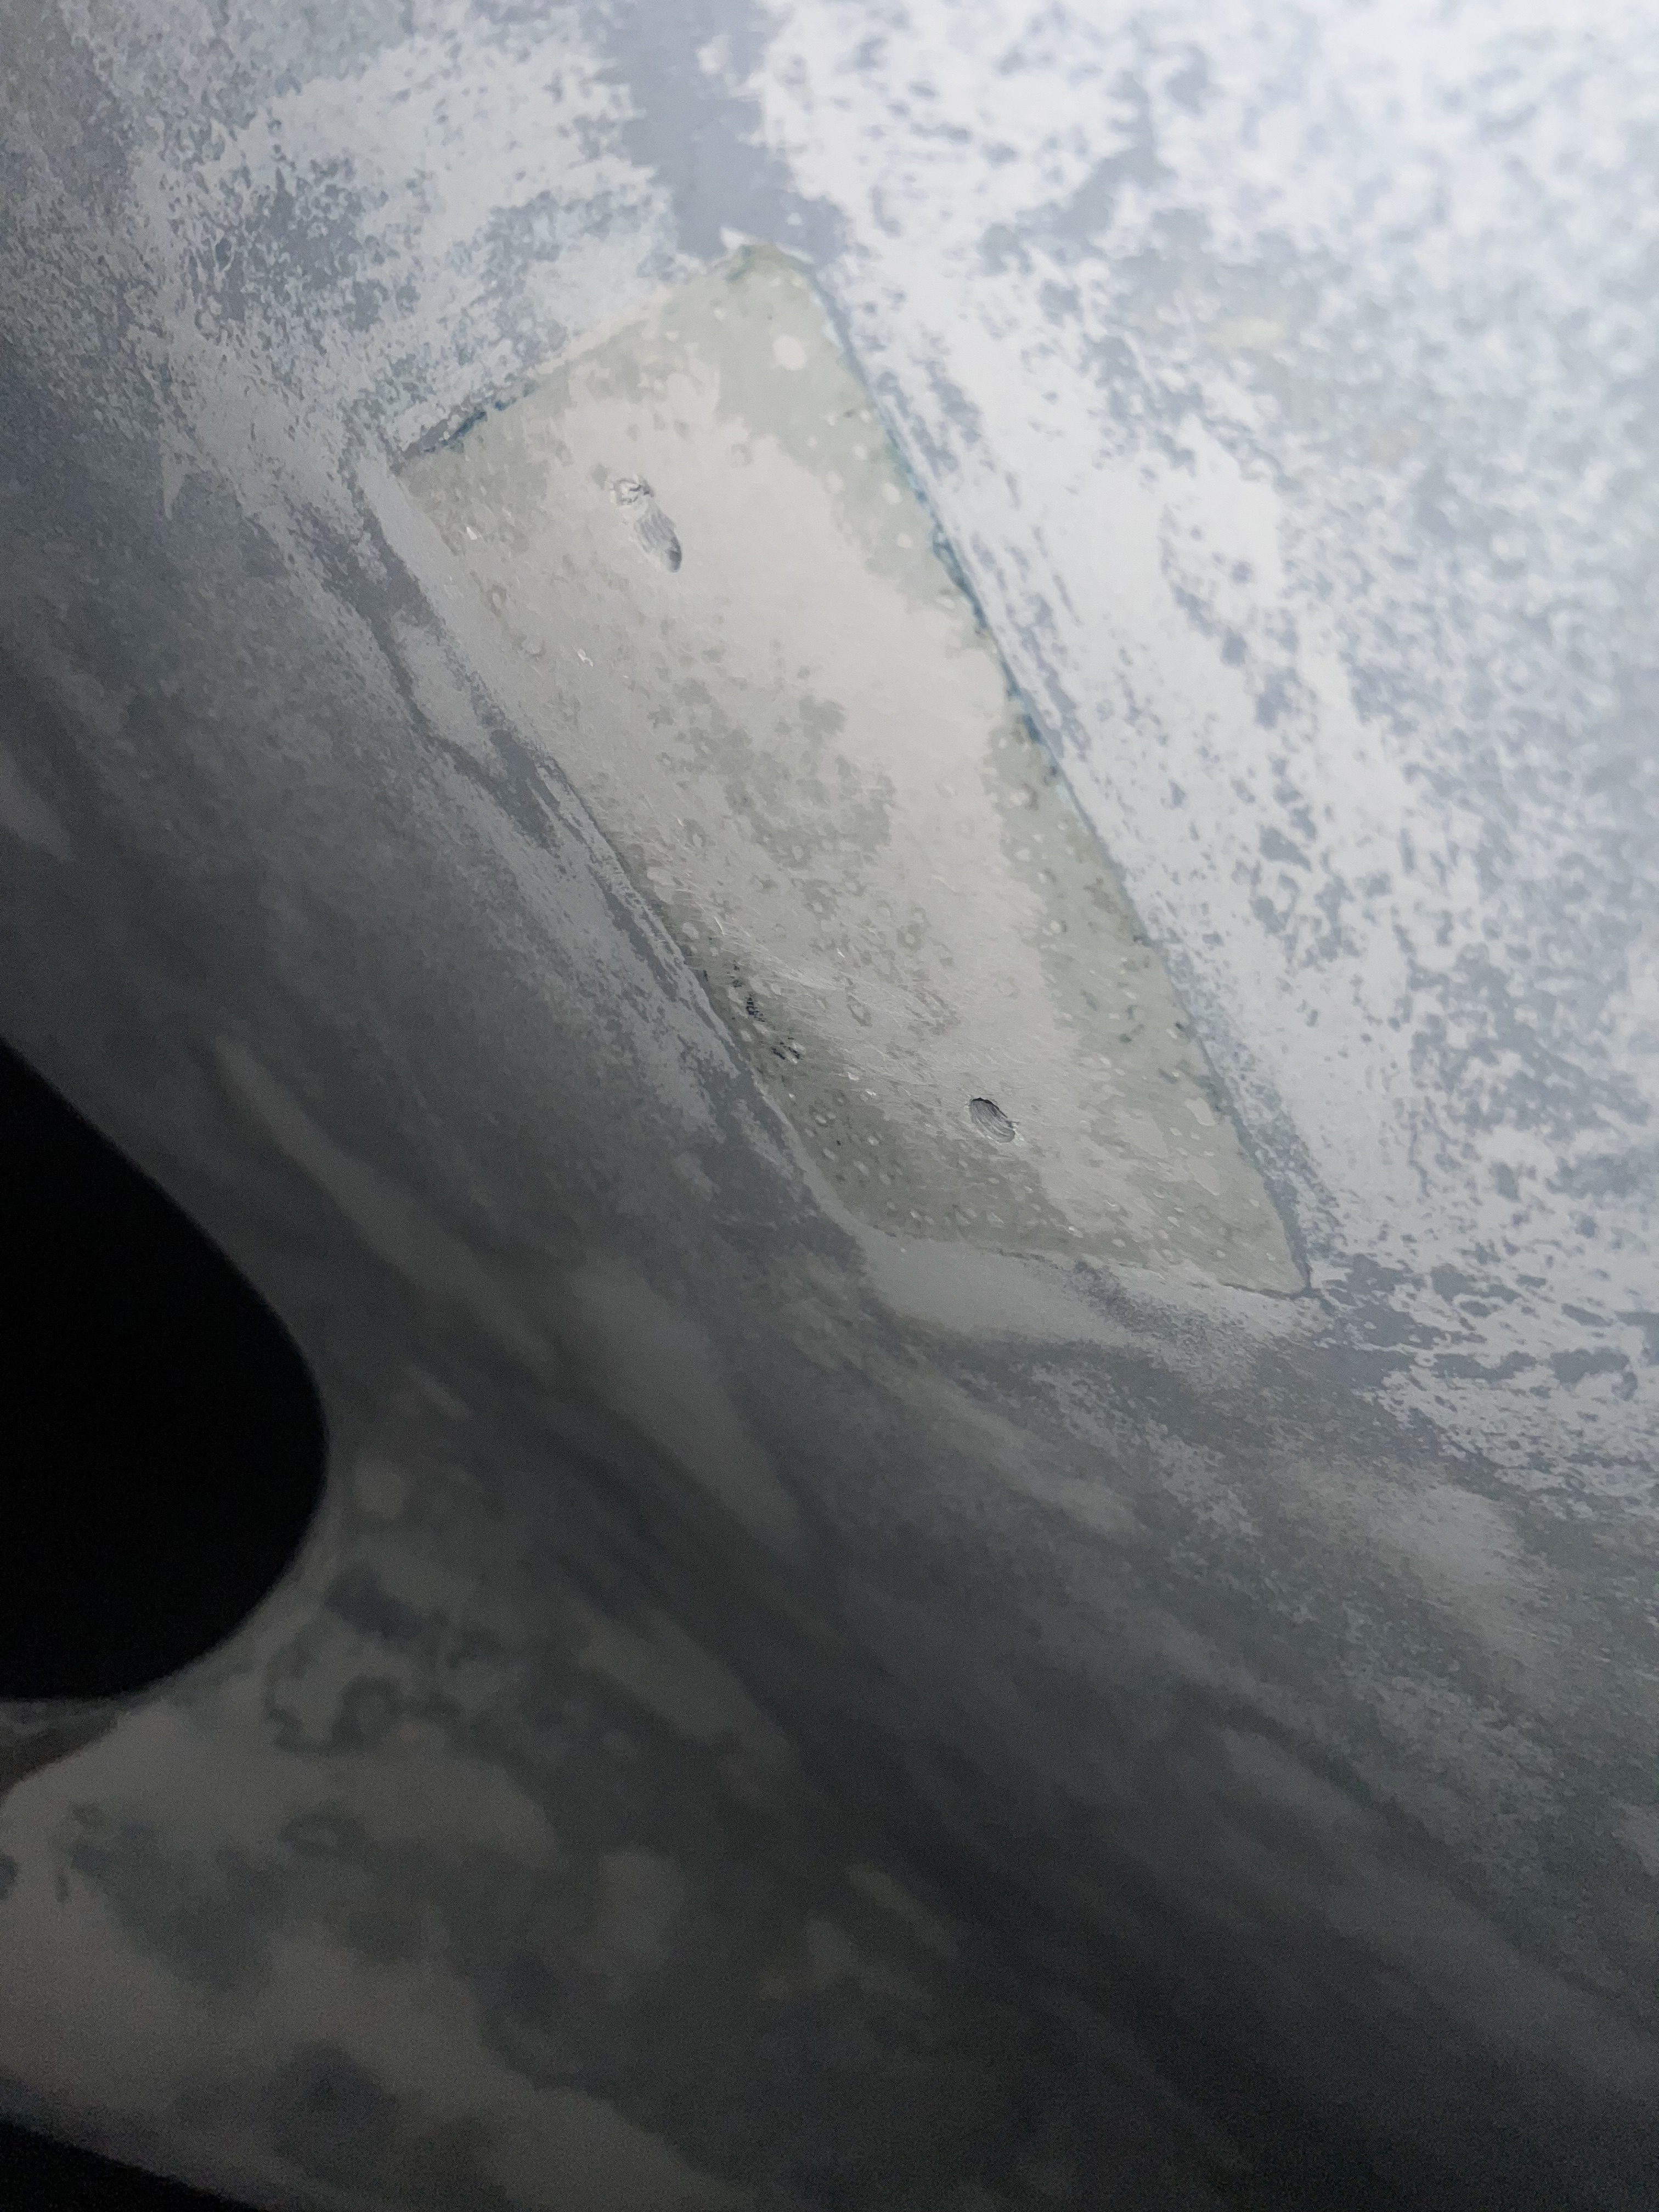
Greg’s team is hard at work getting these thruhulls out and prepared. The hull measures 0.8″ (or about 20mm) at thruhull #11 (port side, front of keel), and 1″ (or about 25mm) at thruhull #01 (port side, next to the engine). The galley drain has a temporary thruhull installed to secure the new G10 round base on the inside. Don’t mind the mess around our refrigerator compressor!
Part of the project is designed to clean up a few things on the hull. Previous owners many years ago installed two hull anodes with the intention of installing a whole-boat grounding system. They installed an anode on the port side and starboard side in the aft cabin. Honestly, I don’t know if this was original from the HR factory or if this was done by a previous owner…I’m just assuming. The starboard one wasn’t even bolted in tightly! There must have been a change of plans, because nothing was ever connected to these anodes from within the boat. Since we have seen no ununusal corrosion within the boat, we decided to remove them for now. Greg’s team will epoxy fill the holes and stabilize inside and out with glass.

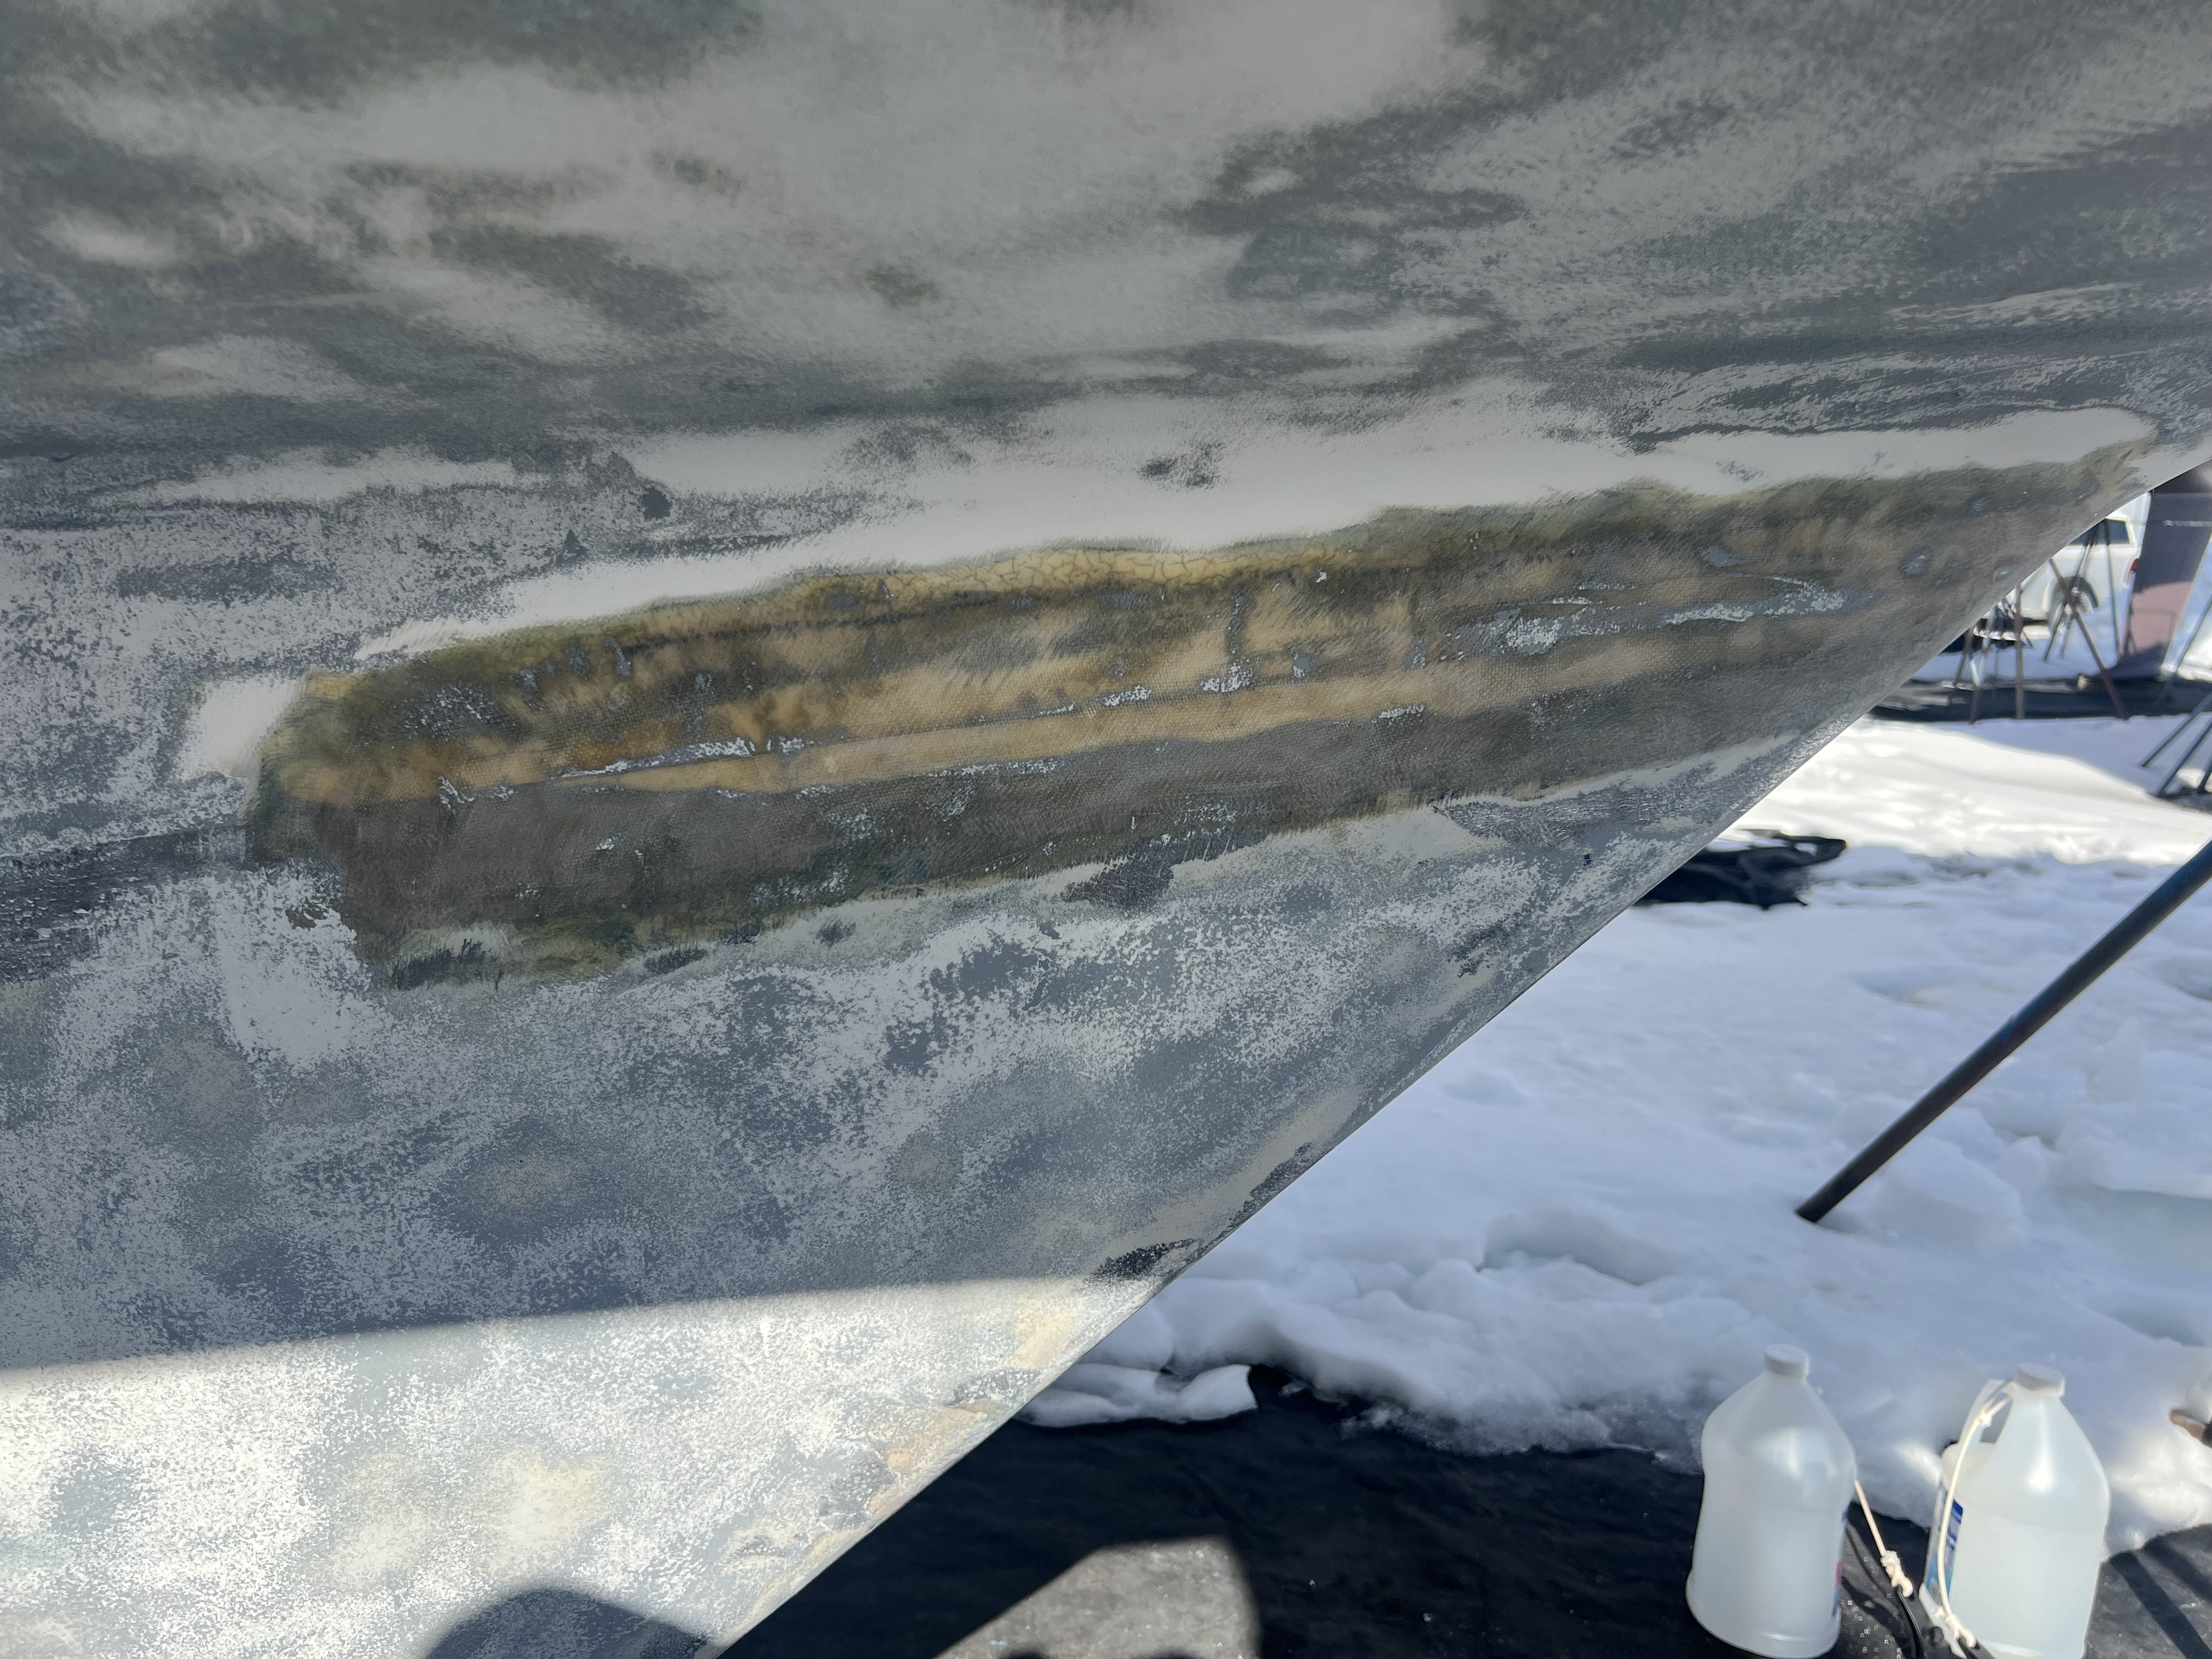
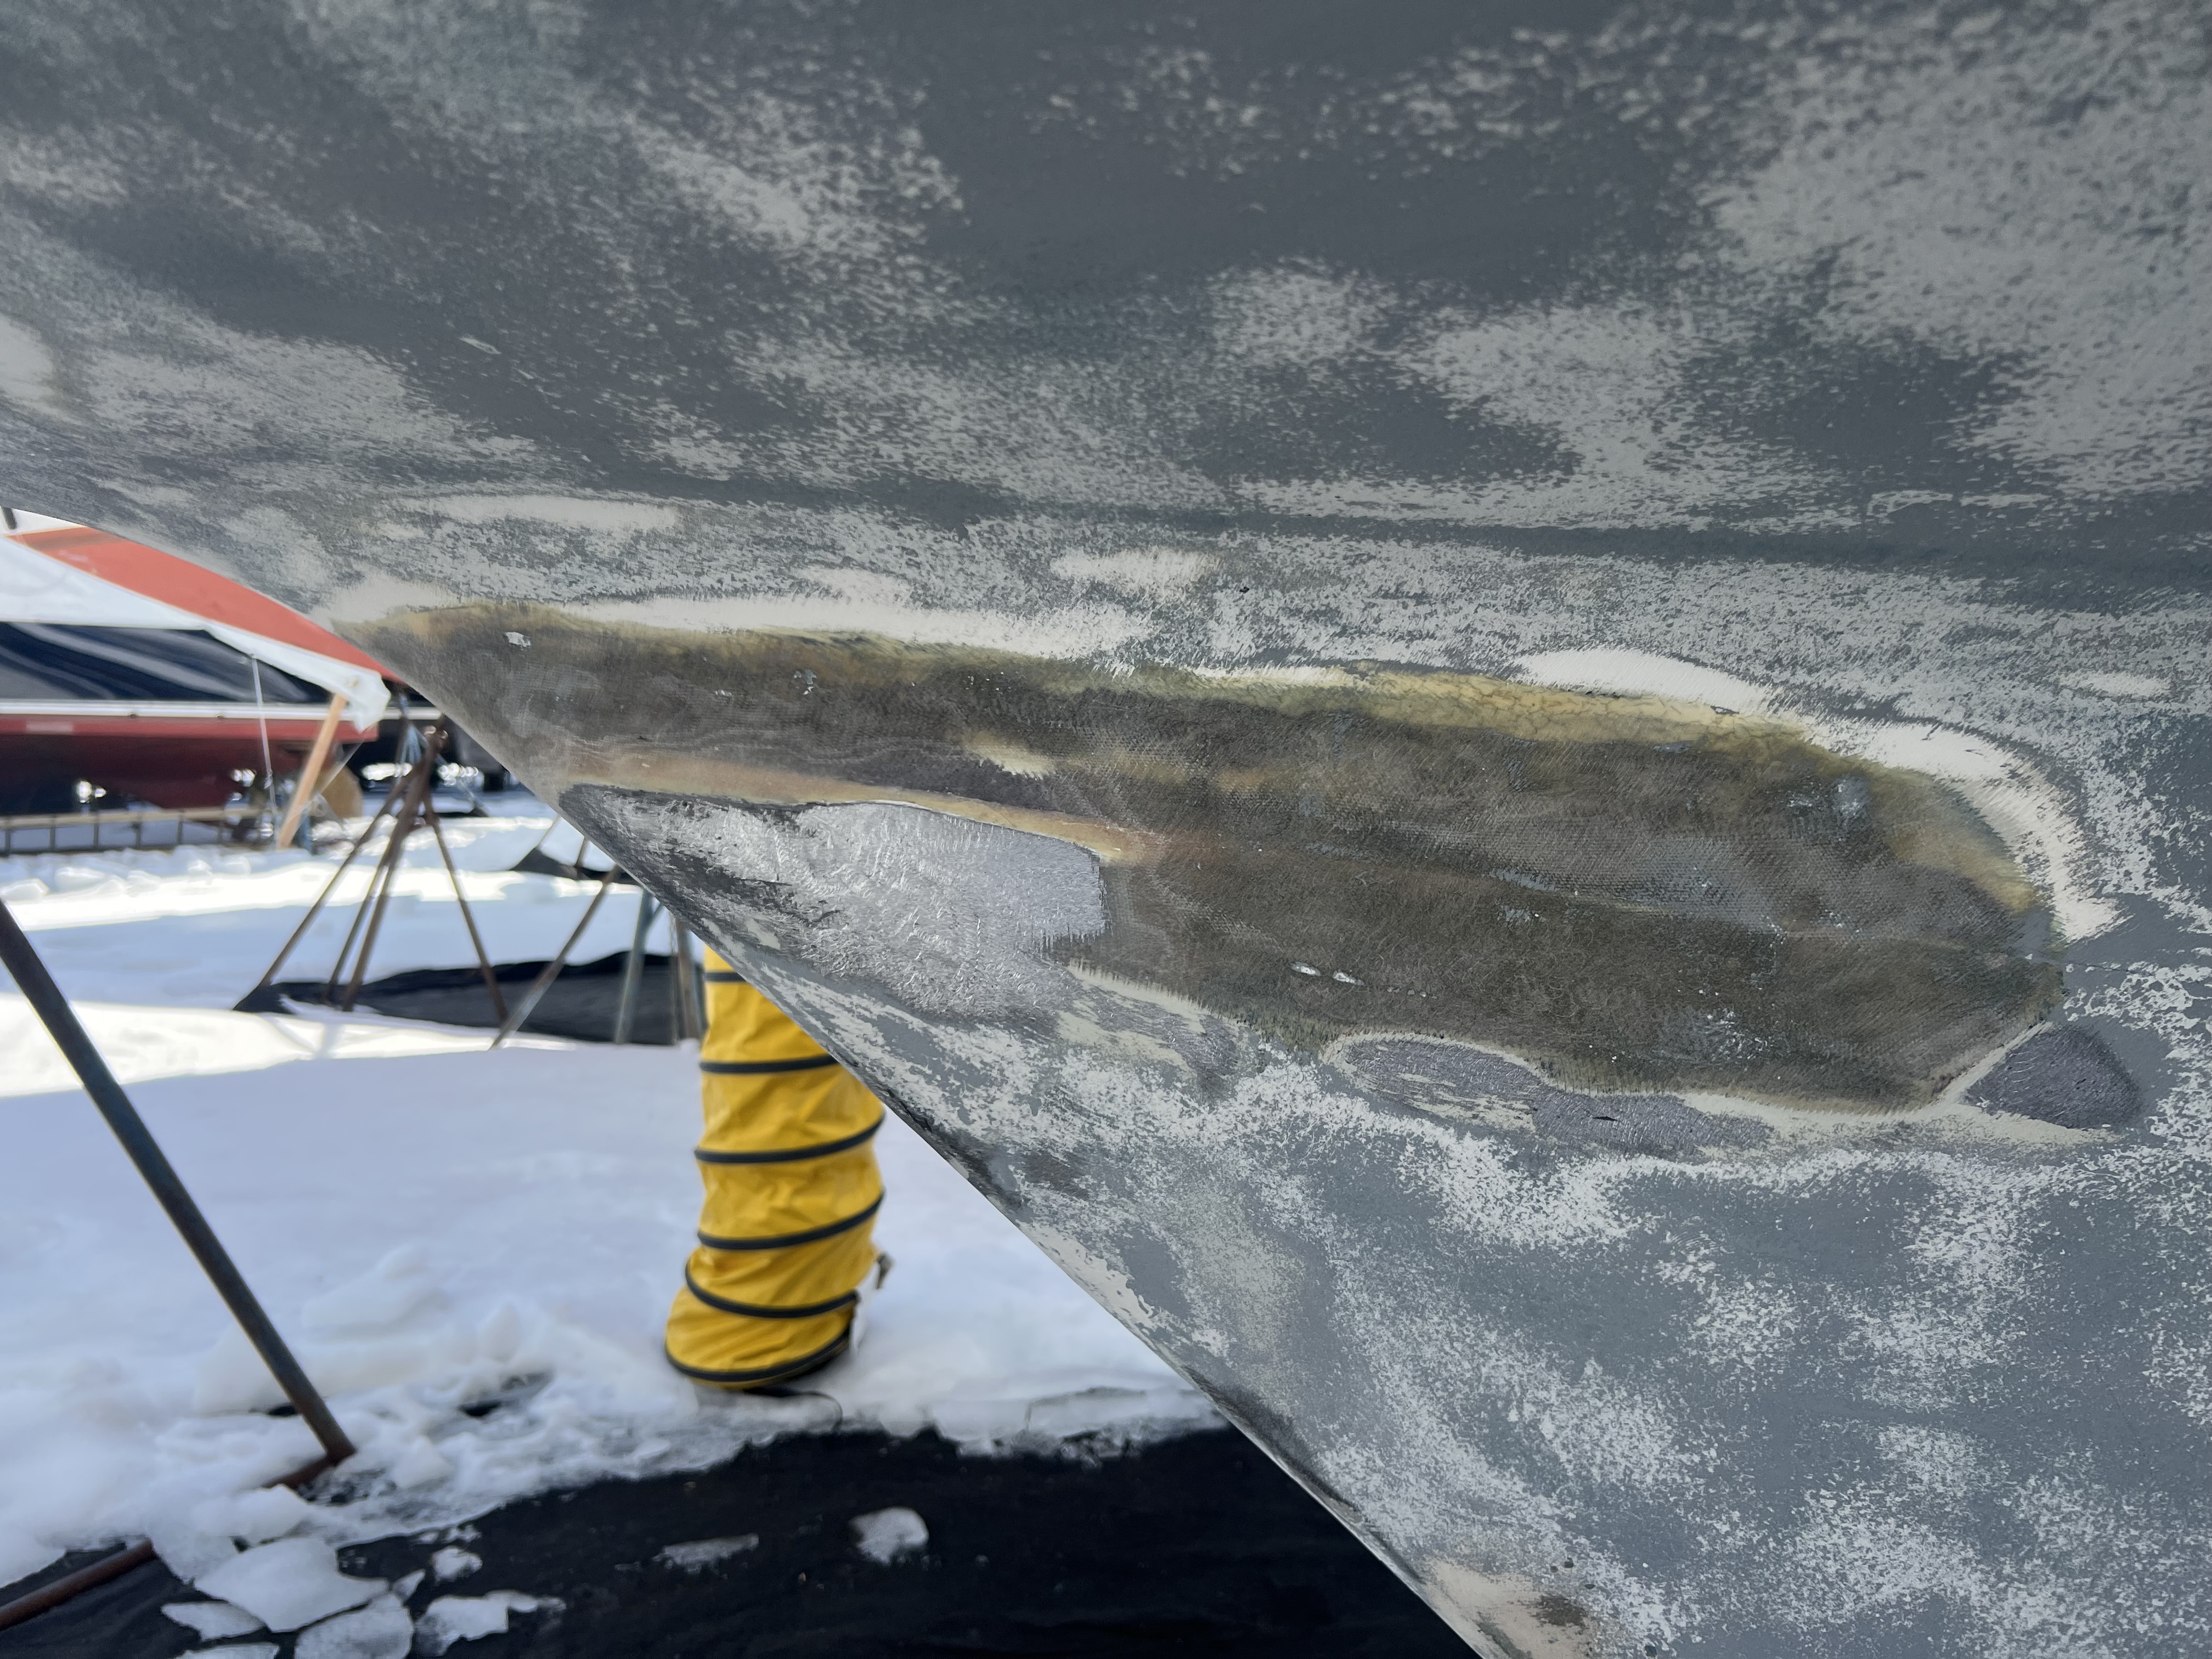
We are also going to repair some glass work done on the keel-to-hull joint. It appears that the front section of the joint was glassed over for cosmetic purposes. The explanation is that glassing over the joint is often done to prevent the minor visual separation of the joint when lifted out of the water. This is a common finding.
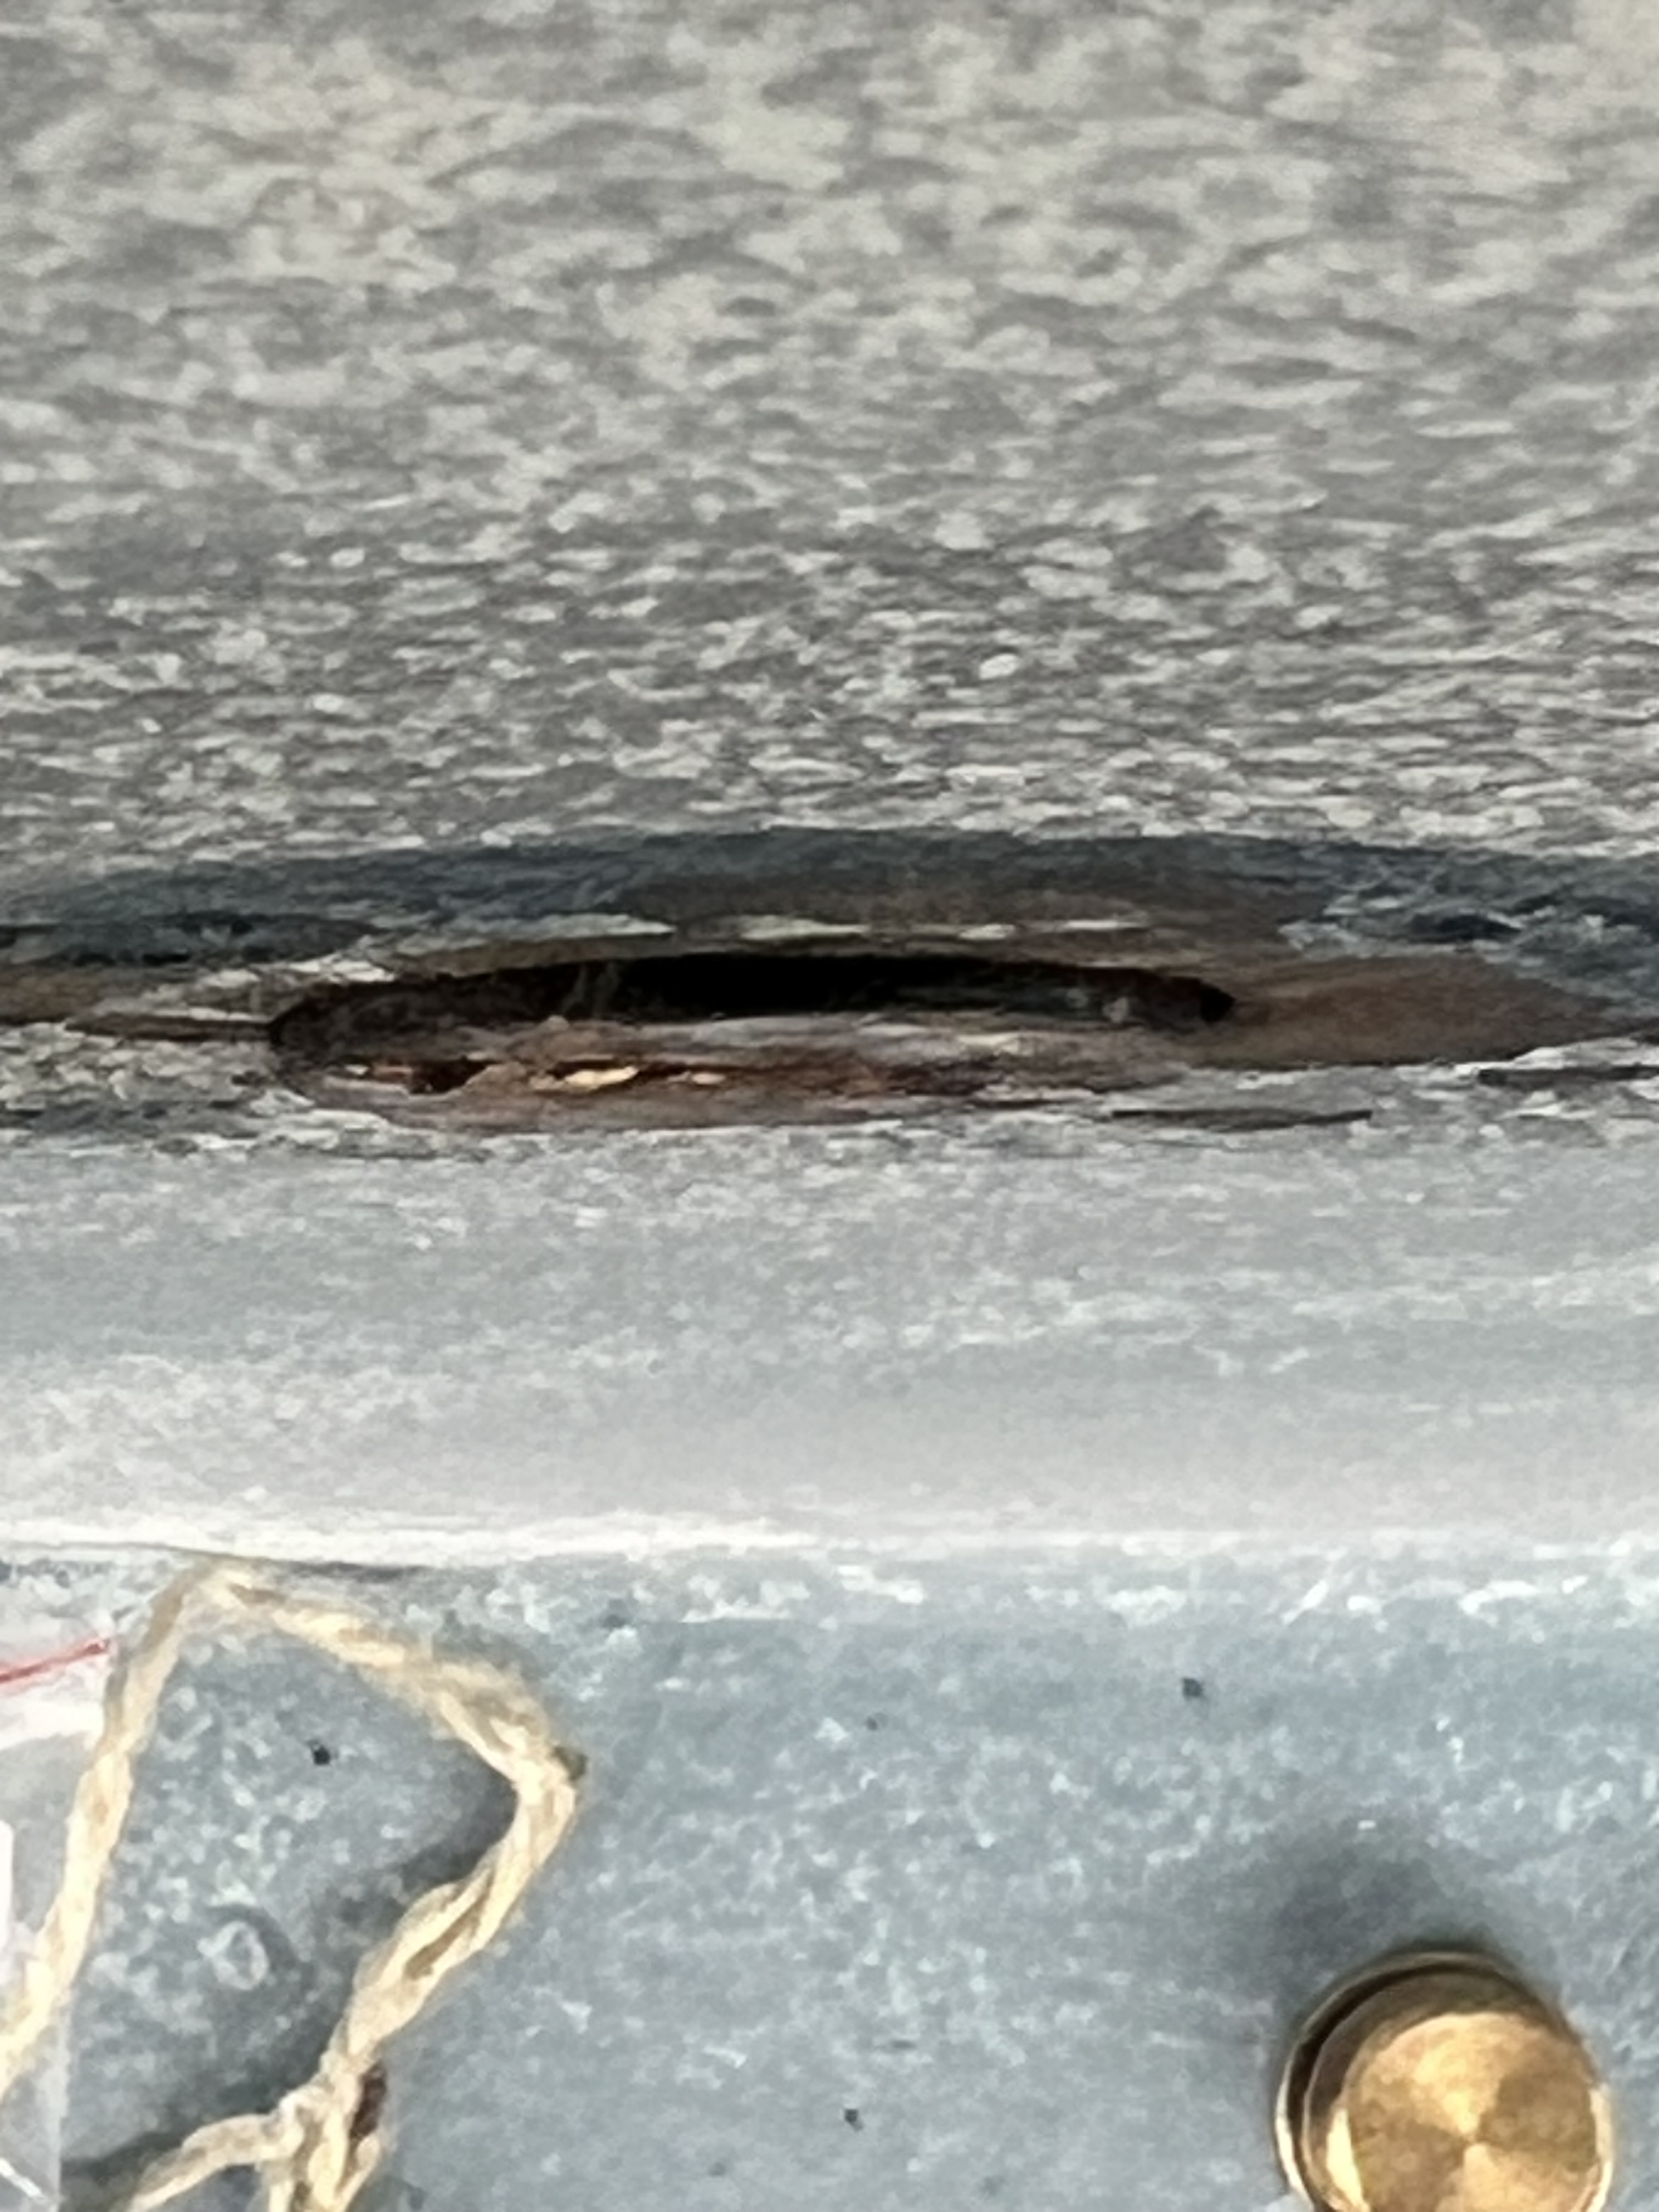
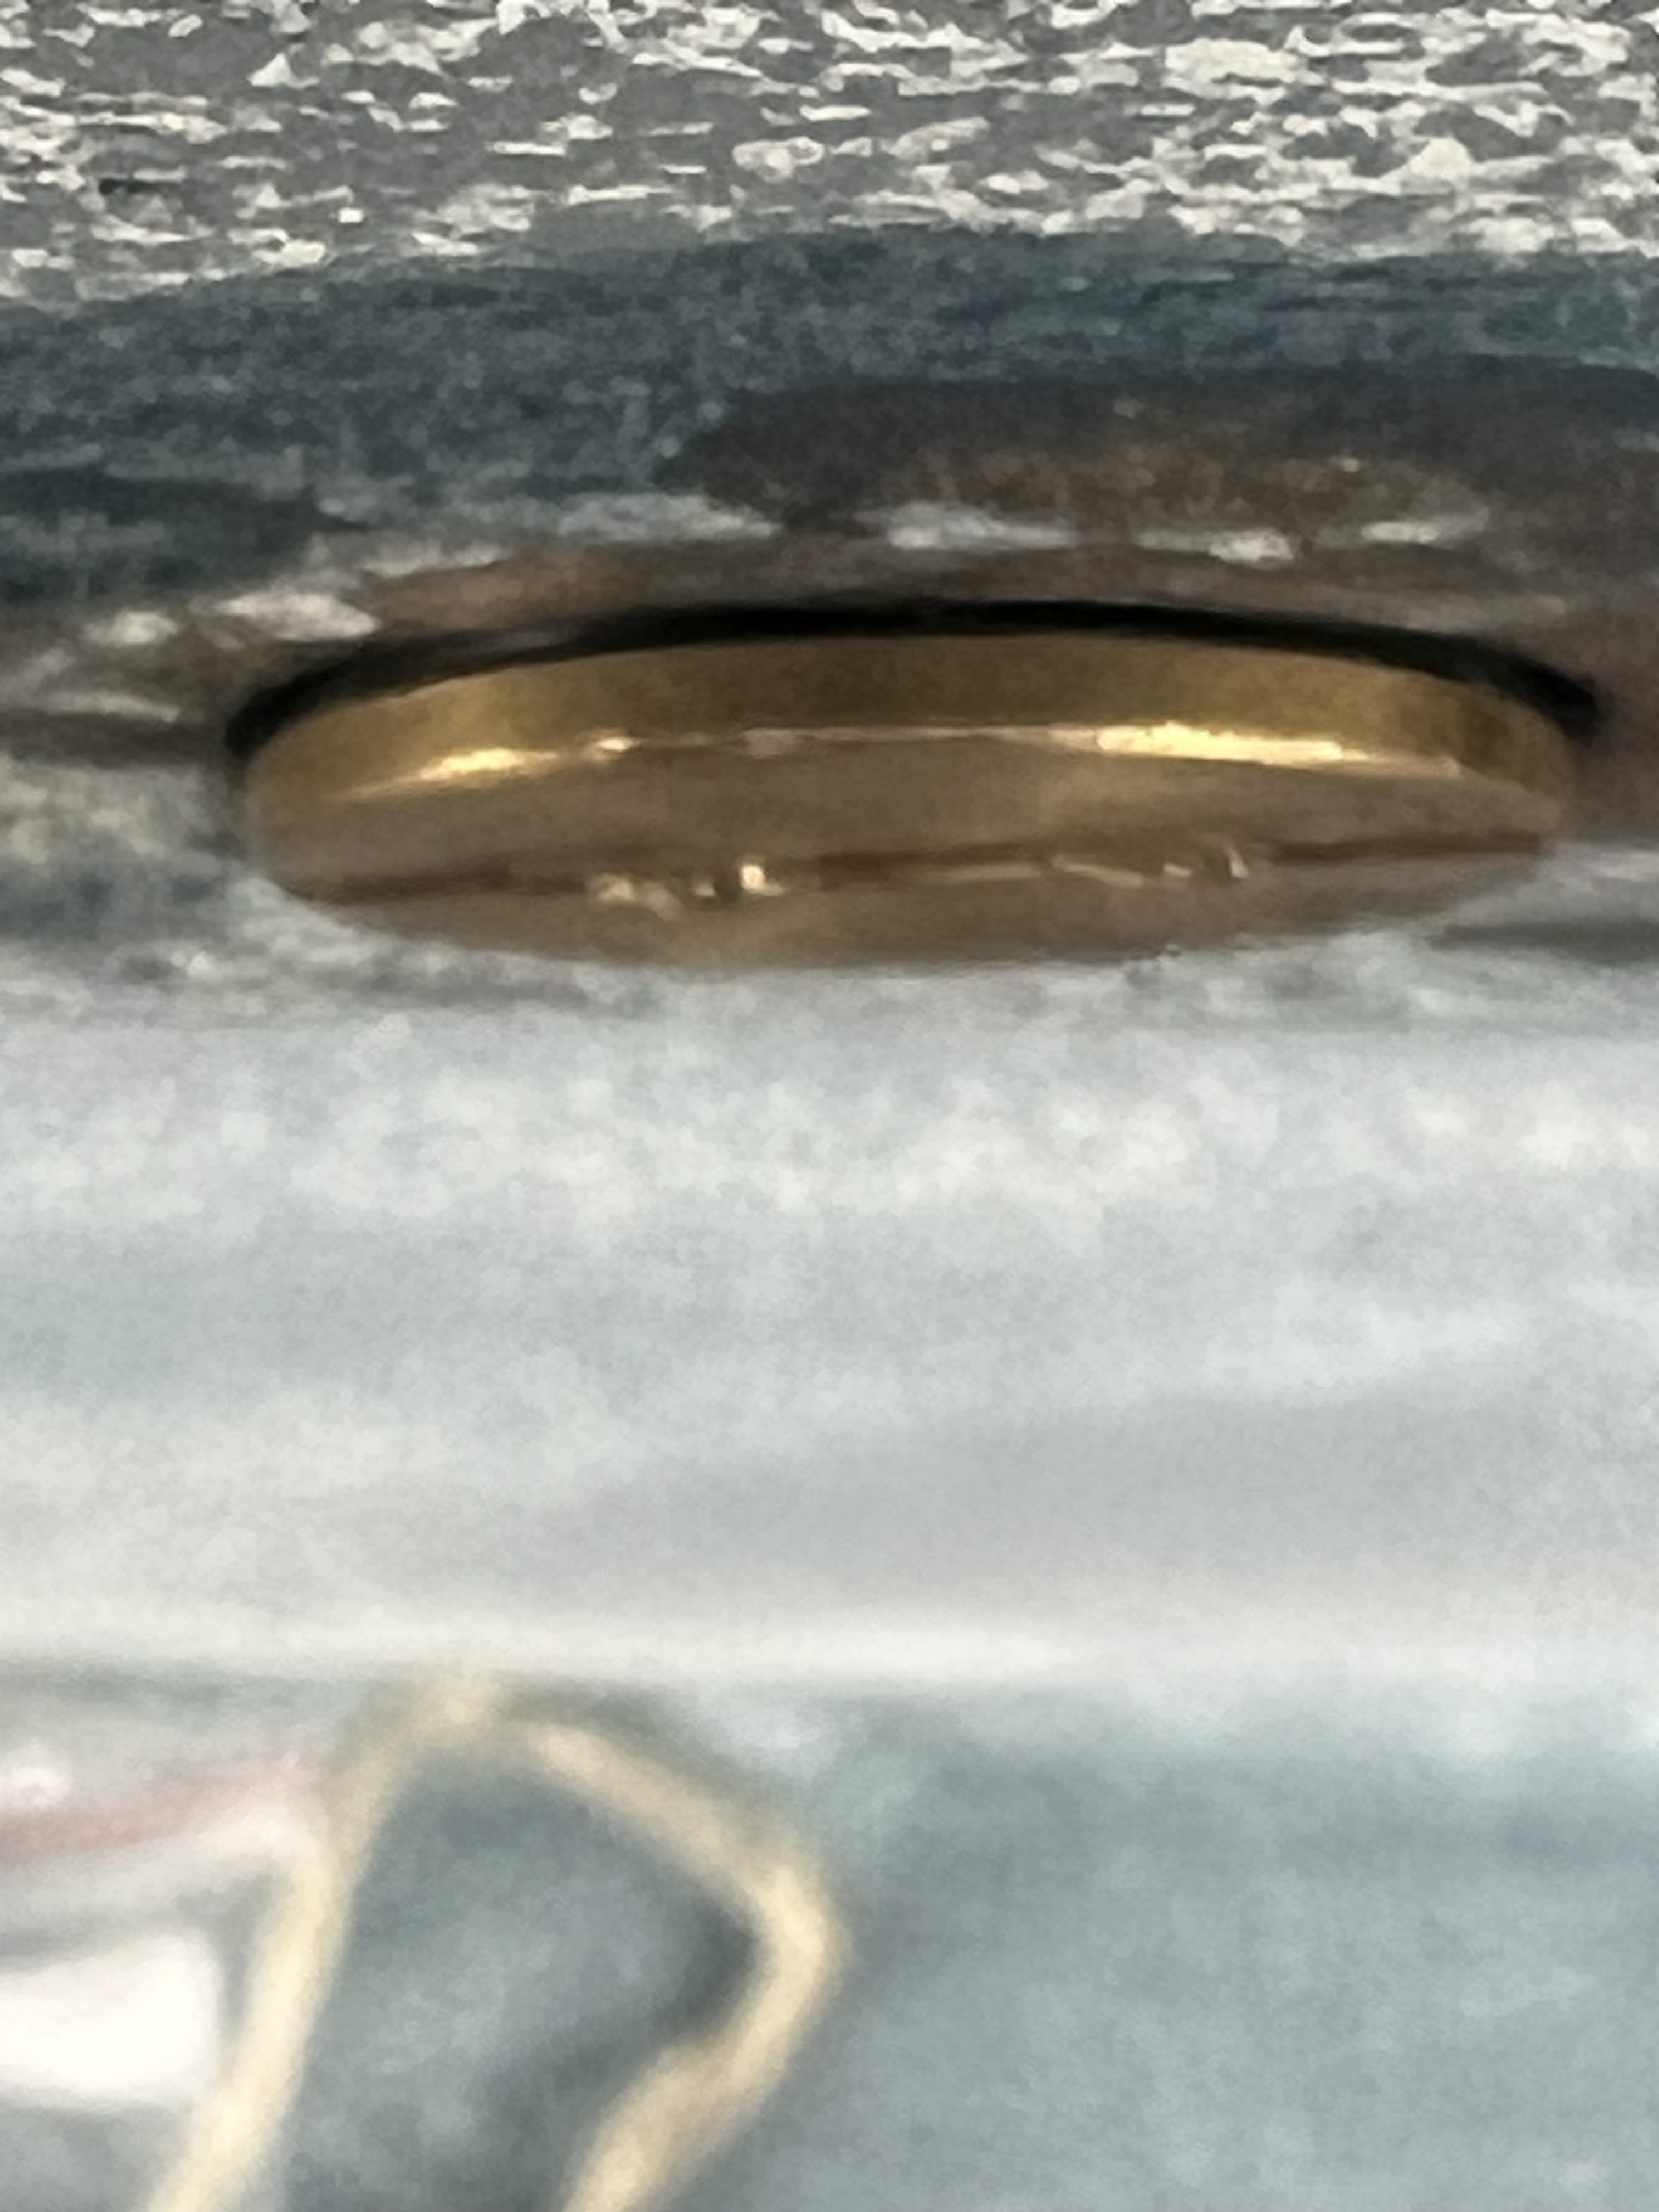
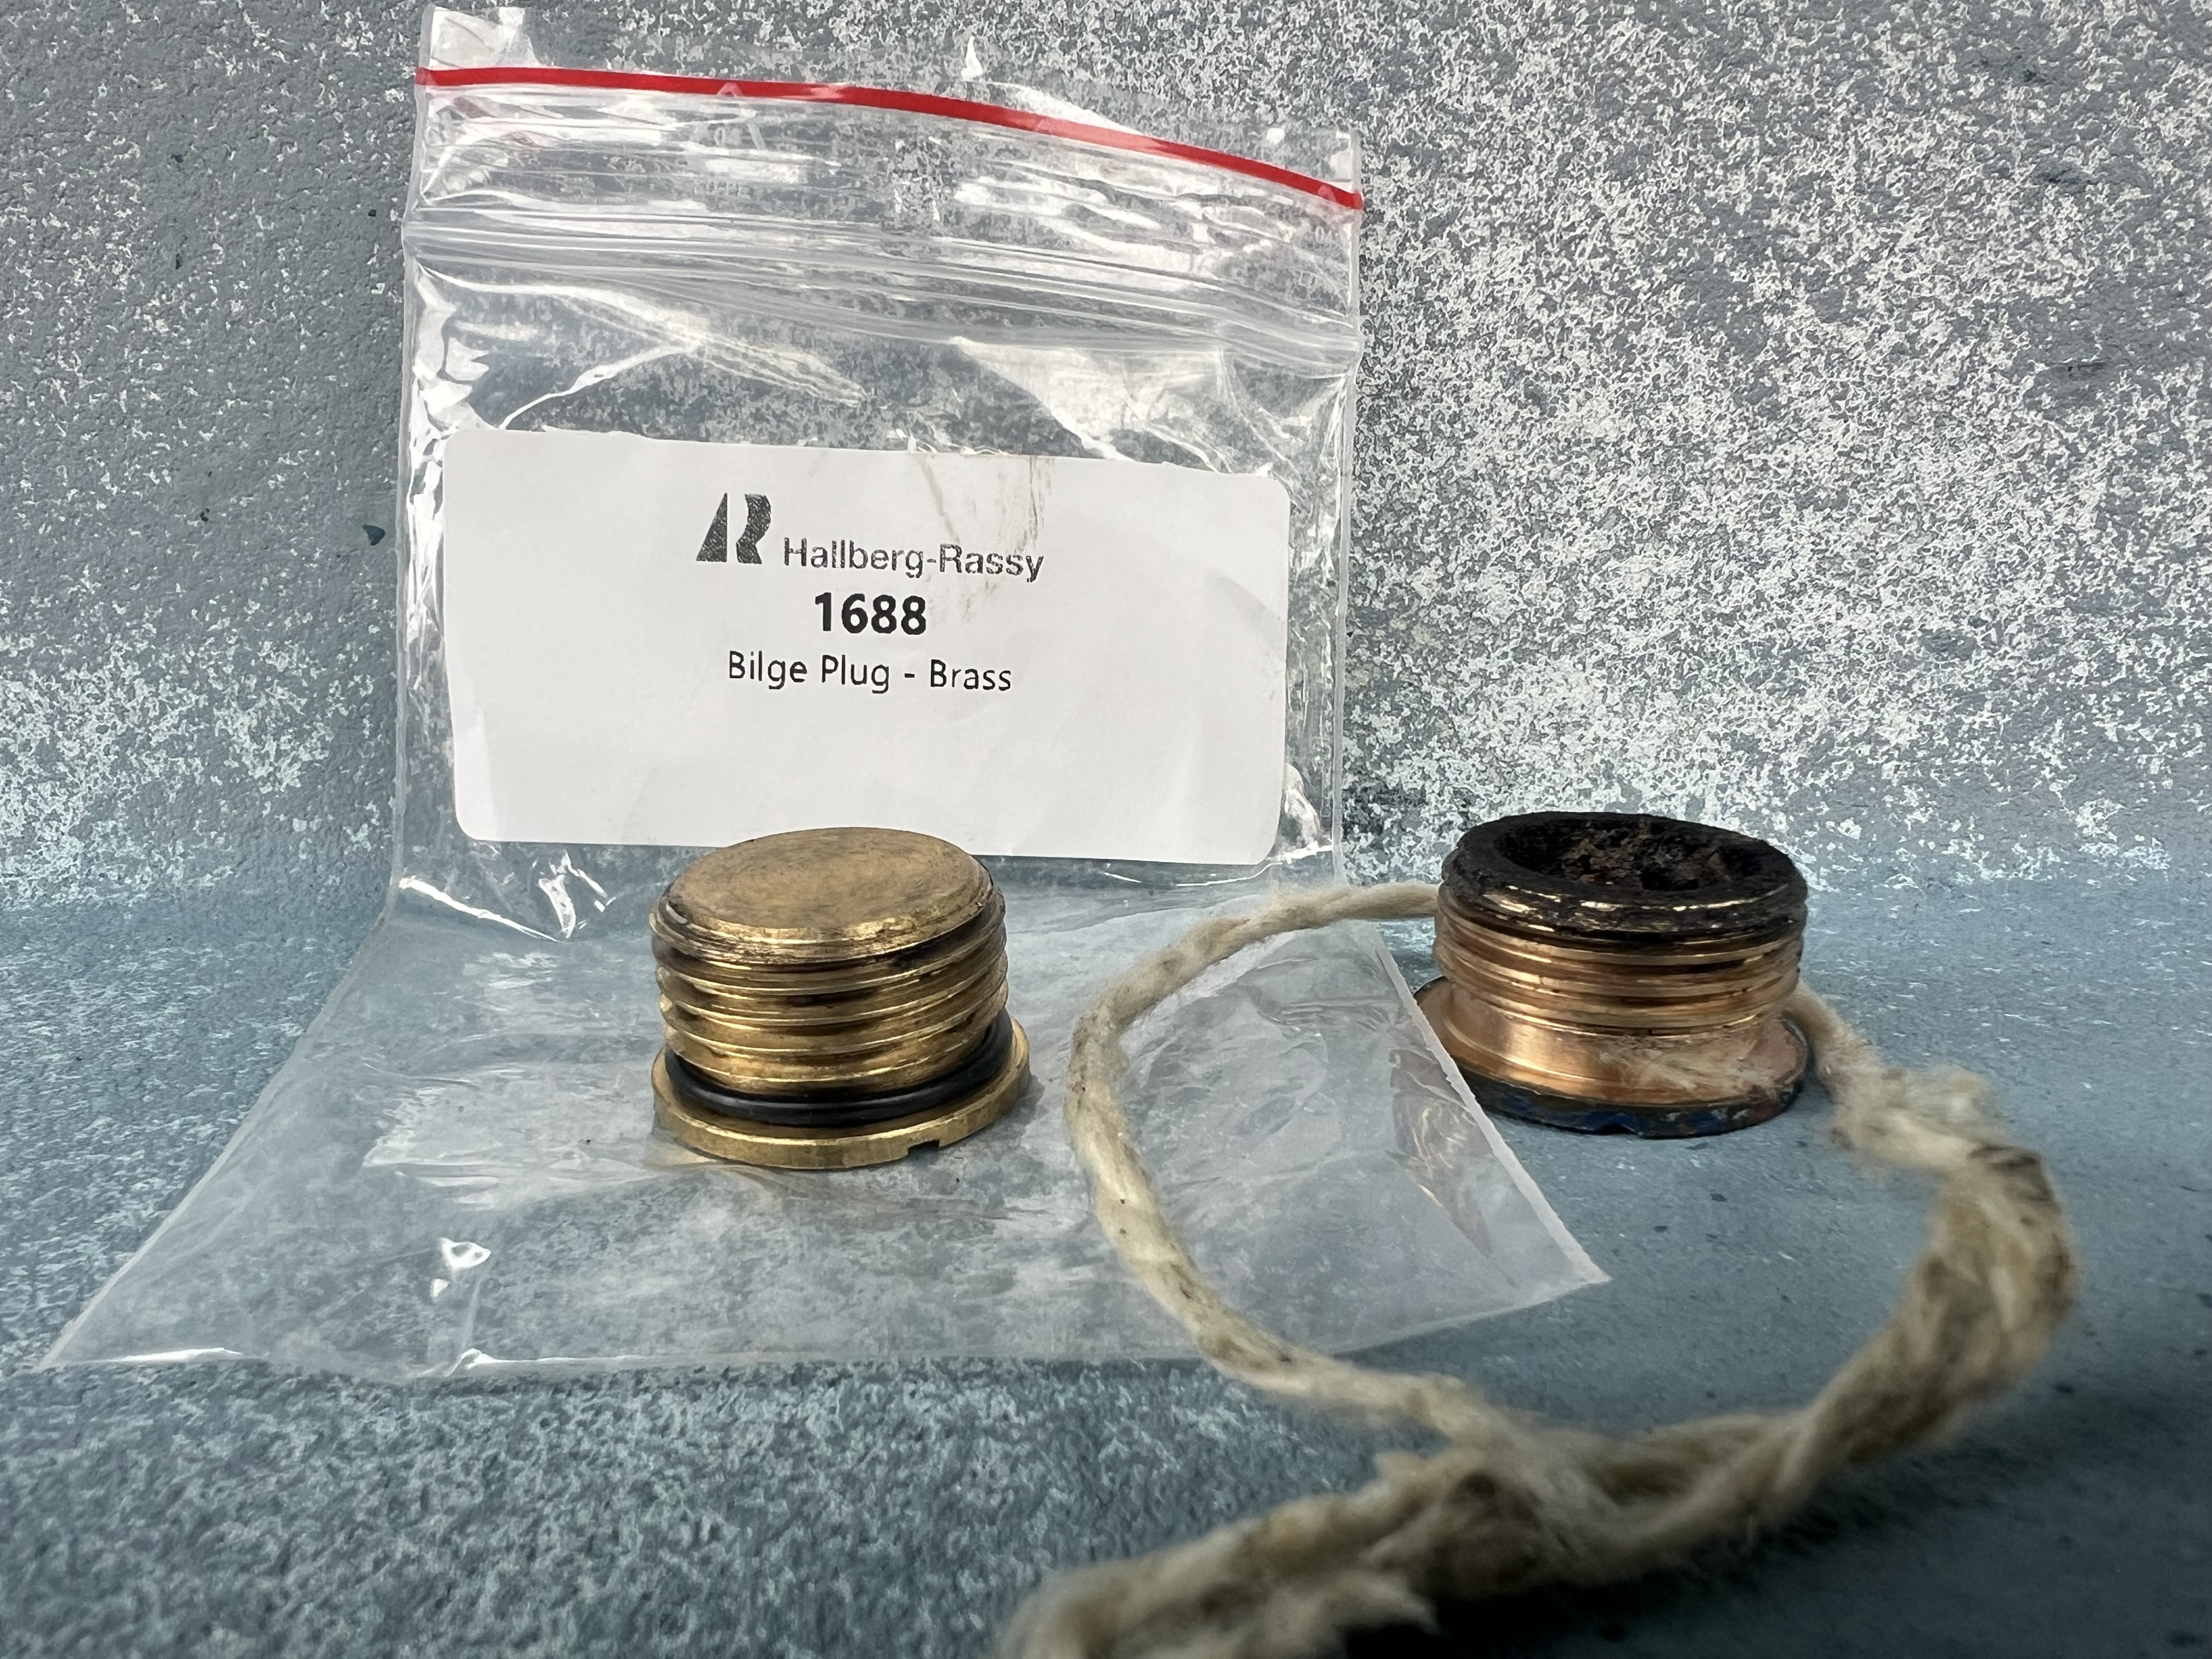
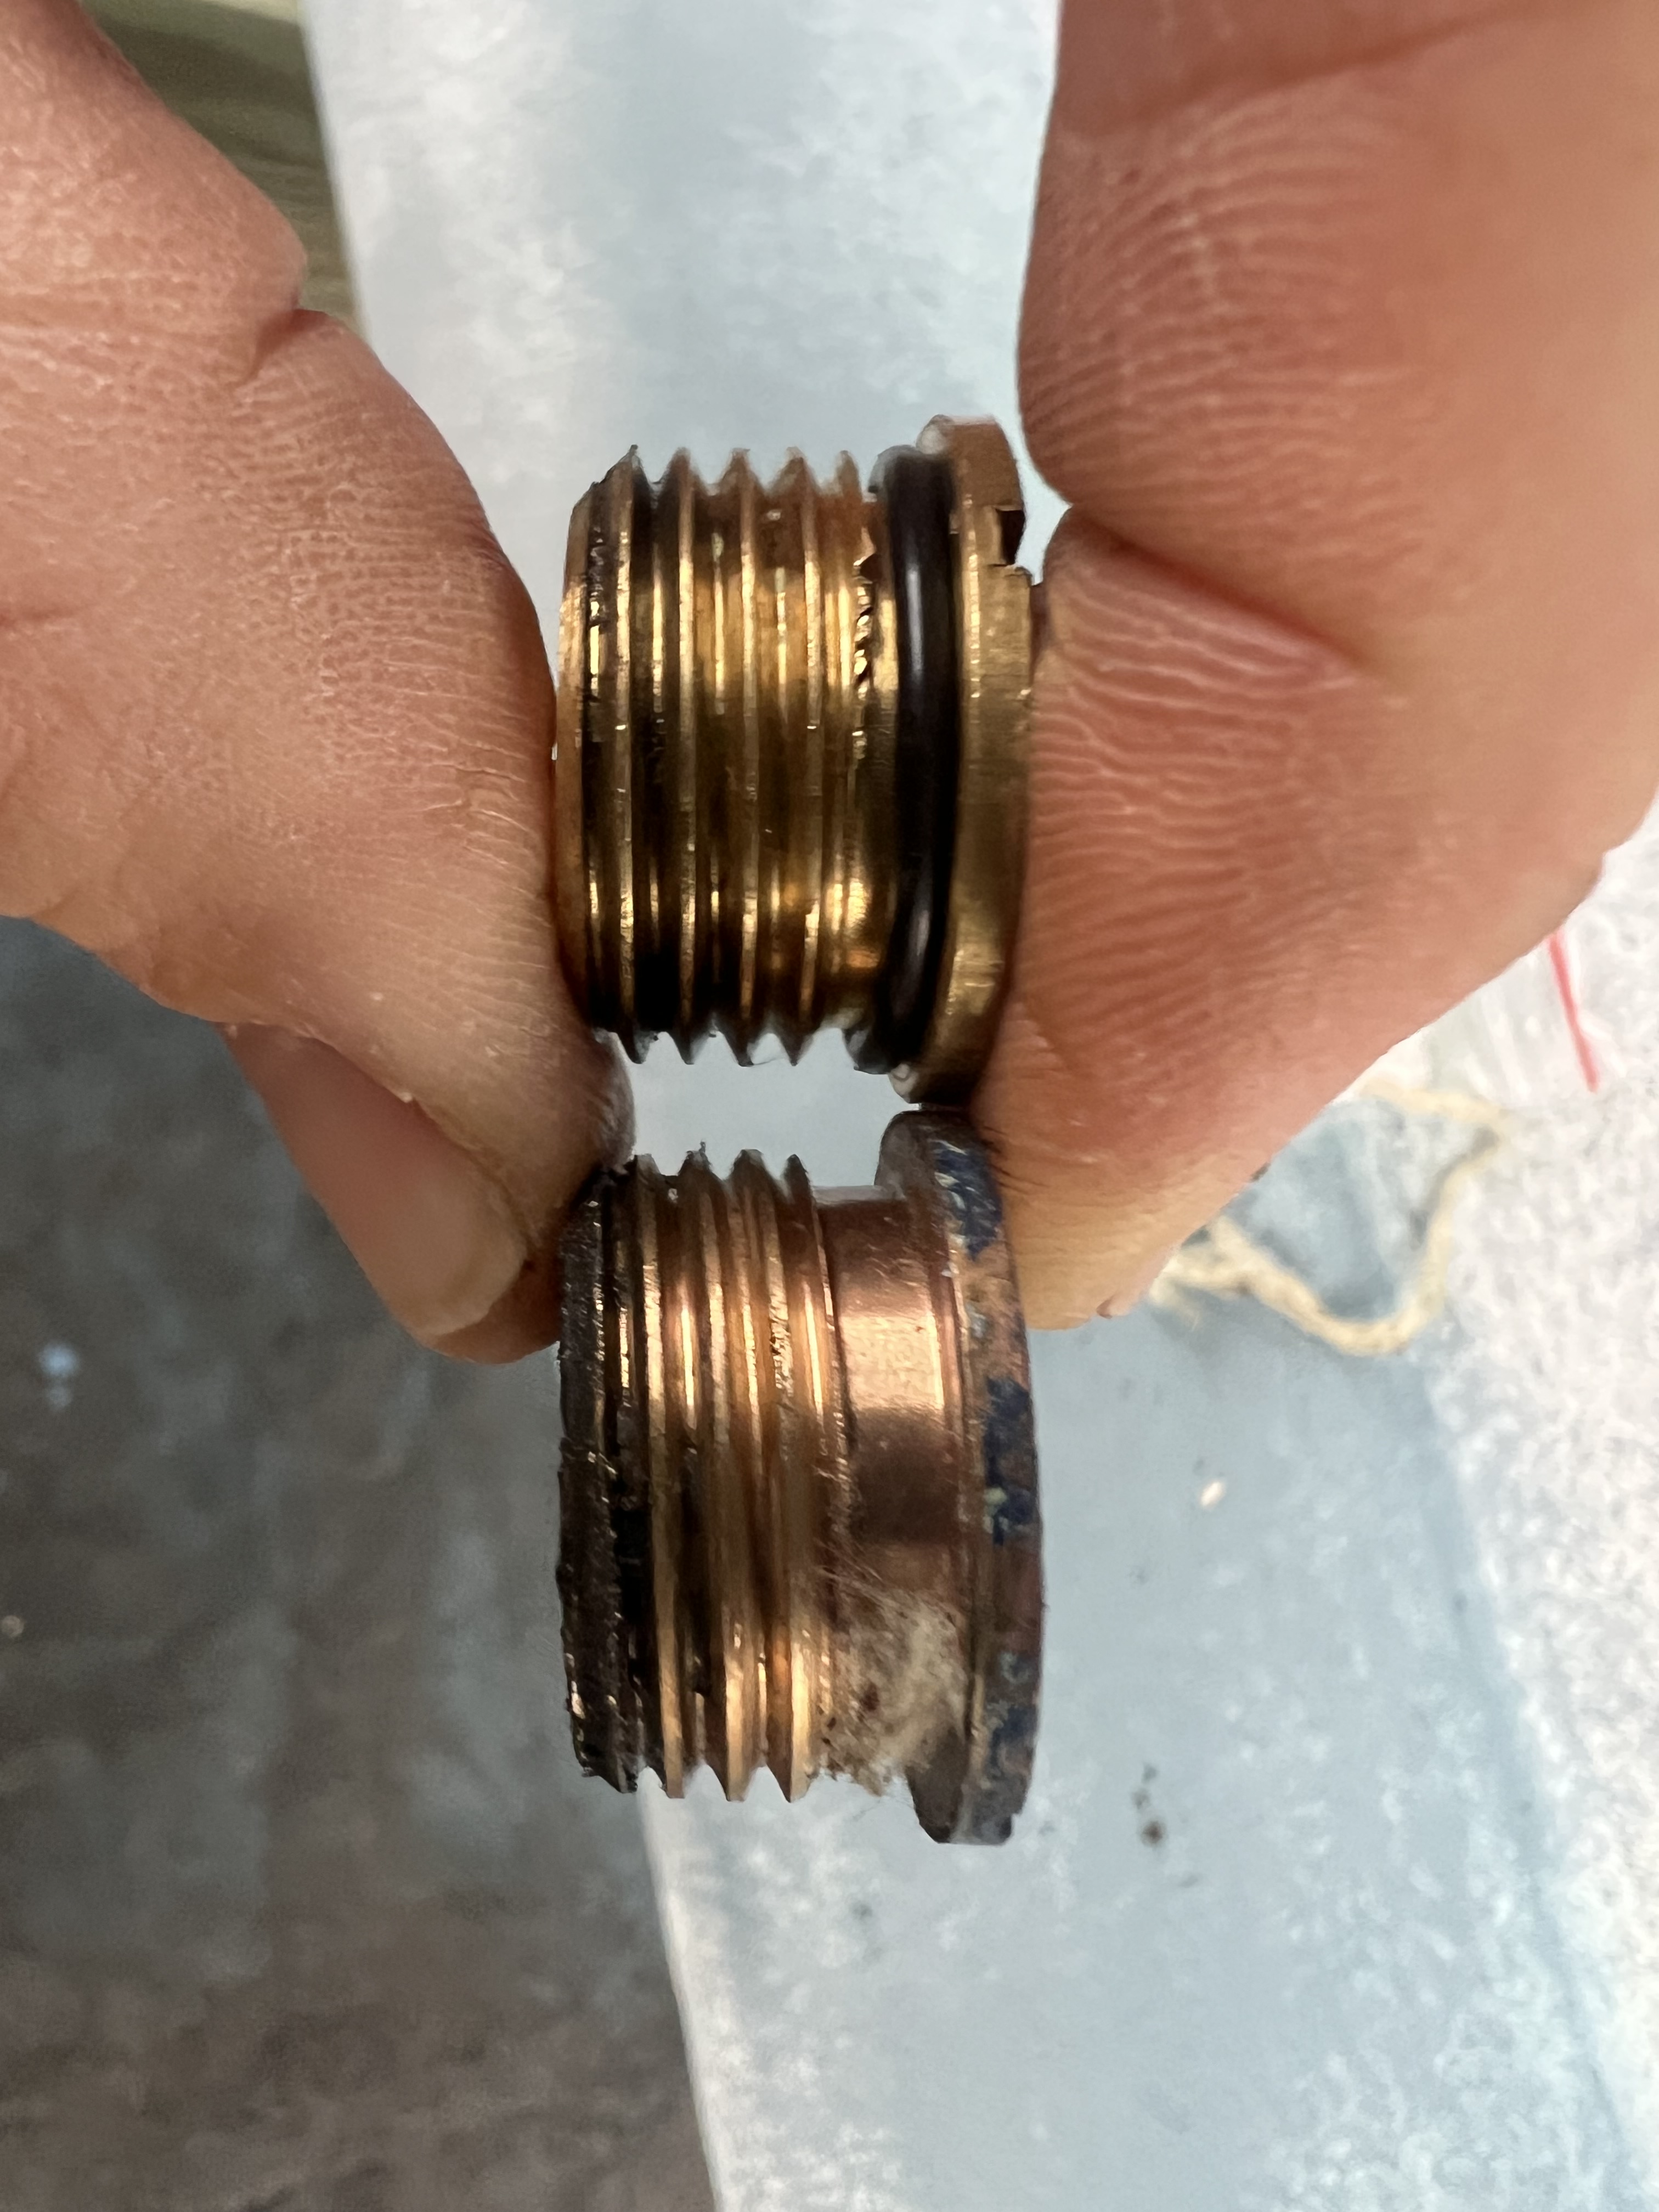
We are also replacing the HR bilge drain as discussed earlier. A new drain from HR parts was received and is ready to go in. The new one has a solid plug, and as mentioned in the previous post, a new design plug cannot be installed into a pre-existing / originally-installed bilge drain base from a boat of our era. The cap thread and seal design is subtly different between the two types, so therefore, don’t expect to just simply replace the original plug with a new one.

The next few weeks will see these 5 thruhulls installed, the anode holes filled and sealed, and the new bilge drain assembly installed. Then Greg’s team will apply a coat of epoxy and fair the epoxy to address any minor imperfections caused from the mold. 3 additional InterProtect barrier coats will be added and followed up with 2 layers of antifoul. This will give us around 6 good layers of barrier coat (2 pre-existing, and 4 new by Greg’s team).